Cozy Instant Pot Chicken And Rice the Whole Family Will Beg For
My mom used to make chicken and rice on Sunday afternoons, and the smell alone was enough to pull everyone out of their rooms without being called twice. That memory — the warmth, the simplicity, the way a single pot could make a whole house feel like home — is exactly what led me to start making this in my Instant Pot. Same comfort, a fraction of the time.
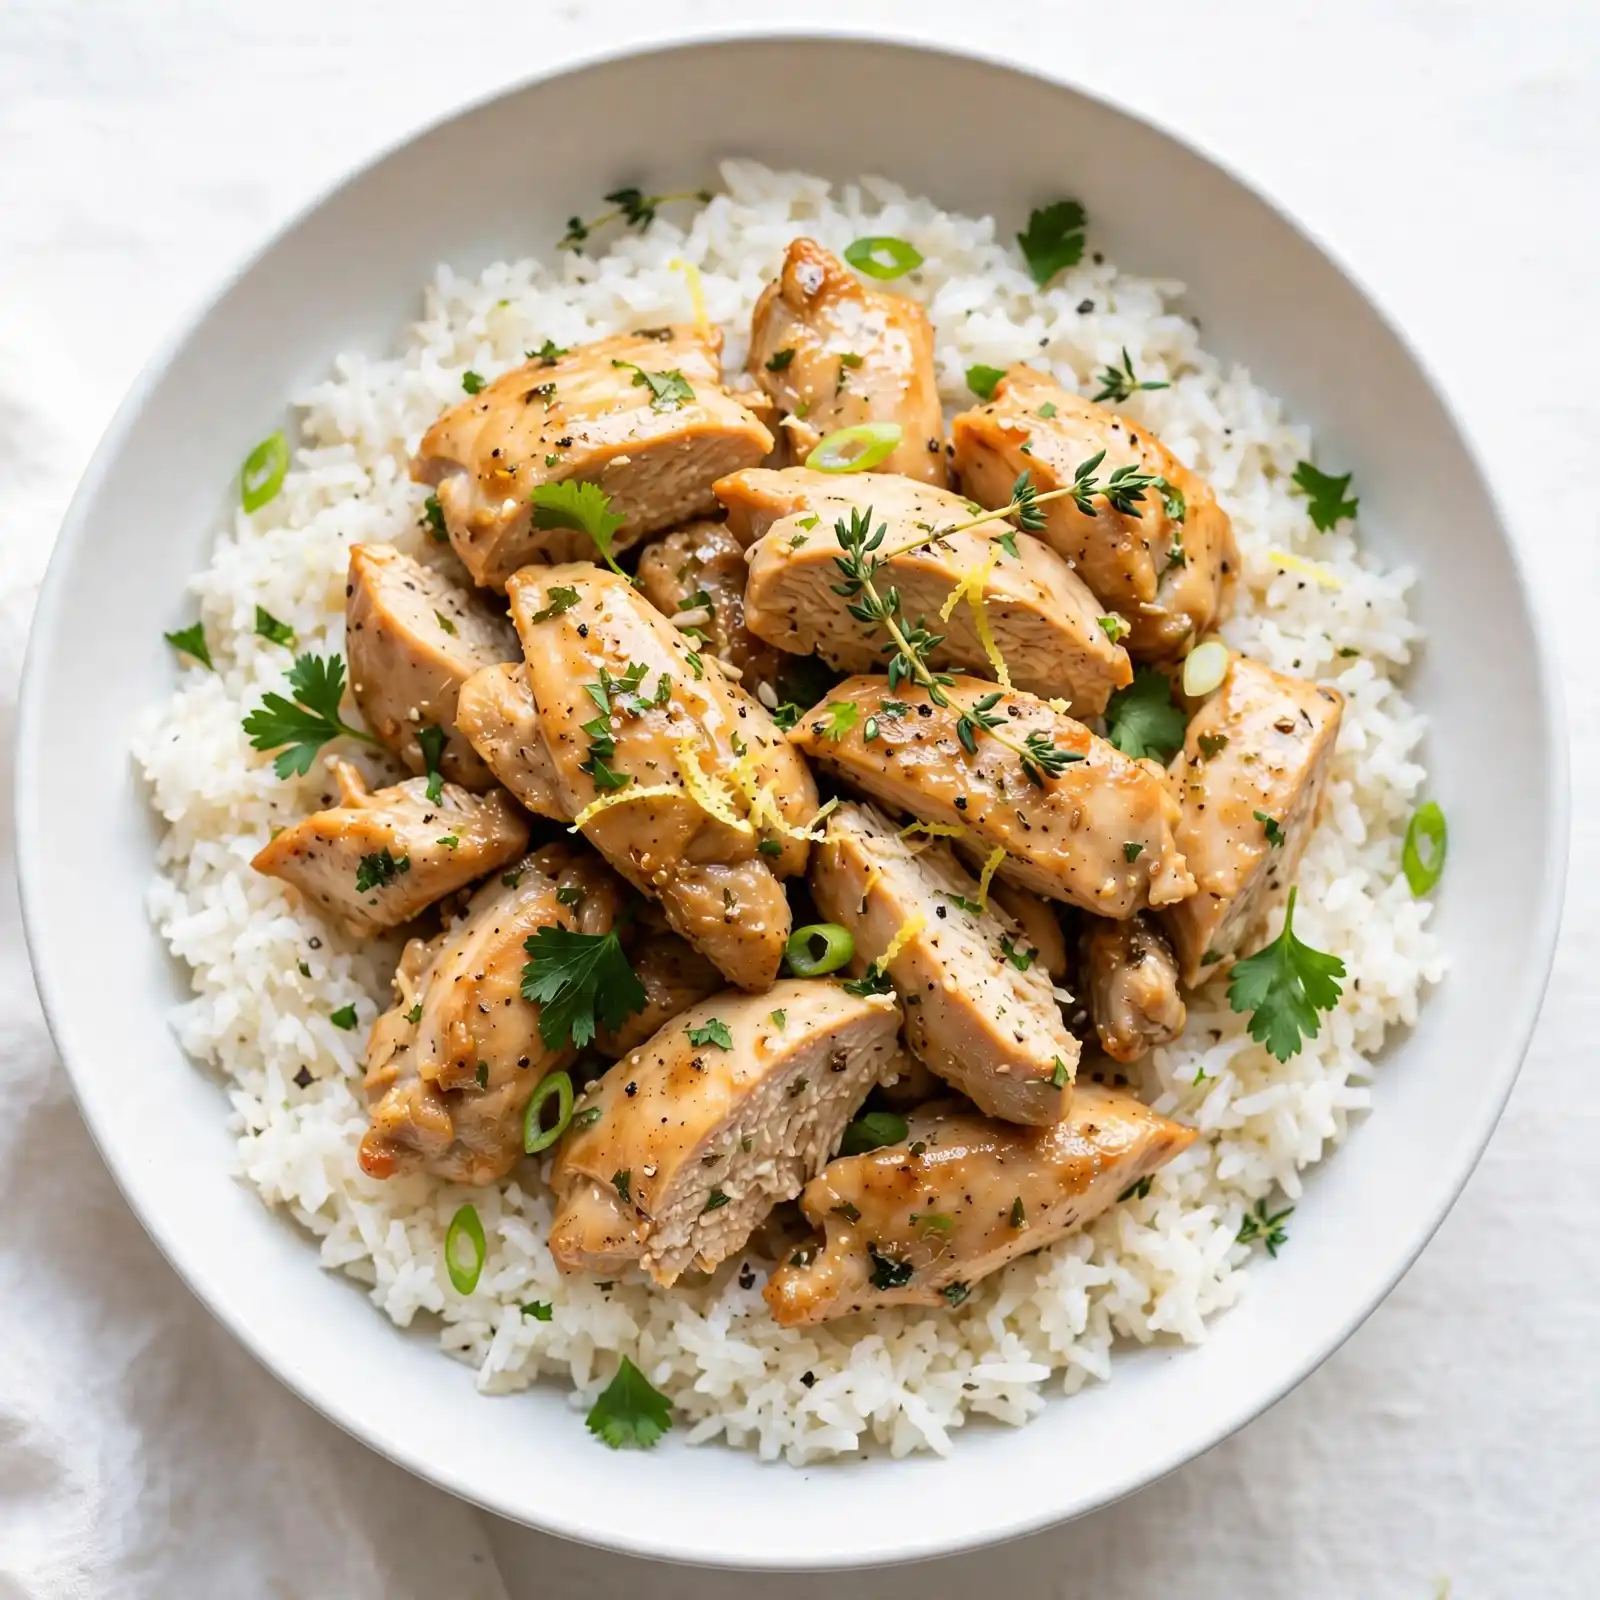
Every spoonful delivers tender, pull-apart chicken nestled in rice that has soaked up a rich, savory broth. The texture is somewhere between fluffy and creamy — each grain is perfectly cooked, never mushy — and the seasoning has just enough depth to make it taste like you’ve been slow-cooking it all day. The aroma that hits you when you open that lid? Pure golden, garlicky heaven.
This is the kind of dish that earns a permanent spot in your weeknight dinner rotation. It’s equally at home on a Sunday family table, served at a casual potluck, or packed into containers for meal prep. Whether you call it easy chicken and rice or the world’s most satisfying one-pot chicken rice, this recipe is about to become your most-reached-for comfort meal.
Why You’ll Love This Recipe
It Tastes Like It Simmered All Day
The pressure cooker forces every bit of flavor deep into the rice and chicken, creating a dish that tastes like slow-cooked magic. No one will believe it came together in under 40 minutes.
The Texture Is Absolutely Perfect
The chicken turns out fall-apart tender while the rice stays fluffy and distinct. No clumping, no soup, no mush — just the kind of results that make you want a second helping.
It’s Genuinely Easy to Make
You don’t need any special skills or cooking experience to pull this off. One pot, a handful of pantry ingredients, and a few button presses are all it takes.
Great for Feeding a Crowd
This recipe scales beautifully and travels well, making it a natural fit for potlucks, family gatherings, or busy households feeding multiple people on different schedules.
Endlessly Customizable
The base is simple and classic, but it welcomes add-ins and swaps without complaint. You can make it creamy, spicy, herby, or cheesy — and it comes out great every time.
Ingredients
For the Chicken and Base
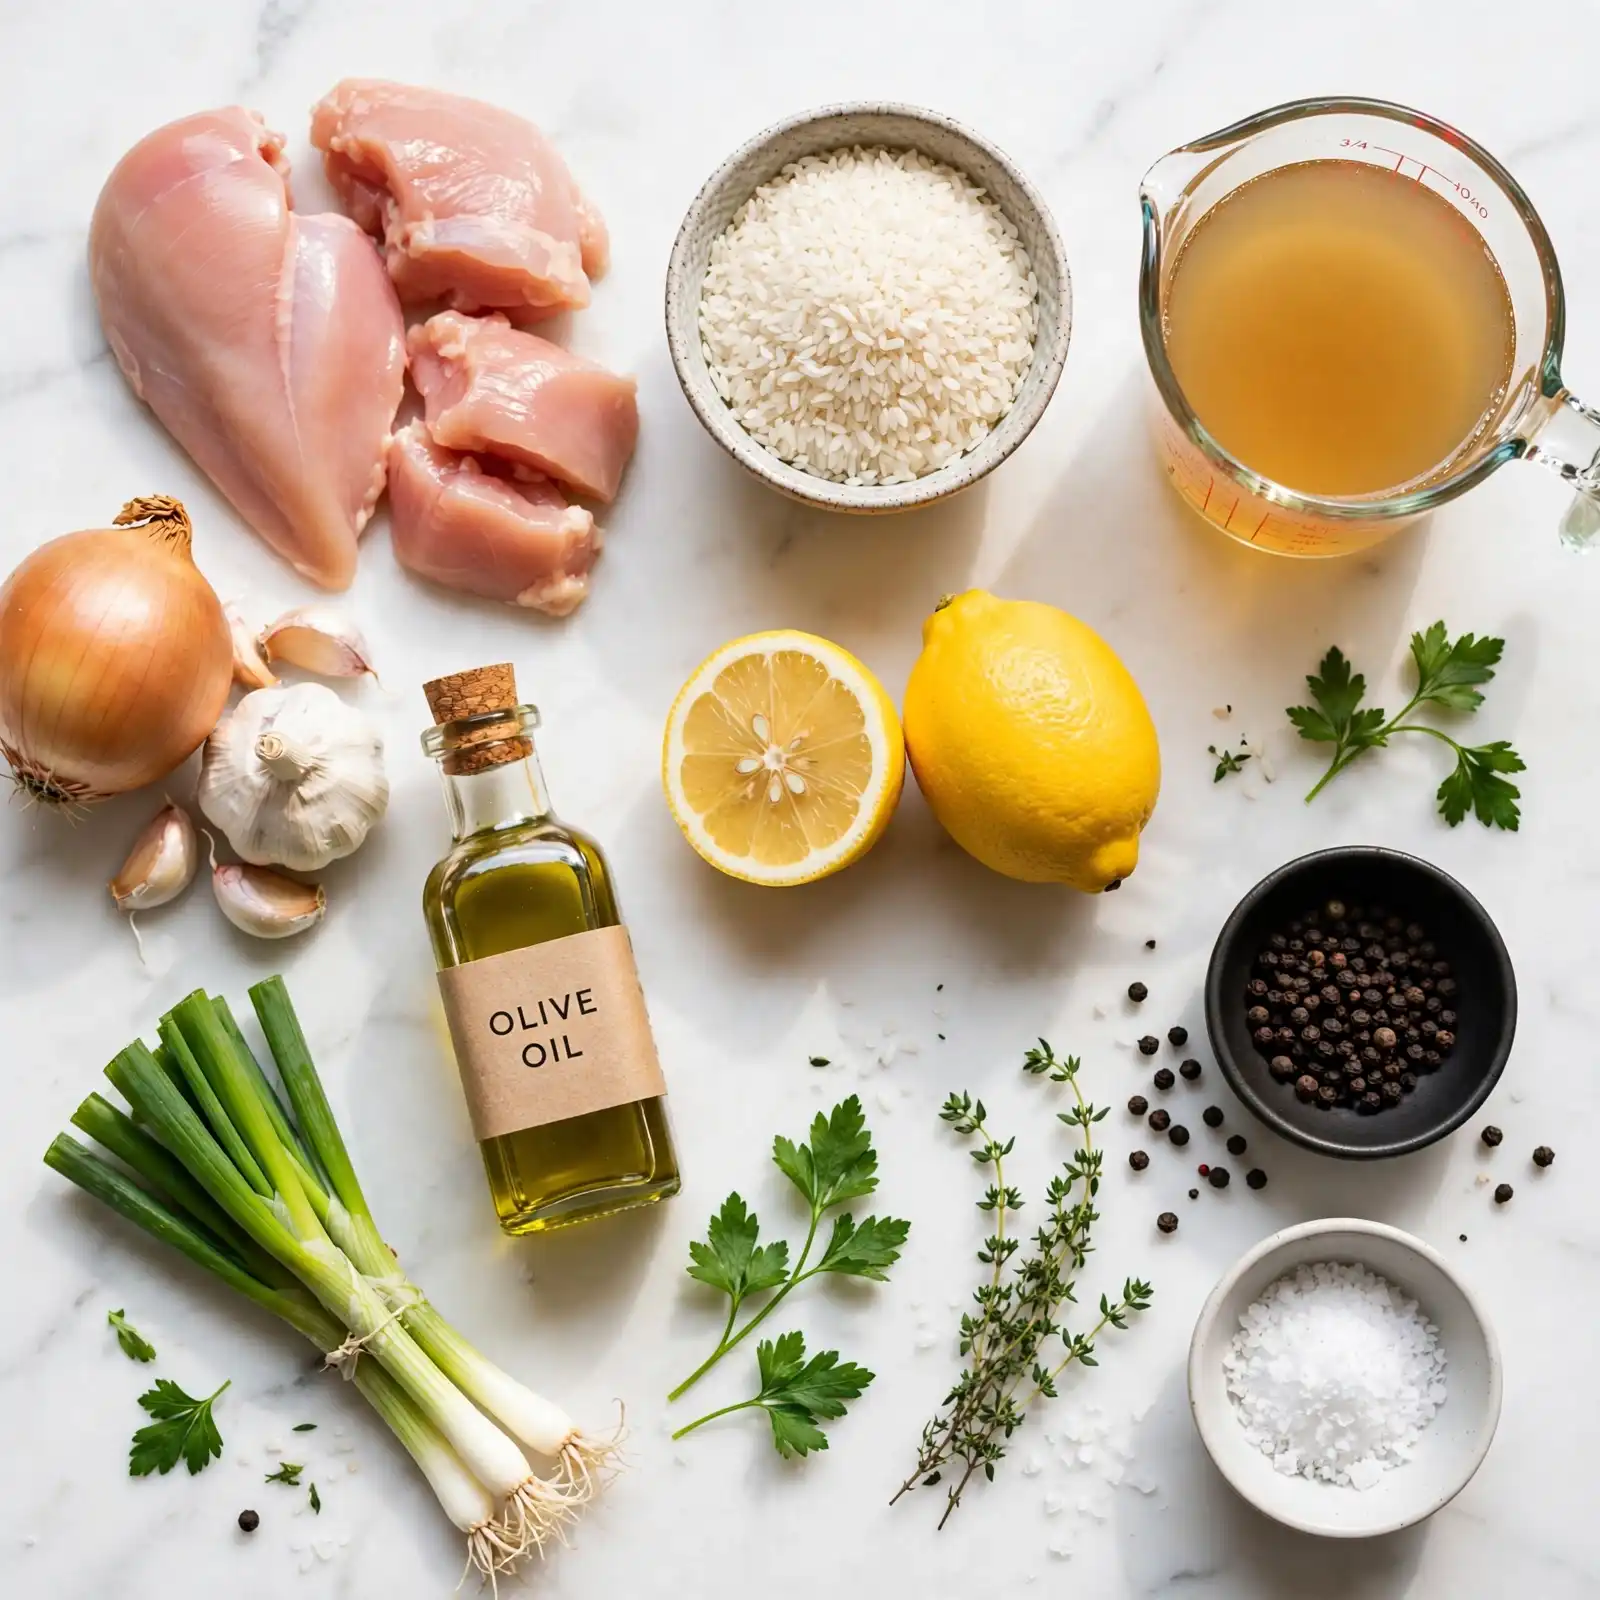
- 1.5 lbs boneless, skinless chicken thighs (or chicken breasts — see tip below)
- 1 tsp garlic powder
- 1 tsp onion powder
- 1 tsp smoked paprika
- ½ tsp dried thyme
- ½ tsp salt (adjust to taste)
- ¼ tsp black pepper
- 1 tbsp olive oil
For the Rice and Broth
- 1½ cups long-grain white rice (rinsed until water runs clear)
- 2 cups low-sodium chicken broth (adds depth without making it too salty)
- ½ cup water
- 1 medium yellow onion, diced
- 4 cloves garlic, minced
- 1 cup frozen peas (optional, added at the end)
For Finishing
- 2 tbsp unsalted butter
- 2 tbsp fresh parsley, chopped (or 1 tsp dried)
- Salt and pepper to taste
- Juice of ½ lemon (brightens the whole dish)
The combination of savory broth, buttery finish, and lemon juice is what makes this feel restaurant-worthy — the fat carries flavor, the acid lifts it, and together they make every bite taste intentional.
How to Make Instant Pot Chicken And Rice — Step-by-Step
Step 1: Season and Sear the Chicken
Pat the chicken dry with paper towels, then season all over with garlic powder, onion powder, smoked paprika, thyme, salt, and pepper. Set your Instant Pot to Sauté mode and add the olive oil. Once shimmering, sear the chicken for 2–3 minutes per side until a golden-brown crust forms. Don’t worry if it sticks slightly at first — it’ll release naturally when it’s ready to flip. Remove the chicken and set aside.
Step 2: Sauté the Aromatics
Without cleaning the pot, add the diced onion to those beautiful browned bits left behind. Cook for 2–3 minutes until softened and translucent, then stir in the minced garlic and cook for another 30 seconds. You’ll smell it shift from sharp and raw to something warm and nutty — that’s your cue to move on.
Step 3: Deglaze and Add the Rice
Pour in the chicken broth and water, then use a wooden spoon to scrape up any browned bits from the bottom of the pot. This step is important — those bits are pure flavor, and clearing them prevents the dreaded “Burn” notice. Add the rinsed rice and stir gently to distribute everything evenly.
Step 4: Pressure Cook
Nestle the seared chicken back into the pot on top of the rice. Secure the lid, set the valve to Sealing, and cook on High Pressure for 10 minutes. Don’t worry if the pot takes 10–12 minutes to build pressure before the timer starts — that’s completely normal. Once the cook time is done, allow a 10-minute natural pressure release, then switch the valve to Venting for any remaining steam.
Step 5: Shred, Finish, and Serve
Remove the chicken and shred it with two forks — it should fall apart almost on its own. Stir in the butter, lemon juice, and frozen peas (if using) directly into the rice. Add the shredded chicken back in and fold everything together. Let it rest with the lid loosely on for 3–4 minutes before serving so the peas warm through and the rice absorbs those last layers of flavor. Finish with fresh parsley and serve warm.
Perfecting This Recipe
- Rinse the rice. Running the rice under cold water until it’s clear removes excess starch and keeps the grains separate instead of sticky.
- Don’t skip the sear. Those golden bits on the chicken and the fond left in the pot are layers of flavor the pressure cooking locks in. It’s worth the extra 5 minutes.
- Use a liquid ratio you trust. The 2 cups broth + ½ cup water ratio works consistently for long-grain white rice. Switching to short-grain or brown rice requires adjusting the liquid and cook time.
- Natural release matters. The 10-minute natural pressure release lets the rice finish cooking gently in residual steam. A quick release too early can leave the rice undercooked and watery.
- Chicken thighs over breasts for juiciness. Thighs stay moist under pressure even if slightly overcooked. Breasts work, but watch the texture — they can dry out more quickly.
- Butter at the end, not the beginning. Stirring in butter off the heat gives the dish a silky finish that you can’t get any other way.
Common Mistakes to Avoid
- Not deglazing the pot — Skipping this step leaves browned bits stuck to the bottom, which the Instant Pot reads as burning. Always scrape the pot clean before sealing.
- Using unwashed rice — Skipping the rinse leads to gummy, clumped rice that sticks together in one mass. A two-minute rinse makes a noticeable difference.
- Quick-releasing too early — Opening the valve immediately after cooking releases too much steam at once and disrupts the rice’s final cook. Give it the full 10-minute natural release.
- Overcrowding the pot — Stacking chicken pieces on top of each other traps moisture and prevents even cooking. Arrange them in as close to a single layer as possible.
- Forgetting to season at the end — The broth absorbs into the rice and dilutes somewhat during cooking. Always taste and adjust salt and pepper before serving.
Add Your Touch
- Stir in ½ cup of cream or cream cheese at the end for a rich, creamy chicken and rice version.
- Add a can of drained diced tomatoes with the broth for a Spanish-inspired take.
- Mix in a handful of shredded cheddar or pepper jack after shredding the chicken.
- Use Italian seasoning instead of smoked paprika for an herbier flavor profile.
- Swap the peas for diced bell peppers, corn, or baby spinach — all work beautifully.
- Add a pinch of red pepper flakes or a splash of hot sauce if you like a little heat.
- Use jasmine rice for a more aromatic, floral note in the finished dish.
Visit Also: Honey Glazed Chicken
What to Serve With This
- A crisp green salad with lemon vinaigrette to cut through the richness
- Steamed or roasted broccoli tossed with garlic butter
- Warm dinner rolls or crusty sourdough for soaking up the saucy rice
- Sliced avocado with a squeeze of lime for a creamy, cooling contrast
- A simple cucumber and tomato salad with olive oil and herbs
Storing and Serving
Fridge: Store leftovers in an airtight container for up to 4 days. The rice continues to absorb moisture as it sits, so it may thicken slightly — stir in a splash of broth when reheating to loosen it.
Freezer: This recipe freezes well for up to 2 months. Portion it into individual freezer-safe containers or bags, pressing out as much air as possible. The rice texture holds up better than expected after thawing.
Reheating: Reheat on the stovetop over medium-low heat with a splash of broth or water, stirring occasionally, until warmed through. Microwave works too — cover loosely and reheat in 90-second intervals, stirring between each.
Make-Ahead Tip: You can fully prepare this dish up to 2 days in advance. Store it covered in the fridge and reheat with a little added liquid just before serving. It actually tastes even better the next day once the flavors have had time to settle.
Servings: This recipe yields approximately 4–6 generous servings.
Nutrition (Approximate Per Serving)
- Calories: 410
- Total Fat: 12g
- Saturated Fat: 4g
- Carbohydrates: 42g
- Sugar: 2g
- Protein: 32g
- Sodium: 480mg
Nutritional values are approximate and may vary based on specific ingredients and brands used.
Chef’s Helpful Tips
- Use room temperature chicken. Taking it out of the fridge 15–20 minutes before cooking helps it sear more evenly and cook through without the outside overcooking first.
- Taste your broth before using. If your broth is already quite salty, reduce the added salt in the seasoning blend to avoid an overly salty final dish.
- Don’t lift the lid during natural release. Steam is still working inside the pot. Peeking too early disrupts the pressure cycle and can leave the rice undercooked in spots.
- For cleaner shredding, use two forks, or pull the chicken apart with your hands once it’s cooled slightly. Both work — but hands give you better control over the size of the pieces.
- If the rice comes out too wet, switch to Sauté mode for 2–3 minutes with the lid off. The excess moisture will evaporate quickly and restore the right texture.
Frequently Asked Questions
Q1. Can I use chicken breasts instead of thighs? Absolutely — breasts work fine in this recipe. Just know they can dry out slightly faster under pressure, so avoid going over the recommended cook time. Thighs are more forgiving, but breasts will still produce a great result.
Q2. Can I use brown rice instead of white? Yes, but you’ll need to adjust. Brown rice requires about 22–25 minutes on High Pressure and a bit more liquid — try adding an extra ¼ cup of broth. The nutty flavor is wonderful, just keep the texture differences in mind.
Q3. Is this recipe beginner-friendly? Very much so. If you’ve used your Instant Pot even once before, you can make this without any issues. The steps are straightforward, the ingredients are pantry-friendly, and the pressure cooker does most of the heavy lifting for you.
Q4. Can I make this ahead for a potluck or gathering? Yes, and it travels well. Make it the day before, refrigerate it, and reheat it in a large pot on the stovetop with a splash of broth to bring it back to its original creamy texture. It stays delicious for hours once made.
Q5. Can I freeze this dish? You can! Freeze it in individual portions for up to 2 months. Thaw overnight in the fridge, then reheat on the stovetop or microwave with a little added liquid. The rice holds up better than most people expect after freezing.
Conclusion
There’s a reason one-pot meals have stood the test of time — they carry warmth, simplicity, and the kind of satisfaction that feeds more than just hunger. This Instant Pot Chicken And Rice captures all of that in a way that feels both effortless and genuinely impressive. It’s the kind of recipe you’ll find yourself making on a rainy Tuesday, bringing to a friend’s house, or digging out of the fridge at midnight for a cold, straight-from-the-container snack.
Whether you’re cooking for a busy family, feeding yourself through a long week, or just craving something that feels like home — this recipe is your answer. Try it once and you’ll understand why it earns a permanent spot in the rotation. Make it yours, share it freely, and don’t be surprised when someone asks for the recipe before the plates are even cleared.
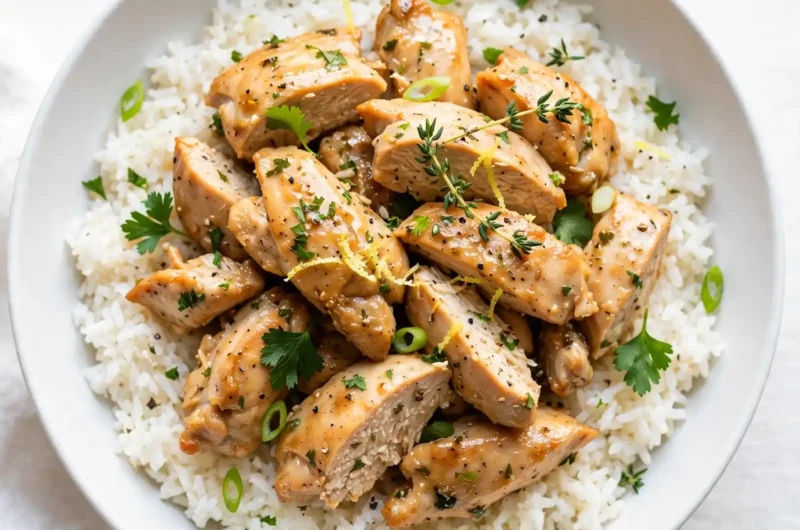
Creamy Instant Pot Chicken And Rice
Course: Trending Recipes4–6
servings10
minutes10
minutes410 per serving
kcal20
40
minutesA cozy, satisfying one-pot dinner with tender shredded chicken and fluffy, flavor-packed rice — made in under 40 minutes and perfect for weeknights, meal prep, or feeding a crowd.
Ingredients
For the Chicken and Base:
1.5 lbs boneless, skinless chicken thighs
1 tsp garlic powder
1 tsp onion powder
1 tsp smoked paprika
½ tsp dried thyme
½ tsp salt
¼ tsp black pepper
1 tbsp olive oil
For the Rice and Broth:
1½ cups long-grain white rice, rinsed
2 cups low-sodium chicken broth
½ cup water
1 medium yellow onion, diced
4 cloves garlic, minced
1 cup frozen peas (optional)
For Finishing:
2 tbsp unsalted butter
2 tbsp fresh parsley, chopped
Juice of ½ lemon
Salt and pepper to taste
Directions
- Season chicken with garlic powder, onion powder, paprika, thyme, salt, and pepper.
- Set Instant Pot to Sauté. Add oil and sear chicken 2–3 minutes per side until golden. Remove and set aside.
- Add diced onion to the pot; cook 2–3 minutes. Add garlic and cook 30 seconds.
- Pour in broth and water; deglaze the bottom of the pot thoroughly.
- Add rinsed rice and stir to combine. Nestle seared chicken on top.
- Seal lid, set to High Pressure for 10 minutes. Natural release for 10 minutes, then quick release remaining steam.
- Remove chicken and shred with two forks.
- Stir butter, lemon juice, and peas into the rice. Add shredded chicken back and fold together.
- Rest 3–4 minutes with lid loosely on. Garnish with parsley and serve.