The Juiciest Boiled Corn On The Cob Your Summer Table Deserves
Picture this: a humid July afternoon, the back screen door swinging open, and your grandmother dropping fresh ears of corn into a giant pot of boiling water like she’d done it a thousand times — because she had. No fuss, no fancy equipment, just corn and water and the kind of confidence that only comes from knowing exactly what you’re doing. That memory lives in the steam, in the sweet smell that fills the kitchen, in the first crunch of a perfectly cooked cob.
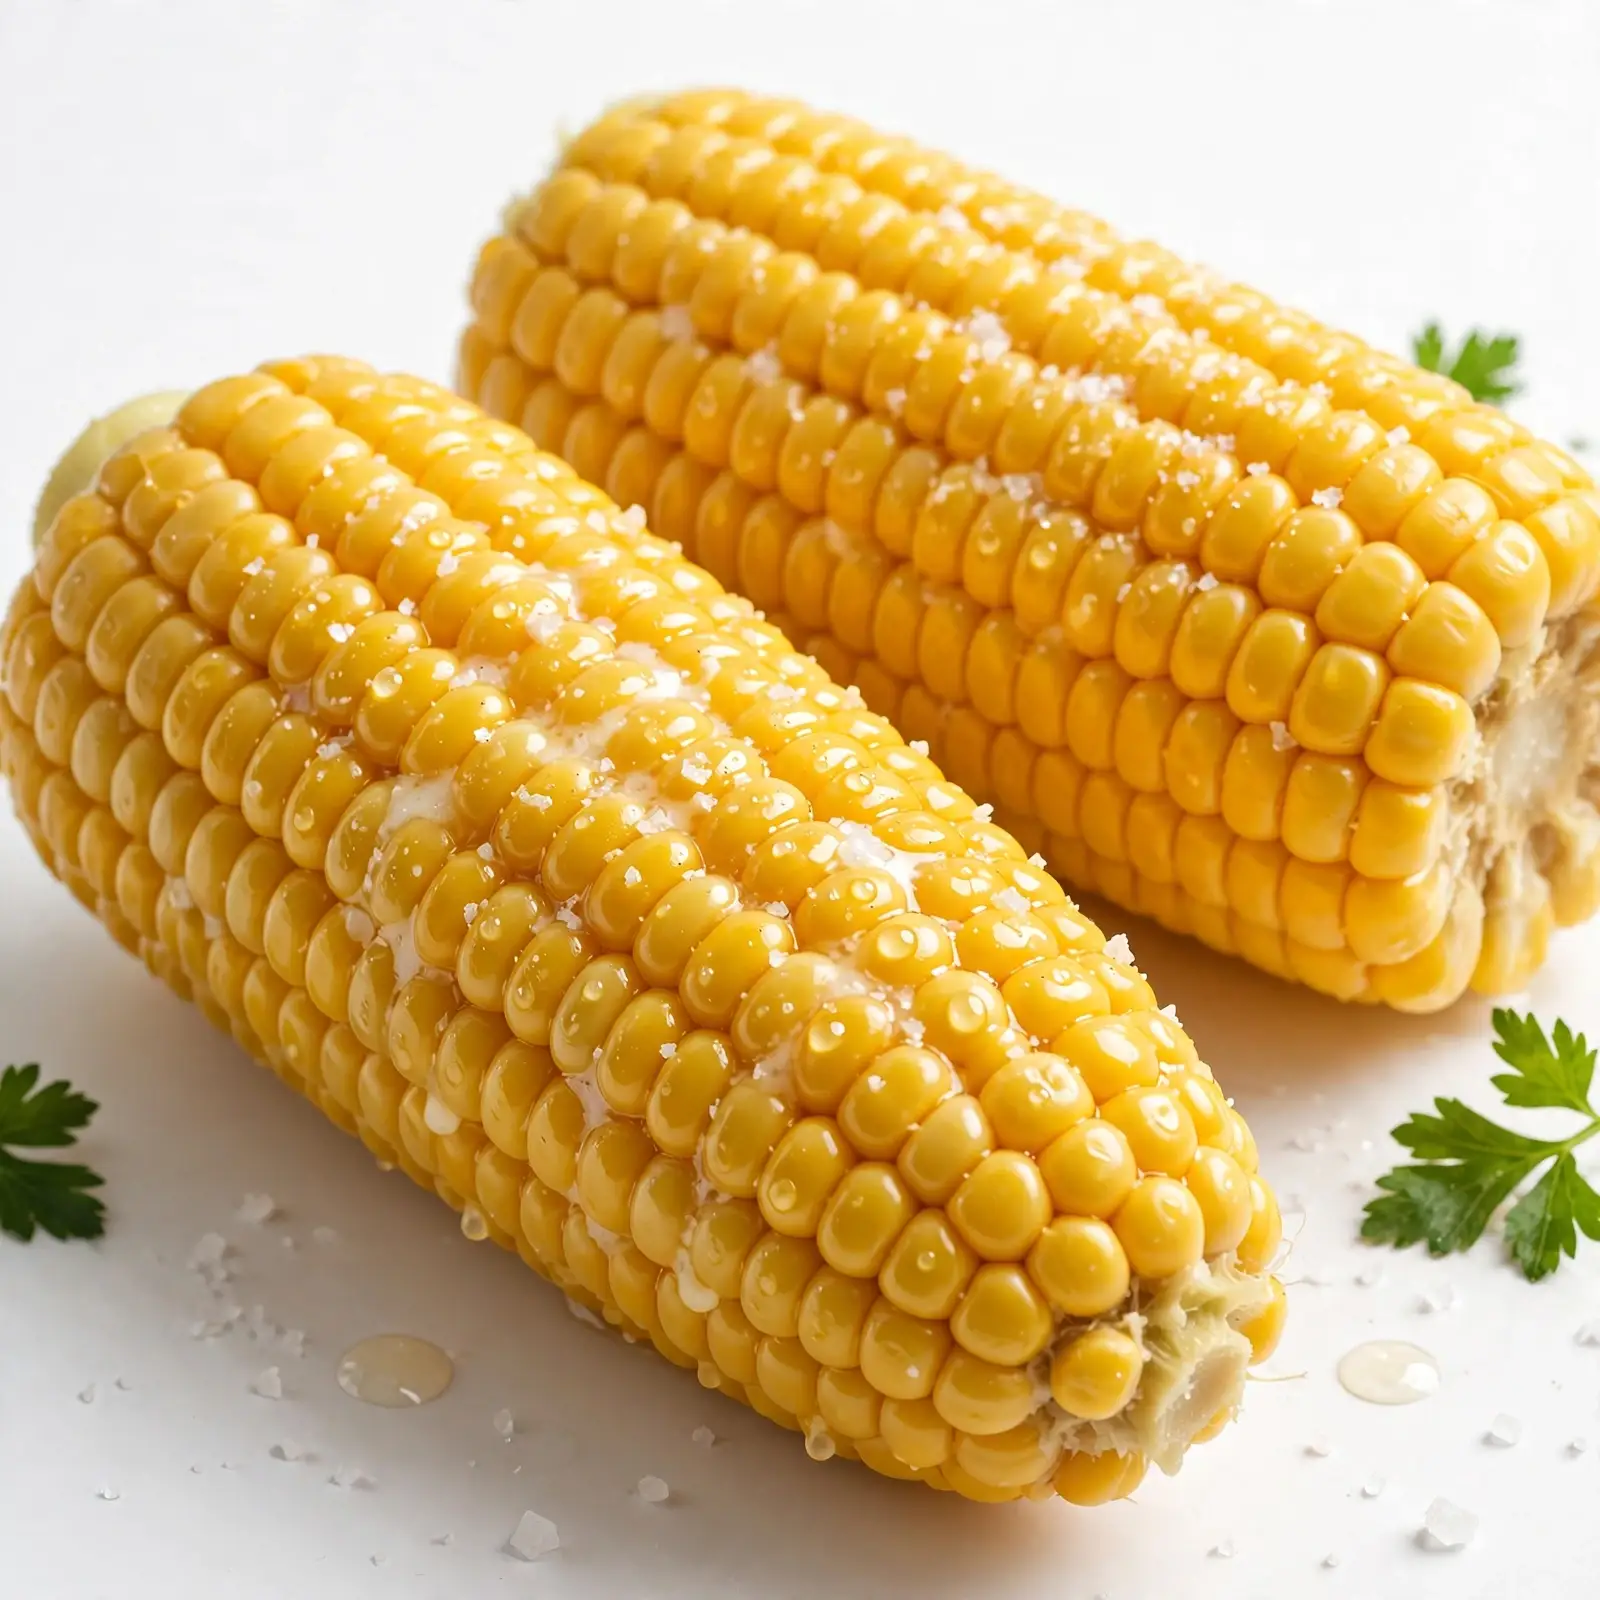
Boiled corn on the cob hits every note at once — sweet, starchy, tender, and just the right amount of snappy. The kernels practically burst when you bite in, releasing that summery juice that runs down your chin and makes you reach for another ear before you’ve even finished the first. Slathered with butter and a generous pinch of salt, it becomes one of those rare side dishes that needs absolutely nothing else to shine.
Whether you’re hosting a full backyard cookout, throwing together a quick easy corn side dish on a Tuesday night, or bringing something crowd-pleasing to a potluck, this sweet corn recipe fits the moment perfectly. It scales up effortlessly, comes together in under 15 minutes, and makes everyone at the table genuinely happy. Let’s get that pot boiling.
Why You’ll Love This Recipe
It’s Incredibly Simple to Make
You don’t need any special skills, tools, or techniques to nail this one. If you can boil water, you can make perfect boiled corn on the cob — and it turns out beautifully every single time.
The Flavor Is Naturally Sweet and Fresh
Good-quality summer corn needs almost no help. Boiling preserves the corn’s natural sugars and keeps the kernels plump, juicy, and full of that unmistakable fresh-from-the-field sweetness.
The Texture Is Perfectly Tender Without Being Mushy
The goal is corn that’s cooked through but still has a gentle snap. Nail the timing and you get kernels that are soft, yielding, and never waterlogged or tough.
It Feeds a Crowd Effortlessly
Whether you’re making four ears or fourteen, the method stays exactly the same. It’s one of those rare recipes that scales up without any extra effort — perfect for summer gatherings.
It Pairs With Absolutely Everything
Grilled chicken, burgers, ribs, a simple green salad — boiled corn on the cob goes alongside almost any main dish without competing. It’s the side dish that always earns its spot on the table.
Ingredients
For the Boiling Base
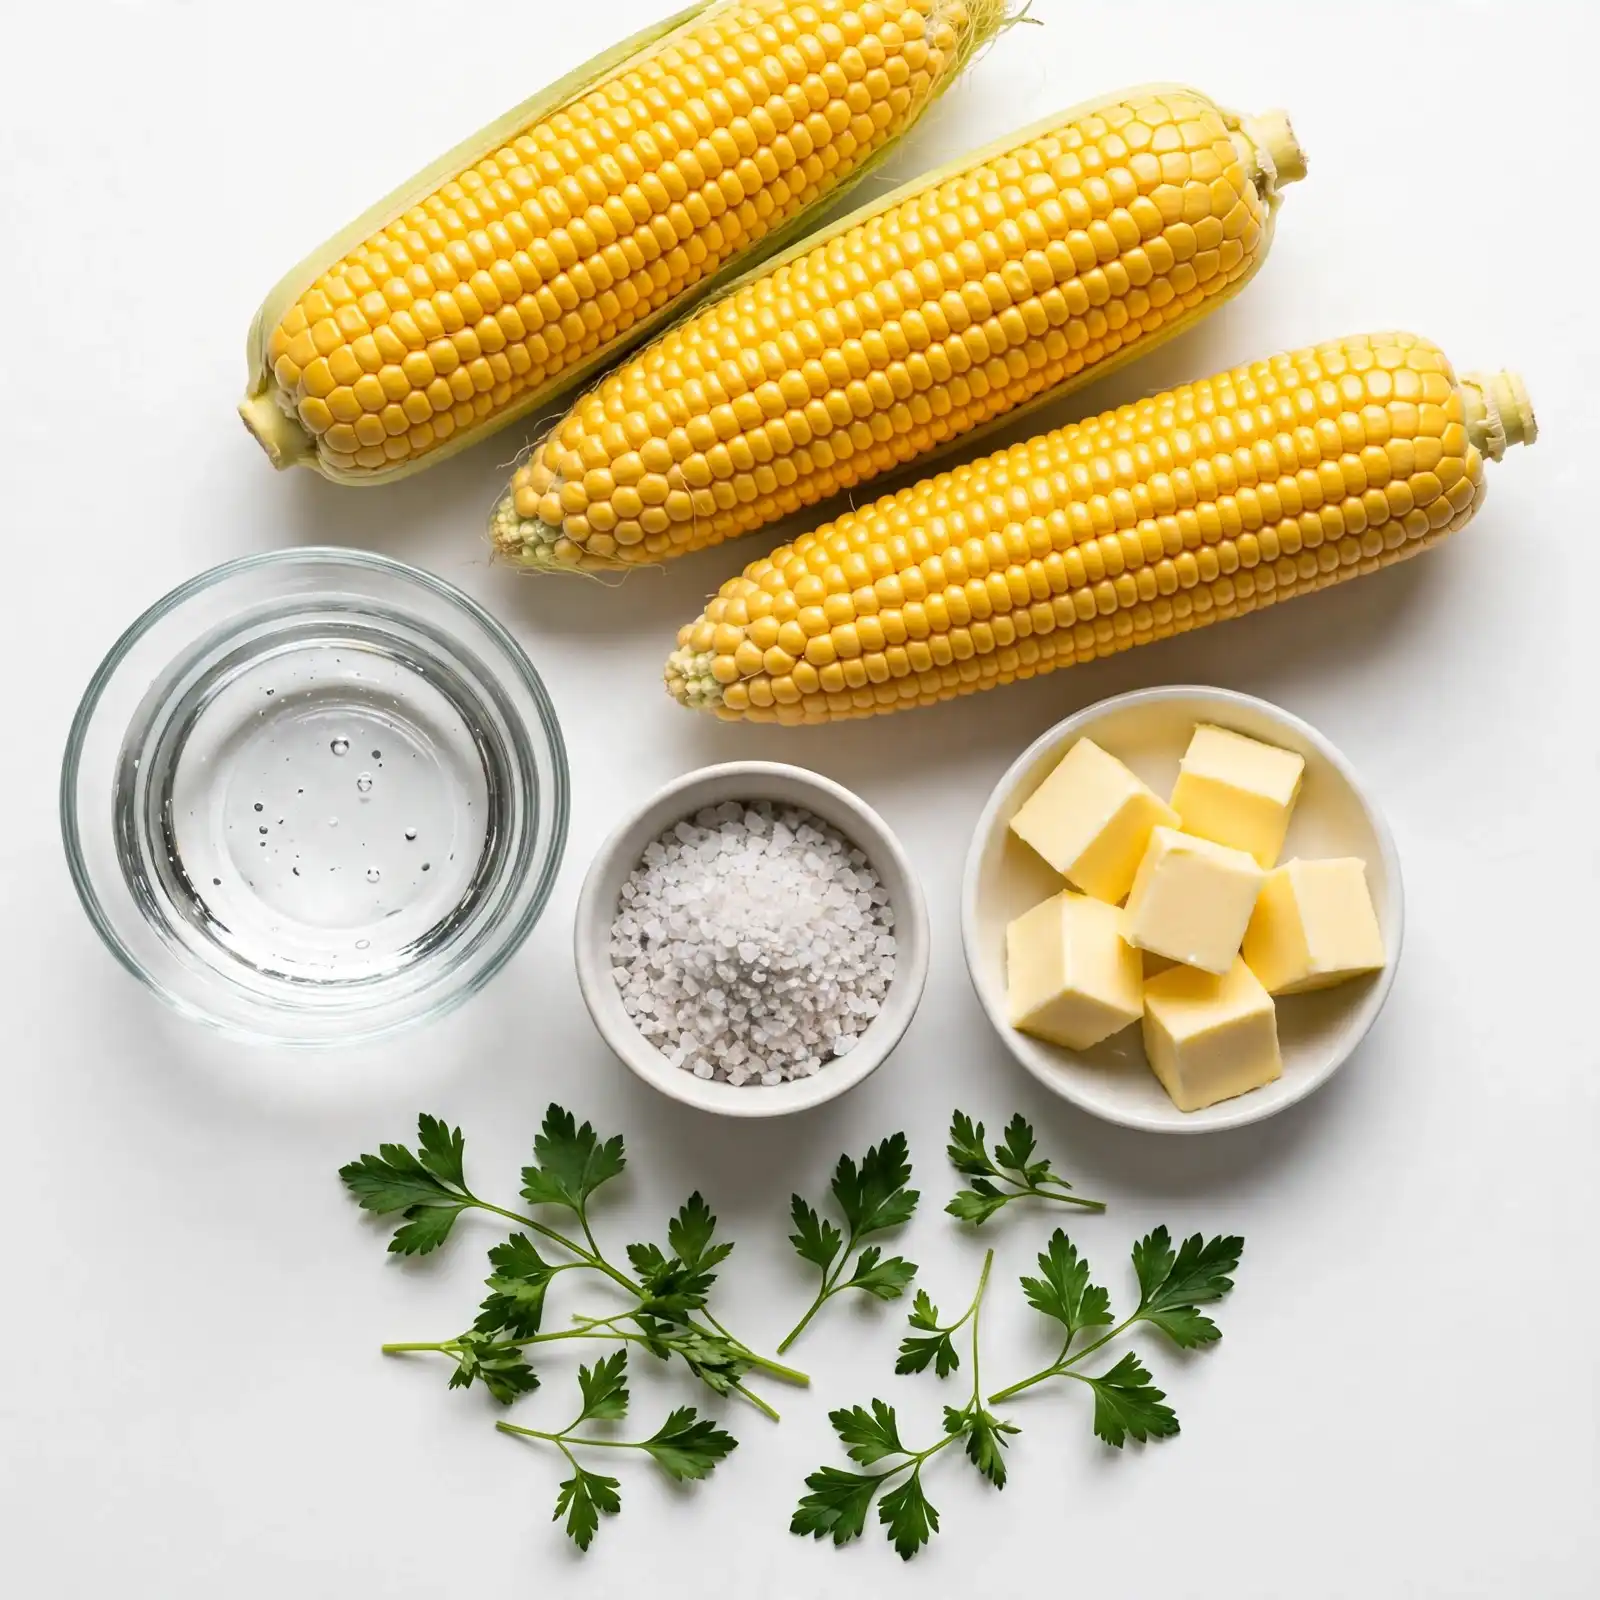
- 4 ears of fresh corn, husked and silk removed
- Water to fill a large pot (enough to fully submerge the corn)
- 1 tablespoon granulated sugar (optional — enhances natural sweetness)
- 1 tablespoon white vinegar (optional — keeps kernels tender and bright yellow)
For Finishing / Serving
- 3 tablespoons unsalted butter, softened (salted works too — just go lighter on added salt)
- 1 teaspoon flaky sea salt or kosher salt, to taste
- ½ teaspoon freshly cracked black pepper (optional)
- Fresh herbs for garnish: chopped parsley or chives (optional but lovely)
Optional Flavor Boosters
- 1 lime, cut into wedges (for a bright, citrusy finish)
- ½ teaspoon smoked paprika or chili powder (for a smoky kick)
- 2 tablespoons freshly grated Parmesan (for an Italian-inspired twist)
The butter melts into every crevice between those golden kernels, and the salt draws out all that natural sweetness hiding inside. Simple ingredients, maximum payoff.
How to Make Boiled Corn On The Cob — Step-by-Step
Step 1: Prep the Corn
Peel back the husks on each ear and remove all the silky strands — a damp paper towel works great for grabbing any stubborn threads. Once clean, snap or cut the ears in half if you’re serving a crowd or if your pot is on the smaller side. Don’t worry if a few silk strands remain — they’ll float right off in the boiling water.
Step 2: Fill and Heat the Pot
Place a large stockpot on the stove and fill it with enough cold water to fully submerge all your corn. Add the sugar and vinegar to the water if using — this is the little trick that keeps kernels bright, sweet, and perfectly tender. Bring the water to a rolling, vigorous boil over high heat.
Step 3: Add the Corn
Once the water is at a full boil, carefully lower the corn ears in using tongs. The water will dip in temperature for a moment — that’s completely normal. Don’t worry if the boil slows briefly; it will come right back up within a minute or two. Do not cover the pot.
Step 4: Boil to Tender Perfection
Cook the corn for 4 to 6 minutes depending on how fresh it is and how tender you like it. Very fresh summer corn needs only about 4 minutes; slightly older or larger ears may need the full 6. You’ll know it’s ready when the kernels turn a deeper golden-yellow and look plump and glossy. A fork should pierce a kernel easily but meet just a tiny bit of resistance — that’s your sweet spot.
Step 5: Butter and Season
Use tongs to lift the corn from the pot and place it on a serving platter or straight onto individual plates. Immediately roll each ear over a pat of softened butter — the heat from the corn will melt it in seconds and coat every kernel beautifully. Season with salt, crack some black pepper over the top, and add any of your optional finishers. Serve right away while it’s steaming hot.
Perfecting This Recipe
- Use the freshest corn you can find. Same-day farmers market corn makes a noticeable difference. The sugars in corn start converting to starch the moment it’s picked, so fresher always means sweeter.
- Don’t oversalt the boiling water. Unlike pasta water, corn doesn’t need salted water — salt can actually toughen the kernels. Add your seasoning after cooking.
- The sugar-vinegar trick is worth trying. A tablespoon of each in the water isn’t just an old wives’ tale — it genuinely brightens the flavor and helps maintain a beautiful golden color.
- Time it carefully. Four to six minutes is all you need. Beyond 7 or 8 minutes, kernels start to go starchy and lose their snap — pull it early rather than late.
- Butter immediately. The butter needs heat to melt and soak in properly. Waiting even a few minutes means it sits on top instead of coating the kernels.
- Rest and roll. If you’re serving several ears, arrange them on a platter and let everyone butter their own — it’s part of the experience.
Common Mistakes to Avoid
- Starting corn in cold water — Always add corn to already-boiling water, not cold. Starting cold means uneven cooking and a waterlogged texture by the time the center is done.
- Cooking it too long — This is the most common mistake. Past 6–7 minutes, the kernels become dense and starchy rather than sweet and juicy. Set a timer and don’t walk away.
- Salting the boiling water — It feels natural since we salt pasta water, but salt draws moisture out of corn and can make the skin of each kernel tough and chewy. Season after, not during.
- Skipping the butter at peak heat — Room temperature butter on piping hot corn creates a coating effect you just can’t replicate on cooled corn. Don’t delay.
- Using old or refrigerated corn without adjusting time — Corn that’s been sitting a few days or stored in the fridge needs an extra minute or two. Taste-test a kernel before pulling the whole batch.
Add Your Touch
- Mexican street corn style: Roll the hot boiled corn in a thin layer of mayonnaise, then dust with cotija cheese, chili powder, and a squeeze of lime.
- Garlic herb butter: Mix softened butter with roasted garlic, chopped parsley, and a pinch of lemon zest before spreading over the corn.
- Smoky paprika finish: A dusting of smoked paprika and a drizzle of olive oil gives it a subtle, campfire-inspired depth.
- Parmesan and black pepper: Grate fresh Parmesan over buttered corn and crack lots of black pepper over the top for an Italian-inspired take.
- Honey butter sweetness: Blend honey into your butter for a caramelized-sweet finish that’s especially good on corn for kids.
- Seasonal herb swap: Try fresh basil in summer, rosemary in fall, or dill alongside any seafood-forward meal.
Visit Also: Sweet And Sour Sauce Recipe
What to Serve With This
- Grilled or baked chicken — A natural pairing; the corn’s sweetness balances savory, charred chicken beautifully.
- Beef burgers or veggie burgers — Corn on the side of a burger is a full summer meal without even trying.
- A crisp green salad — Something light and acidic alongside the richness of buttered corn keeps the plate balanced.
- Baked beans — A classic combo that works at every backyard gathering without fail.
- Lemonade or iced tea — Cold, sweet drinks are the ideal partner to hot, buttery how to boil corn results fresh off the stove.
Storing and Serving
Fridge:
Store leftover cooked corn (on or off the cob) in an airtight container or wrapped tightly in foil. It keeps well in the refrigerator for up to 3 days.
Freezer:
Allow the corn to cool completely, then wrap individual ears in plastic wrap and place them in a zip-top freezer bag. Frozen corn on the cob keeps for up to 3 months with good quality. Thaw overnight in the fridge before reheating.
Reheating:
Wrap the corn in a damp paper towel and microwave for 1 to 2 minutes, or drop it back into boiling water for 2–3 minutes. The microwave method works surprisingly well and keeps the kernels from drying out.
Make-Ahead Tip:
You can boil the corn up to an hour ahead of serving and keep it warm in a pot of hot (not boiling) water with the heat on the lowest setting. Butter and season just before serving.
Servings:
This recipe serves 4 (one ear per person), but it scales up or down perfectly — simply adjust the number of ears and keep the same timing.
Nutrition (Approximate Per Serving)
- Calories: 155
- Total Fat: 7g
- Saturated Fat: 4g
- Carbohydrates: 22g
- Sugar: 6g
- Protein: 3g
- Sodium: 310mg
Nutritional values are approximate and may vary based on specific ingredients and brands used.
Chef’s Helpful Tips
- Room temperature butter matters. Cold butter won’t coat the hot corn evenly — it slides right off. Take it out of the fridge at least 20 minutes before serving.
- Taste-test before the timer runs out. Every ear of corn is slightly different. Pull a kernel with a fork around the 4-minute mark and taste it — you’ll know immediately if it needs more time.
- For clean, easy serving: Use a kitchen towel to hold the hot ear steady, then use tongs or a fork to keep it in place. No burns, no mess.
- Buy corn the day you plan to cook it. The difference in sweetness between day-of and two-day-old corn is genuinely striking — worth the extra grocery trip.
- If kernels are wrinkled or tough after cooking: The corn was likely old or slightly overcooked. Next time, pull it a minute earlier and check freshness before buying.
Frequently Asked Questions
Q1. Can I add milk or butter directly to the boiling water?
You absolutely can — some cooks swear by adding a splash of milk and a tablespoon of butter to the boiling water for extra richness and flavor. It won’t dramatically change the outcome, but it adds a subtle creaminess to the kernels that’s worth trying if you’re feeling adventurous.
Q2. How do I know when the corn is done without tasting it?
Look for kernels that have turned a deeper, more saturated golden-yellow and appear visibly plumped. You can also press a kernel gently with a fingernail — if a small amount of juice releases, it’s done. If it’s still pale and firm, give it another minute.
Q3. Is boiled corn on the cob beginner-friendly?
It’s about as beginner-friendly as a recipe gets. You’re boiling water and timing it — that’s the whole technique. If you’ve ever made instant noodles, you have everything it takes to nail this recipe perfectly.
Q4. Can I make this ahead for a party or potluck?
Absolutely. Boil the corn up to an hour before your guests arrive and keep it warm in a covered pot with the burner on the lowest heat. Or cook it fully, wrap individual ears in foil, and keep them in a warm oven (200°F / 93°C) for up to 45 minutes without any loss of quality.
Q5. Can I freeze leftover boiled corn on the cob?
Yes — wrap cooled ears individually in plastic wrap, bag them, and freeze for up to 3 months. The texture after thawing is slightly softer than fresh but still great for soups, salads, or a quick reheated side. Just thaw overnight in the fridge and reheat gently.
Conclusion
There’s a reason boiled corn on the cob has held its place on summer tables for generations — it’s honest, comforting food that never asks too much of you and always delivers exactly what you’re hoping for. No gadgets, no complicated techniques, no hour-long prep. Just fresh corn, a pot of boiling water, and a little butter doing exactly what it was always meant to do.
So the next time you spot those beautiful ears at the farmers market or grocery store, grab a few extra. Try the sugar-vinegar trick. Let the butter melt into the kernels while they’re still steaming. Add your own finishing touch — smoky paprika, a squeeze of lime, a handful of fresh herbs — and make this recipe yours. Then set it on the table, pass the napkins, and watch how fast it disappears.
Classic Boiled Corn On The Cob
Course: Trending Recipes4
servings5
minutes4
minutes155 per serving
kcal10
minutesTender, juicy, and bursting with natural sweetness, this boiled corn on the cob is the ultimate fuss-free summer side dish. Ready in under 15 minutes and endlessly customizable with your favorite butters and toppings.
Ingredients
Boiling Base:
4 ears of fresh corn, husked and silk removed
Water to fill a large pot
1 tablespoon granulated sugar (optional)
1 tablespoon white vinegar (optional)
For Finishing:
3 tablespoons unsalted butter, softened
1 teaspoon flaky sea salt or kosher salt, to taste
½ teaspoon freshly cracked black pepper (optional)
Fresh herbs for garnish (optional)
Optional Flavor Boosters:
1 lime, cut into wedges
½ teaspoon smoked paprika or chili powder
2 tablespoons freshly grated Parmesan
Directions
- Husk the corn and remove all silk strands. Snap or cut in half if needed.
- Fill a large stockpot with water. Add sugar and vinegar if using. Bring to a full rolling boil over high heat.
- Add corn to the boiling water using tongs. Do not cover the pot.
- Boil for 4 to 6 minutes until kernels are golden, plump, and pierce easily with a fork.
- Remove with tongs. Immediately roll over softened butter, season with salt, and serve hot.