The Homemade Easy Pizza Dough That Makes Every Pizza Night Unforgettable
Friday evenings in our house had a ritual. My mom would pull out a battered ceramic bowl, dust the counter with flour, and start kneading — and somehow, just the smell of yeast blooming in warm water was enough to make us all wander into the kitchen without being called. That dough meant something good was coming, and it never disappointed.
This easy pizza dough delivers a crust that’s golden and crisp on the outside, tender and chewy in the middle, with just enough stretch to satisfy that pull when you lift a slice. It bubbles beautifully in the oven, develops those gorgeous browned spots underneath, and holds up under a generous pile of toppings without turning soggy or brittle. It smells like a real pizzeria — warm, yeasty, and deeply comforting.
Whether you’re feeding a crowd at a weekend gathering, turning a busy Tuesday into something worth sitting down for, or hosting a pizza-making night with kids, this homemade pizza dough recipe fits every occasion. It also doubles easily for larger batches, and once you’ve made it, you’ll reach for it every single time. Naturally, this recipe pairs perfectly with any sauce and topping combination you love — but first, let’s talk about why this particular dough works so well.
Why You’ll Love This Recipe
It Comes Together in Minutes
The active prep time here is barely 10 minutes. You mix, you knead briefly, you let the dough rest — and the yeast does all the heavy lifting for you. No special equipment is required, and you don’t need a stand mixer to get a beautiful result.
The Texture Is Perfectly Balanced
You get that ideal chew that great pizza is known for, without the crust being tough or bready. The outside crisps up in the oven while the interior stays soft, airy, and just slightly dense in the best possible way.
It Uses Pantry Staples Only
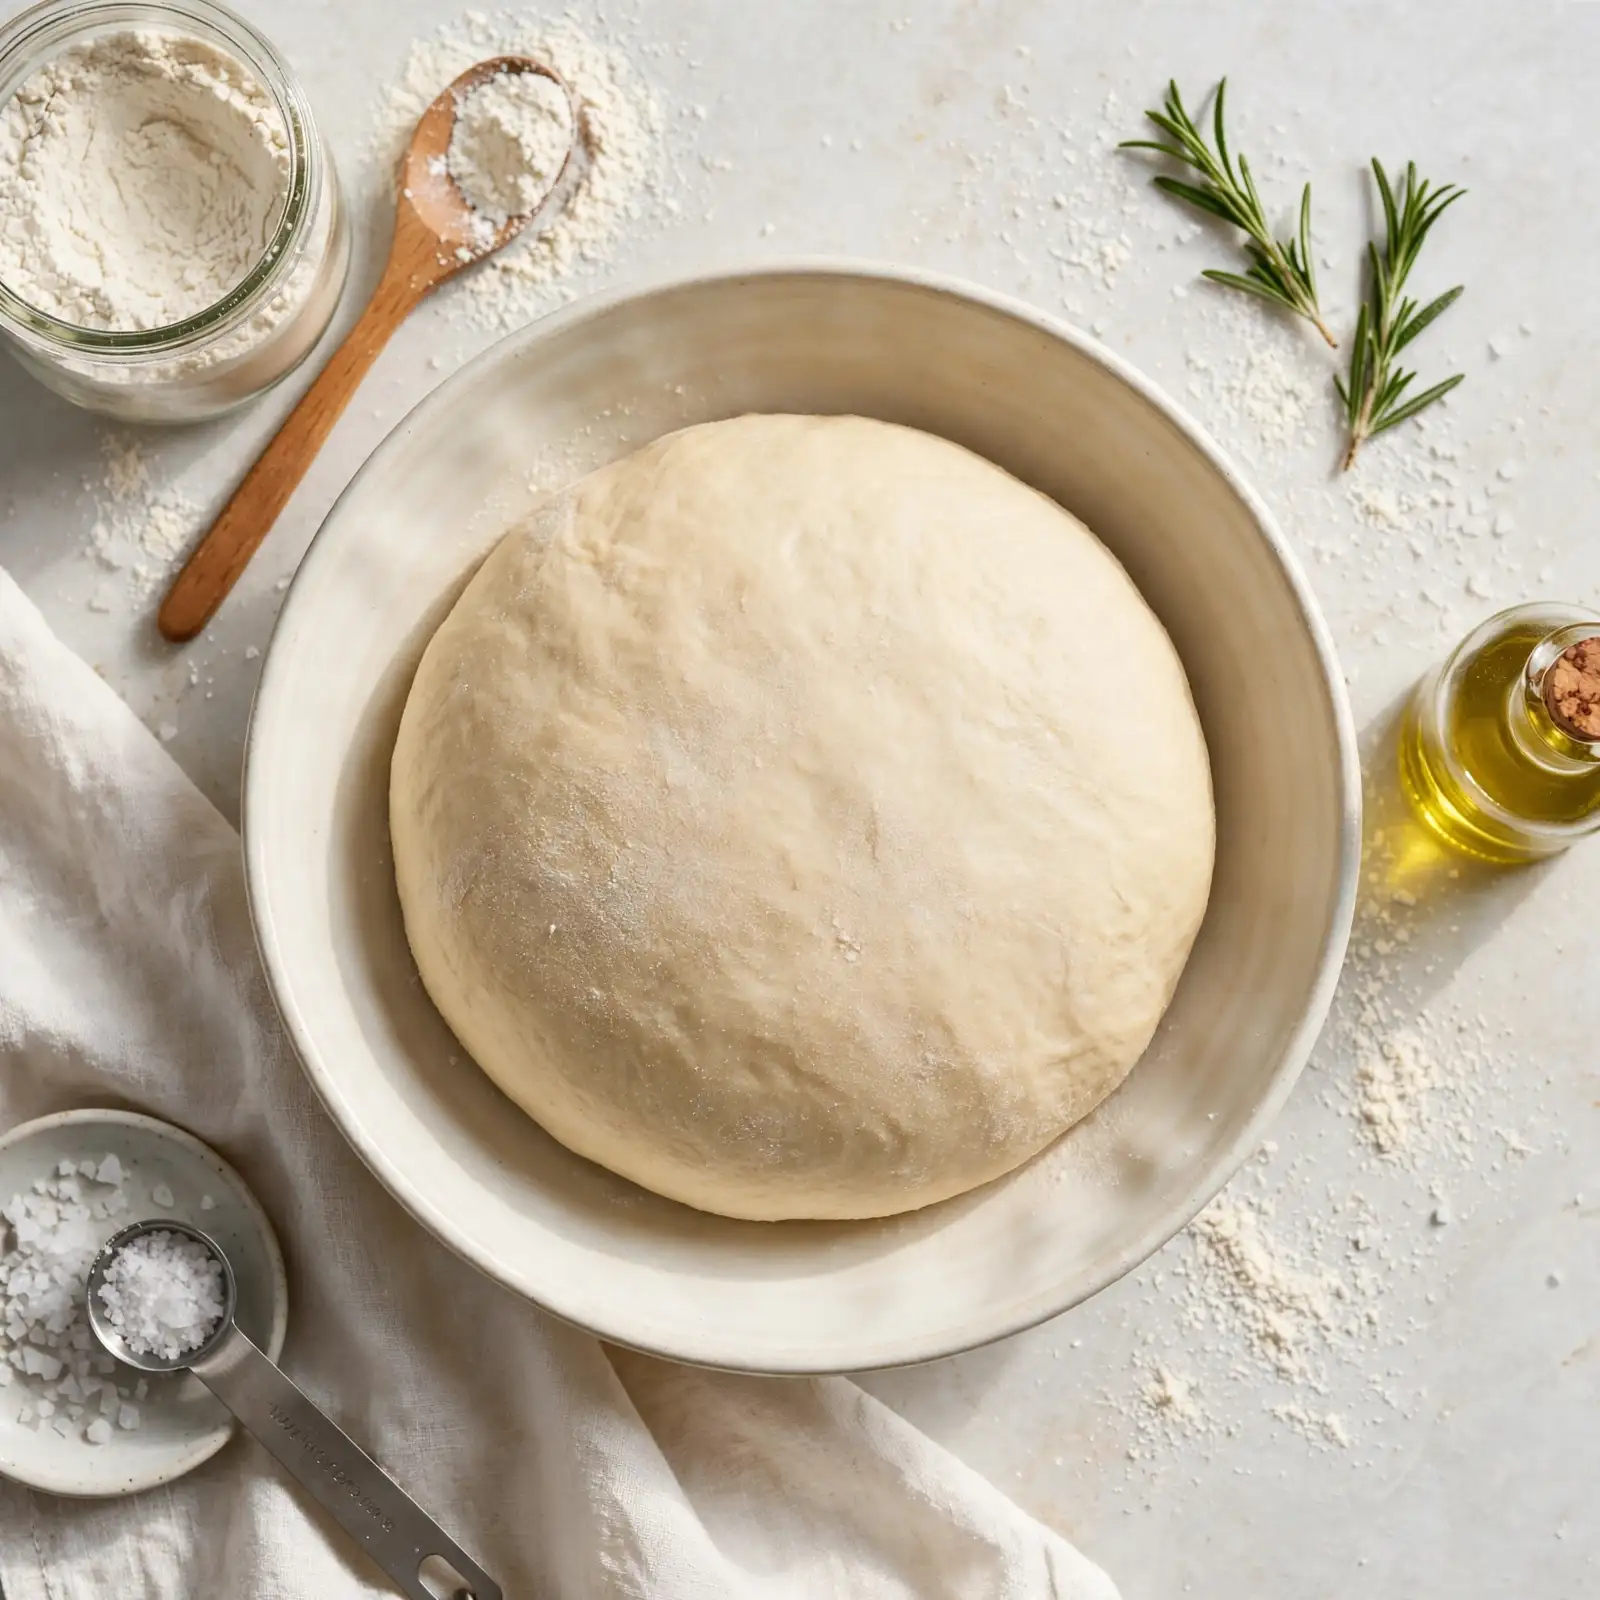
There’s nothing exotic on the ingredient list — just flour, yeast, salt, olive oil, sugar, and warm water. Chances are you already have everything you need right now, sitting in your kitchen, waiting to become something delicious.
It’s Completely Foolproof for Beginners
Even if you’ve never worked with yeast before, this recipe is designed to guide you through every step with confidence. The dough is forgiving, the technique is straightforward, and the results are consistently excellent regardless of your skill level.
Endlessly Customizable
This dough works as a classic thin crust, a thicker pan-style base, or even rolled into calzones or stromboli. It’s truly a blank canvas that welcomes every topping, sauce, and flavor direction you want to take it.
Ingredients
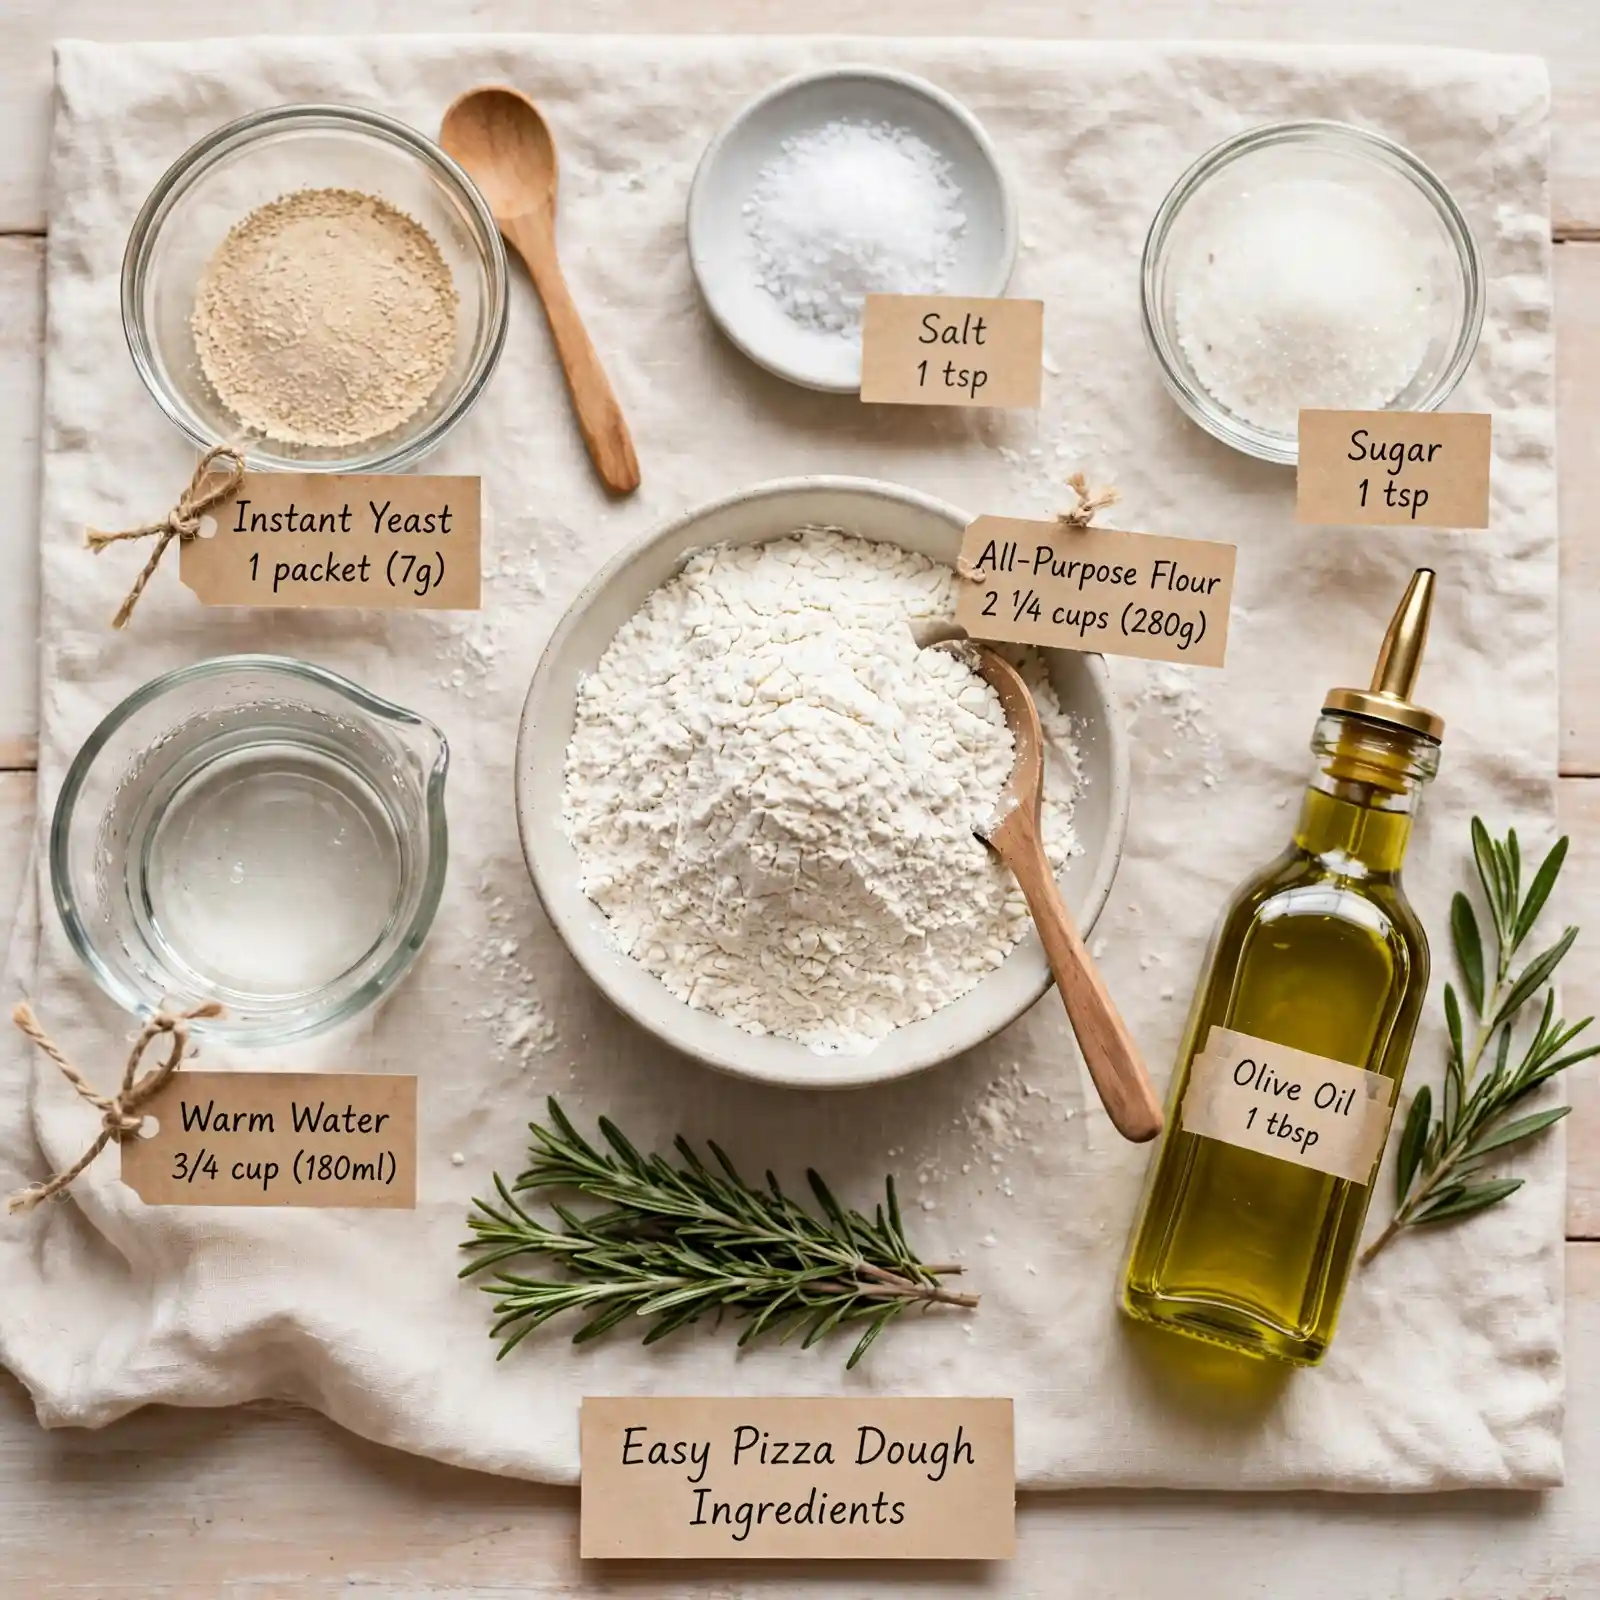
For the Dough Base
- 2¼ tsp active dry yeast (one standard packet)
- 1 tsp granulated sugar
- ¾ cup warm water (around 110°F — warm to the touch but not hot)
- 2 cups all-purpose flour, plus more for dusting (bread flour also works for a chewier texture)
- 1 tsp fine sea salt
- 2 tbsp olive oil (extra virgin preferred for flavor)
For Stretching and Shaping
- 2–3 tbsp extra flour for dusting the work surface
- 1 tbsp olive oil for coating the bowl during rise
For the Pan (Optional but Recommended)
- 1 tbsp cornmeal or semolina (for dusting the baking sheet — gives a slight crunch on the bottom)
- Light drizzle of olive oil for the pan
The flour gives structure, the yeast provides lift and that characteristic flavor, and the olive oil keeps everything tender and rich. Together, they create a dough that handles easily, rises reliably, and bakes into a crust that genuinely tastes homemade in the very best way.
How to Make Easy Pizza Dough — Step-by-Step
Step 1: Wake Up the Yeast
Add the warm water and sugar to a large mixing bowl and sprinkle the yeast over the top. Give it a gentle stir and let it sit for 5 to 10 minutes. You’re looking for a foamy, slightly frothy surface — that means your yeast is alive and active. Don’t worry if it takes the full 10 minutes; some yeast blooms a little slower depending on room temperature.
Step 2: Mix the Dough
Add the olive oil and salt to the yeast mixture and stir to combine. Add the flour one cup at a time, mixing with a wooden spoon or your hands until a shaggy dough forms. It will look rough and a little uneven at this stage — that’s completely expected and totally fine.
Step 3: Knead Until Smooth
Turn the dough out onto a lightly floured surface and knead for 6 to 8 minutes. You’re working toward a dough that’s smooth, elastic, and just slightly tacky — it should spring back slowly when you poke it with a finger. Don’t worry if it feels a little sticky at first; resist the urge to add too much extra flour, as that can toughen the final crust.
Step 4: Let the Dough Rise
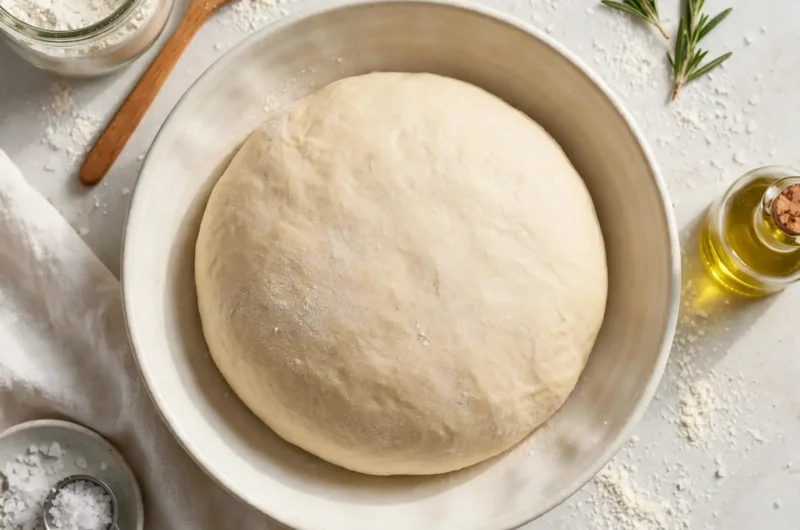
Shape the dough into a ball and place it in a lightly oiled bowl, turning it once so all sides are coated. Cover the bowl with a clean kitchen towel or plastic wrap and set it in a warm, draft-free spot. Let it rise for 45 minutes to 1 hour, until it has roughly doubled in size. The dough will smell pleasantly yeasty and feel light and airy when you press it gently.
Step 5: Shape and Top Your Pizza
Punch the dough down gently to release the gas, then transfer it to a lightly floured surface. Use your hands or a rolling pin to stretch and shape it into your desired size — a 12-inch round works well for this quantity. Transfer to your prepared baking sheet, add your sauce and toppings, and bake in a preheated oven at 475°F for 12 to 15 minutes, until the crust is golden and the edges are puffed and lightly browned.
Perfecting This Recipe
- Use water that’s warm but not hot — anything above 120°F will kill the yeast before it can do its job.
- Let the dough rise in your oven with just the oven light on; the gentle warmth creates the perfect proofing environment.
- Don’t rush the rise. A longer, slower rise actually develops better flavor and a more complex texture.
- Stretch the dough by hand rather than using a rolling pin when possible — this preserves some of the air bubbles and gives you a lighter crust.
- Preheat your baking sheet or pizza stone in the oven before placing the dough on it; starting on a hot surface gives the bottom immediate crispness.
- Avoid overloading with toppings — a thinner layer of sauce and a restrained amount of cheese allows the crust to bake through properly and stay crisp.
- If your dough keeps springing back when you try to stretch it, cover it and let it rest for 5 minutes. The gluten just needs a moment to relax.
Common Mistakes to Avoid
- Using water that’s too hot — Water above 120°F kills the yeast entirely, and you’ll end up with a dense, flat dough that never rises. Always test the water on your wrist; it should feel pleasantly warm, not hot.
- Skipping the proofing step — Rushing past the rise results in a dough that’s tight, chewy in the wrong way, and won’t develop the flavor or texture you’re after. That resting time is not optional.
- Adding too much flour during kneading — A slightly sticky dough is normal and correct. Over-flouring leads to a dry, stiff crust that bakes up tough rather than tender.
- Not preheating the oven high enough — Pizza needs high heat to blister the crust and set quickly. Baking at a low temperature gives you a pale, soft crust instead of the golden, slightly charred result you’re looking for.
- Stretching cold dough straight from the fridge — If you’ve made the dough ahead and refrigerated it, always let it come to room temperature for at least 30 minutes before shaping. Cold dough resists stretching and can tear easily.
Add Your Touch
- Stir a teaspoon of dried Italian herbs, garlic powder, or red pepper flakes directly into the dough for extra flavor in every bite.
- Swap up to half the all-purpose flour for whole wheat flour for a slightly nutty, heartier crust.
- Brush the outer crust edge with garlic butter right before baking for a restaurant-worthy finish.
- For a no-knead pizza dough variation, mix the ingredients, cover, and let it cold-rise in the refrigerator overnight — the flavor deepens significantly with time.
- Try adding a tablespoon of honey instead of sugar for a subtly sweet note that plays beautifully with salty toppings.
- Use this same dough rolled thin and cracker-crisp for a white pizza base, or rolled thicker for a Detroit-style pan pizza.
Visit Also: Instant Pot Baked Potatoes
What to Serve With This
- A simple arugula salad with lemon vinaigrette — the peppery bitterness balances the richness of melted cheese beautifully.
- Garlic knots made from leftover dough — brush with butter and herbs and bake alongside your pizza for an easy crowd-pleaser.
- A chilled Aperol spritz or sparkling water with citrus — light and refreshing against a hearty, cheesy slice.
- Tomato soup — classic pairing, especially cozy in the colder months with a cheese-heavy pizza.
- A charcuterie board — for pizza nights with company, lay out meats, olives, and pickled vegetables to snack on while the pizza bakes.
Storing and Serving
Fridge:
Wrap the risen dough tightly in plastic wrap or store it in a zip-lock bag with the air squeezed out. It keeps well in the refrigerator for up to 3 days. The flavor actually improves with a longer cold rest.
Freezer:
After the first rise, punch down the dough, wrap it tightly in plastic wrap, then place in a freezer bag. It freezes beautifully for up to 3 months. Thaw overnight in the refrigerator and let it come to room temperature before shaping.
Reheating:
Leftover baked pizza reheats best in a skillet over medium heat with a lid on for 3 to 4 minutes — the bottom crisps up and the cheese melts evenly without the crust becoming rubbery. The microwave works in a pinch but softens the crust.
Make-Ahead Tip:
Make the dough the night before, let it rise at room temperature for 1 hour, then refrigerate. Pull it out 30 to 45 minutes before you plan to bake for a stress-free pizza night.
Servings:
This recipe makes enough dough for one 12-inch pizza, serving approximately 2 to 3 people. Double the recipe easily for two pizzas or a larger crowd.
Nutrition (Approximate Per Serving — Based on ⅓ of Dough, Crust Only)
- Calories: 240
- Total Fat: 6g
- Saturated Fat: 1g
- Carbohydrates: 40g
- Sugar: 1g
- Protein: 6g
- Sodium: 390mg
Nutritional values are approximate and may vary based on specific ingredients and brands used.
Chef’s Helpful Tips
- Bring your olive oil to room temperature before mixing — it incorporates more evenly into the dough and doesn’t shock the yeast in cold weather.
- If the dough isn’t rising after 30 minutes, move it somewhere warmer. A sunny windowsill or the top of a warm oven works perfectly.
- Dust your hands and surface with flour, not the dough itself, to control stickiness without drying out the dough ball.
- For clean, even portioning when making multiple smaller pizzas, weigh the dough on a kitchen scale and divide by grams rather than eyeballing it.
- If your baked crust turns out too dense, the culprit is almost always under-proofed dough or expired yeast — always check the expiration date on your yeast packet before you begin.
Frequently Asked Questions
Q1. Can I make this dough without a stand mixer?
Absolutely — and honestly, this recipe is designed for hands-on kneading. No stand mixer, no bread machine, no special equipment needed at all. Your hands are the best tool for feeling when the dough has reached the right texture.
Q2. Can I use instant yeast instead of active dry yeast?
Yes, and you can skip the proofing step if you do. Just mix the instant yeast directly with the dry ingredients and proceed — instant yeast activates without needing to bloom first in warm water.
Q3. I’ve never worked with yeast before. Is this beginner-friendly?
It really is. The key things to remember are warm (not hot) water, enough rise time, and not adding too much flour. If your water feels comfortable on your wrist and your dough doubles in size, you’ve done everything right.
Q4. Can I make this ahead for a party or potluck?
This pizza dough recipe is one of the best make-ahead options you can choose. Make it up to two days in advance, store the dough in the refrigerator, and shape it the day of — the slow cold rise actually gives you even better flavor with zero extra effort.
Q5. Can I freeze this dough?
Yes, it freezes exceptionally well for up to 3 months. Freeze it after the first rise, fully wrapped, and thaw it overnight in the refrigerator. Let it sit at room temperature for about 30 to 45 minutes before stretching and it’ll behave just like fresh dough.
Conclusion
There’s a quiet kind of magic in making your own pizza dough from scratch — not because it’s complicated, but because it isn’t. It’s just a few humble ingredients, a little patience, and the reward of pulling something genuinely beautiful out of your own oven. This easy pizza dough has become a staple in countless home kitchens because it’s approachable enough for a Tuesday and impressive enough for company, and it never fails to deliver exactly the kind of crust you’re imagining.
Make it yours. Stretch it thin for a cracker-crisp bite, pile it with your favorite toppings, or hand a piece of dough to a child and let them go wild — it’s resilient enough to handle all of it. However you serve it, whoever you share it with, this is the kind of recipe that becomes part of your kitchen story. I hope it becomes part of yours too.
Easy Homemade Pizza Dough
Course: Trending Recipes2–3
servings10
minutes12
minutes240 per serving (crust only)
kcal45–60
minutes1
hour25
minutesA simple, foolproof pizza dough with the perfect chewy texture and golden crust — ready in about an hour and endlessly customizable for any topping combination you love. Ideal for weeknight dinners, family pizza nights, or anytime the craving strikes.
Ingredients
Dough Base:
2¼ tsp active dry yeast
1 tsp granulated sugar
¾ cup warm water (110°F)
2 cups all-purpose flour, plus more for dusting
1 tsp fine sea salt
2 tbsp olive oil
For Shaping:
2–3 tbsp flour for dusting
For the Pan:
1 tbsp cornmeal or semolina (optional)
Light drizzle of olive oil
Directions
- Combine warm water and sugar in a large bowl. Sprinkle yeast over the top and let sit 5–10 minutes until foamy.
- Stir in olive oil and salt. Add flour one cup at a time, mixing until a shaggy dough forms.
- Knead on a floured surface for 6–8 minutes until smooth and elastic.
- Place dough in an oiled bowl, cover, and let rise in a warm spot for 45–60 minutes until doubled.
- Punch down, shape into a 12-inch round on a floured surface, and transfer to a prepared baking sheet.
- Top as desired and bake at 475°F for 12–15 minutes until the crust is golden and edges are puffed.