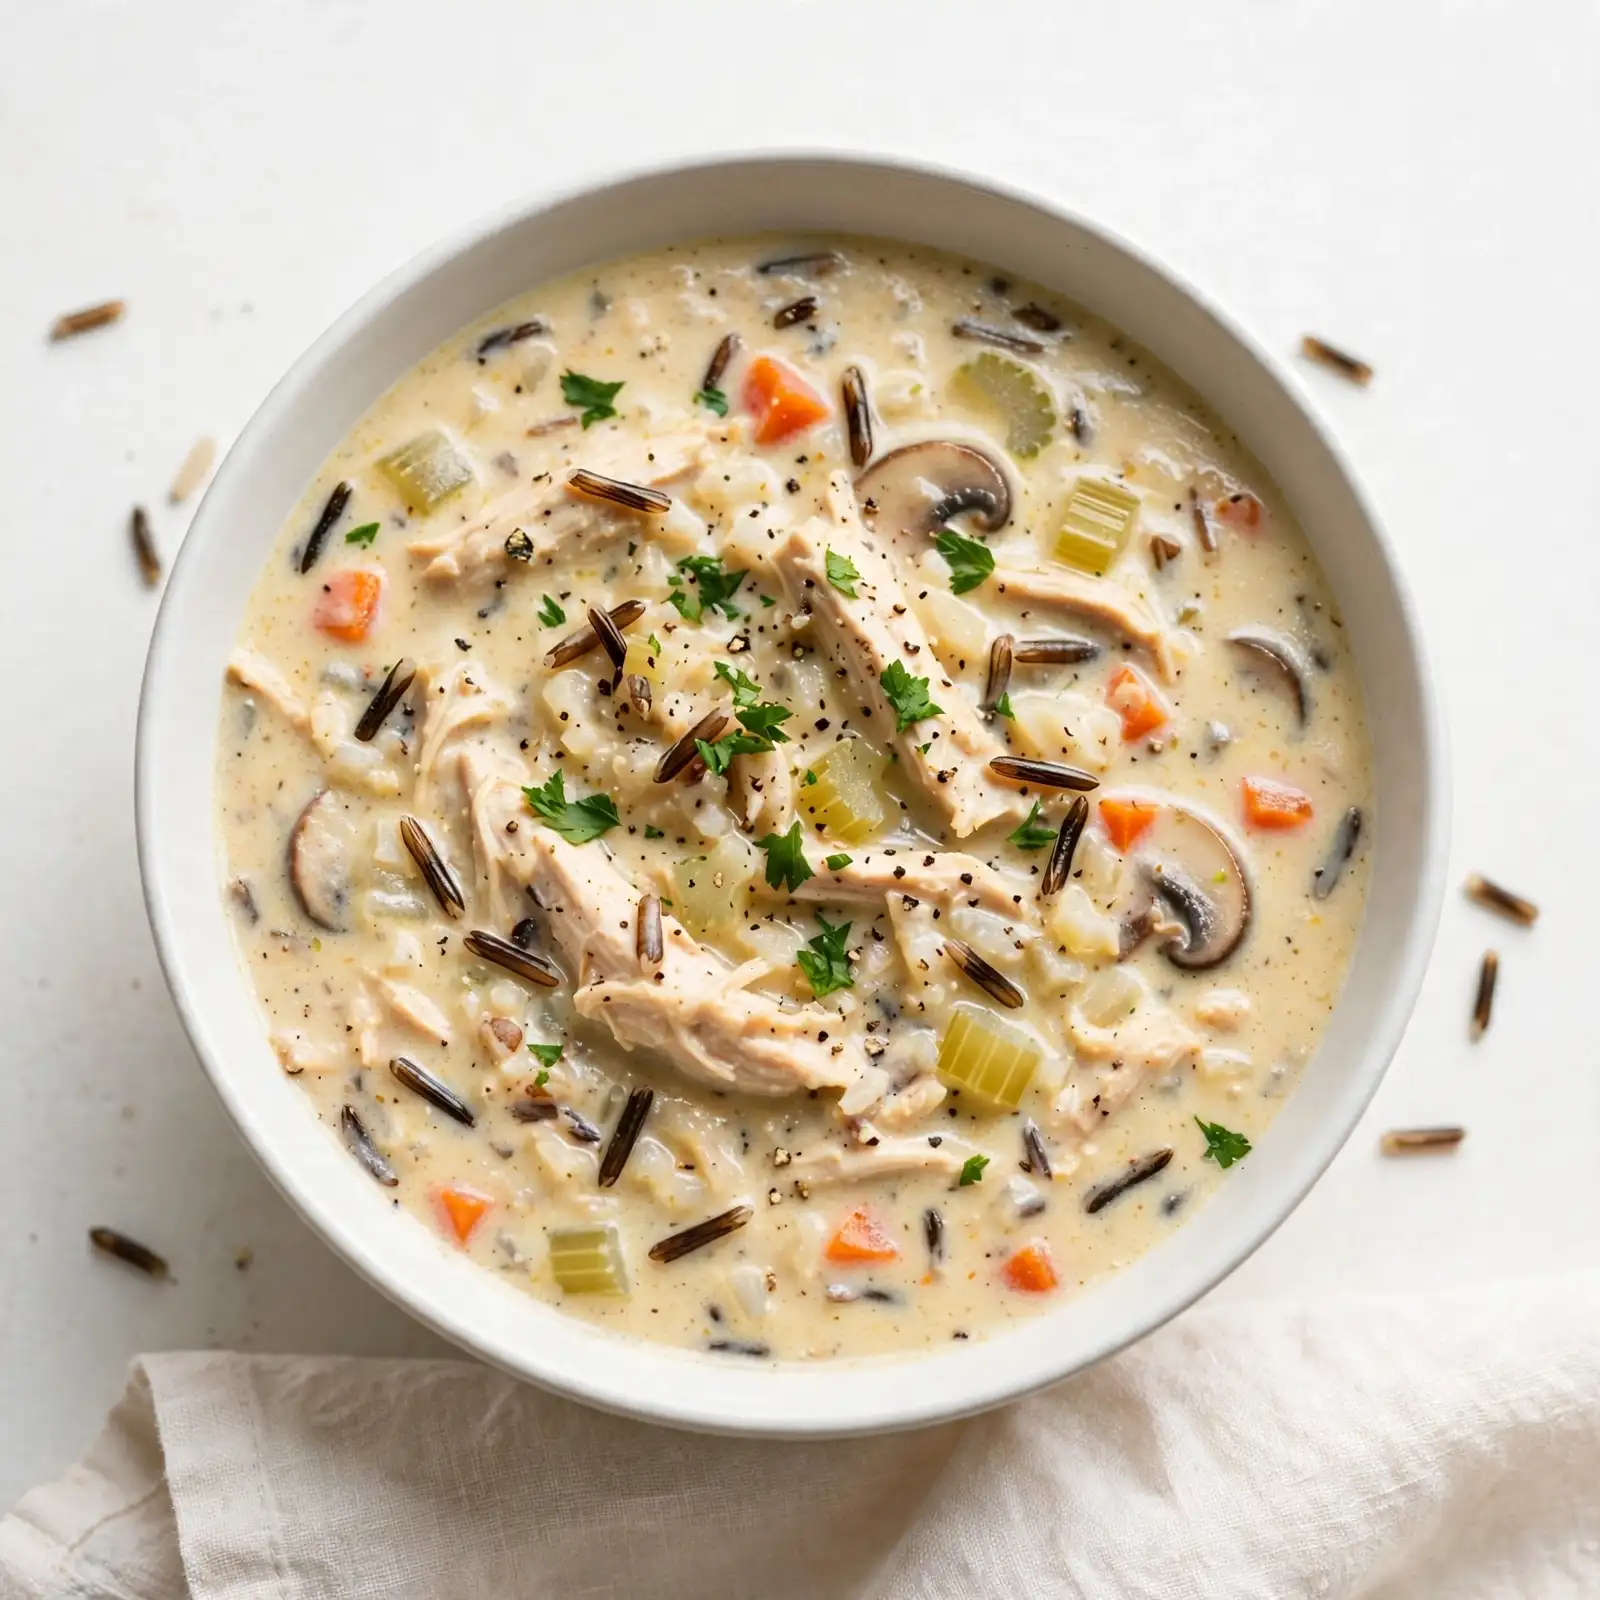
Perfectly Fluffy Homemade Rice That Turns Out Right Every Single Time
The first time I stood over a pot of sticky, gluey rice I’d completely ruined, I remember thinking — how is something so simple this hard? I’d added too much water, lifted the lid too early, and stirred it like I was making risotto. It looked like porridge. It tasted worse. That was the moment I decided to figure out how to cook rice the right way, once and for all.
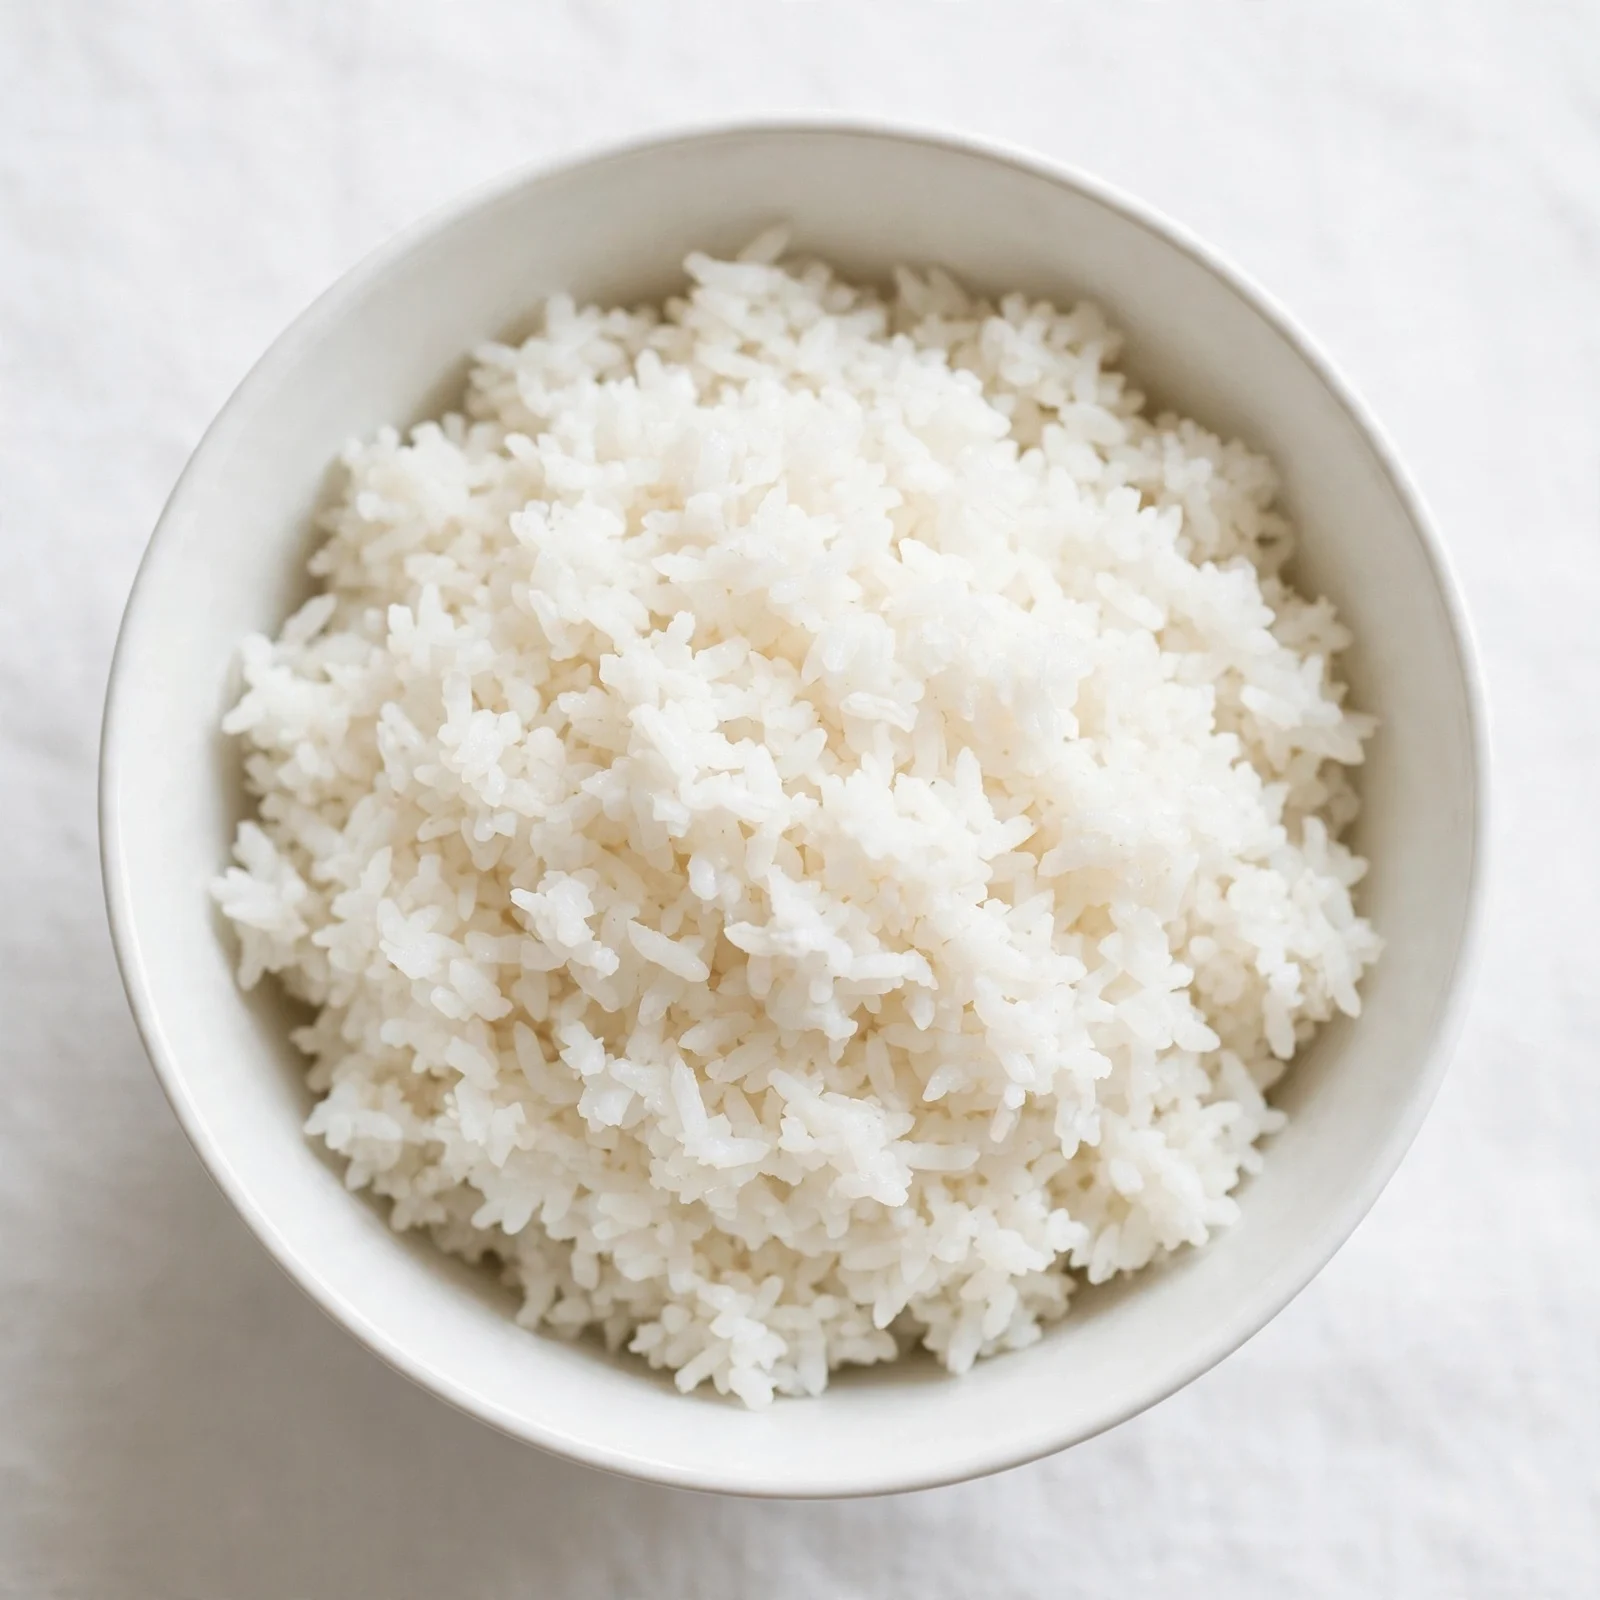
There’s a reason rice is the foundation of cuisines from Tokyo to Tunis to Texas. When it’s done right, each grain is separate, tender, and impossibly light — with a faint nutty fragrance that fills the kitchen as the steam lifts off the pot. The texture is soft without being mushy, firm without being chalky. It’s the kind of rice that makes every dish around it taste better just by being there.
Whether you’re making it as a base for a quick weeknight stir-fry, serving it alongside a slow-cooked curry, or meal prepping a big batch on Sunday afternoon, this perfect rice recipe delivers every time. It works for dinner parties, family meals, and lazy solo lunches alike. Once you nail this method, you’ll wonder how you ever ate anything else. Let’s get into it.
Why You’ll Love This Recipe
It’s Practically Foolproof
This method removes all the guesswork. The ratio, the timing, and the resting step are all dialed in so that even complete beginners walk away with a pot they’re proud of. No rice cooker required.
The Texture Is Spot-On Every Time
You get individual, fluffy grains — not a clumped, sticky mess. The technique controls moisture absorption so each grain cooks evenly from edge to center without turning to mush.
Incredibly Versatile
Once you know how to cook rice this way, it becomes your blank canvas. Serve it plain, season it with butter and salt, or build it into bowls, burritos, soups, and salads. It fits every occasion.
Fast and Budget-Friendly
This is a 20-minute recipe made with pantry staples you already own. There’s no special equipment, no fancy ingredients, and no subscription box required. Just rice, water, and a lid.
Works for the Whole Family
Kids love it, picky eaters accept it, and guests appreciate it. It’s the kind of reliable side dish that quietly saves dinner on even the most chaotic weeknights.
Ingredients
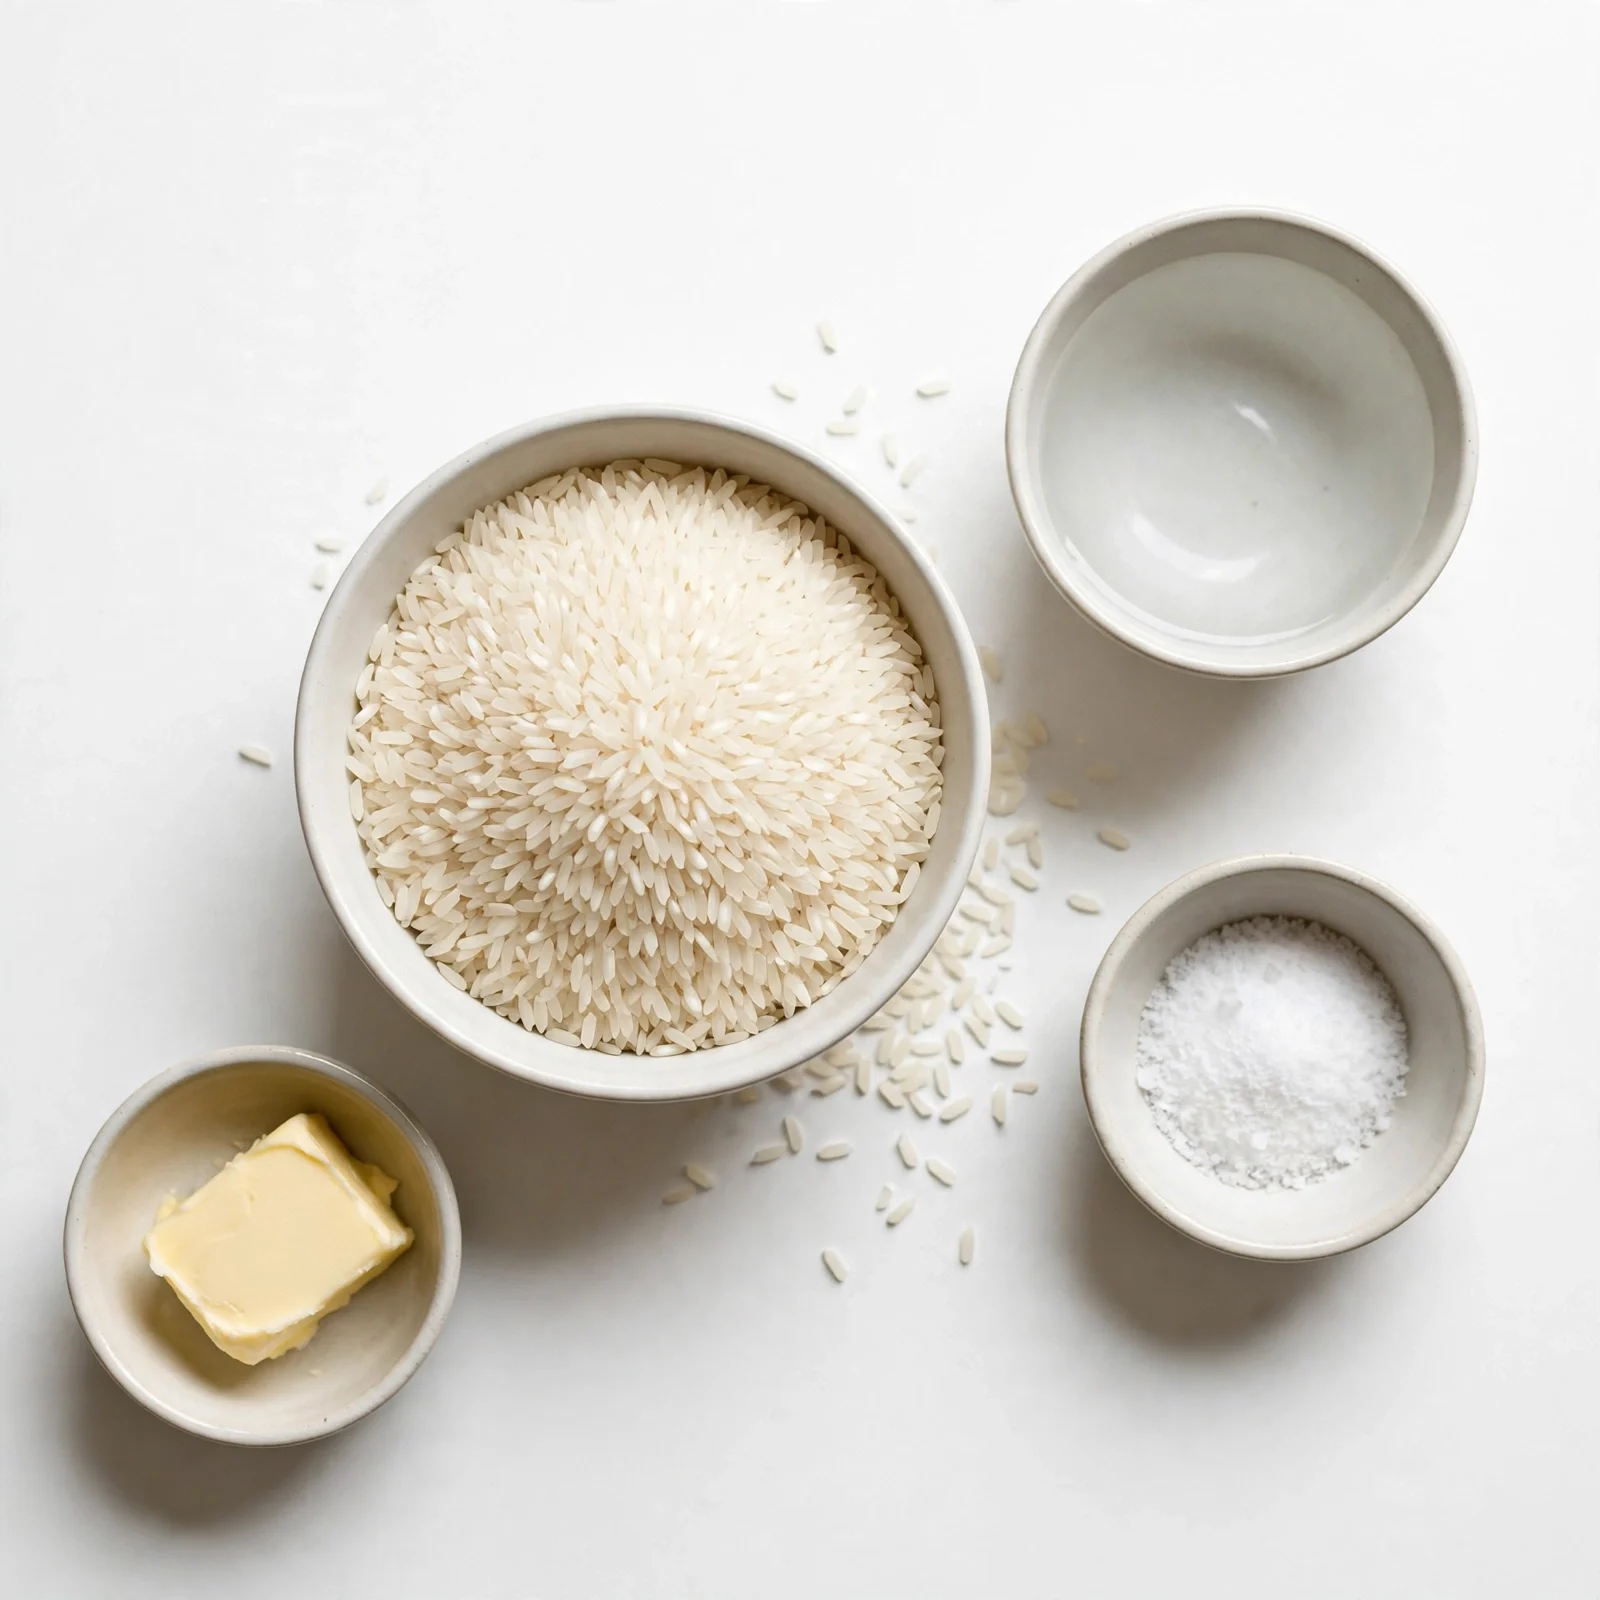
For the Rice
- 1 cup long-grain white rice (rinsed — this step matters, see below)
- 1¾ cups cold water (filtered preferred for clean flavor)
- ½ tsp fine sea salt
- 1 tsp unsalted butter or neutral oil (optional, but adds a lovely sheen)
The combination of the right water ratio and that small pat of butter creates grains that are glossy, separate, and just rich enough to be satisfying on their own.
How to Make Rice — Step-by-Step
Step 1: Rinse the Rice Thoroughly
Place your rice in a fine mesh strainer and rinse under cold running water for about 30–45 seconds, gently moving the grains with your fingers. The water will run cloudy at first — that’s excess starch — and gradually run clear. This step is what separates fluffy grains from sticky clumps. Don’t worry if the water doesn’t run completely crystal-clear; mostly clear is perfectly fine.
Step 2: Combine Rice, Water, and Salt in Your Pot
Add the rinsed rice, cold water, and salt to a medium saucepan with a tight-fitting lid. Give it a single stir just to distribute the salt. Use a pot that feels a little roomy — rice expands as it cooks, and a cramped pot leads to uneven results.
Step 3: Bring to a Boil, Then Reduce Heat Immediately
Set the pot over medium-high heat and bring it to a full boil — you’ll hear it before you see it. The moment you see active bubbling across the surface, reduce the heat to the lowest setting your burner has and place the lid on firmly. Don’t worry if it takes a minute to settle; the low heat will do its job steadily from here.
Step 4: Simmer Undisturbed for 15 Minutes
Set a timer and walk away. Do not lift the lid. I know it’s tempting — resist. The trapped steam is what cooks the rice evenly from top to bottom. After 15 minutes, the water should be fully absorbed and the grains will look matte rather than wet on the surface.
Step 5: Rest, Fluff, and Serve
Remove the pot from heat and let it sit, lid still on, for 5 full minutes. This resting period is where the magic finishes — the grains firm up slightly and any remaining steam redistributes evenly. Then uncover, add your butter if using, and fluff gently with a fork using light lifting strokes rather than stirring. Serve immediately.
Perfecting This Recipe
- Always rinse your rice before cooking — skipping this leaves excess surface starch that makes grains clump together.
- Use cold water, not hot, when you start. It gives you more control over the cooking process.
- The lid must fit tightly. If yours lets out a lot of steam, lay a folded kitchen towel under the lid to seal it — an old restaurant trick that actually works.
- Don’t stir the rice during cooking. Stirring activates starch and makes it gummy.
- The 5-minute rest isn’t optional. It’s the difference between good rice and great rice.
- If your stovetop runs hot, place a heat diffuser under the pot or set it to the lowest burner on your stove to prevent scorching on the bottom.
- Use a fork — never a spoon — to fluff. A spoon crushes and compresses the grains.
Common Mistakes to Avoid
- Skipping the rinse — Unrinsed rice carries excess surface starch that makes grains stick together in a gluey mass rather than staying light and separate.
- Lifting the lid mid-cook — Every time you peek, you release steam and drop the internal temperature, which throws off the cooking time and leads to unevenly cooked grains.
- Using too much water — More water does not mean fluffier rice. It means mushy rice. Stick to the 1:1¾ ratio for long-grain white rice.
- Cranking up the heat — Cooking on high heat boils off the water before the rice has time to absorb it fully, leaving you with crunchy centers and a scorched bottom.
- Skipping the resting time — Pulling the lid off immediately after cooking means the surface grains are still releasing steam and haven’t fully set. Five minutes of patience makes a noticeable difference.
Add Your Touch
- Swap the water for chicken broth or vegetable stock for a deeply savory flavor boost.
- Stir in a bay leaf and two crushed garlic cloves before cooking, then discard before serving.
- Add a pinch of turmeric for golden color and a mild earthy warmth.
- Mix in a handful of frozen peas or corn in the last 2 minutes of cooking.
- Finish with a squeeze of fresh lime juice and chopped cilantro for a rice bowl vibe.
- Toast the dry rice in a little butter for 2 minutes before adding water — it adds a nutty depth you’ll want every time.
- Try coconut milk in place of half the water for a subtle tropical sweetness that pairs beautifully with curries.
Visit Also: Chicken Patties
What to Serve With This
- Grilled chicken thighs — The simplest, most satisfying pairing for a weeknight dinner.
- Black bean stew or dal — Rice is made for scooping up rich, spiced legume dishes.
- Stir-fried vegetables with soy and sesame — A quick, colorful combo that comes together in minutes.
- Roasted salmon with lemon butter — Elegant enough for guests, easy enough for Tuesday.
- A simple fried egg on top — Never underestimate the power of rice + egg + hot sauce for a solo lunch.
Storing and Serving
Fridge:
Let the rice cool to room temperature before storing. Transfer to an airtight container and refrigerate for up to 4 days. Spread it out on a sheet pan to cool faster if you’re in a hurry.
Freezer:
Rice freezes beautifully. Portion into zip-lock bags or freezer-safe containers, pressing out as much air as possible. Freeze for up to 3 months. Quality holds well, though freshly cooked is always best.
Reheating:
Reheat on the stovetop with a splash of water over low heat, stirring occasionally until hot throughout. Or microwave with a damp paper towel over the bowl to trap steam — 1 to 2 minutes on high works well for a single serving.
Make-Ahead Tip:
Cook a full batch on Sunday and refrigerate. It reheats in minutes and makes weeknight meals dramatically easier. Cold leftover rice is also perfect for fried rice.
Servings:
This recipe makes approximately 3 cups of cooked rice, serving 3–4 as a side dish.
Nutrition (Approximate Per Serving)
- Calories: 206
- Total Fat: 1g
- Saturated Fat: 0.5g
- Carbohydrates: 45g
- Sugar: 0g
- Protein: 4g
- Sodium: 295mg
Nutritional values are approximate and may vary based on specific ingredients and brands used.
Chef’s Helpful Tips
- Use room temperature water if your pot is thin-bottomed — it reduces the chance of the bottom scorching before the top has a chance to cook.
- Toast the rice in a dry pan before cooking if you want a more pronounced nutty flavor. One to two minutes over medium heat is all it takes.
- For clean, separate servings, spread cooked rice on a wide tray for a minute before plating — it releases steam and helps grains stay individual.
- Quality matters with salt. Fine sea salt dissolves evenly and seasons more gently than iodized table salt, which can taste sharp in a simple dish like this.
- If your rice came out too wet, spread it on a sheet pan and pop it in a 200°F oven uncovered for 5 minutes — it dries out beautifully without overcooking.
Frequently Asked Questions
Q1. Can I use brown rice with this method?
Brown rice needs more water and more time — use a 1:2 ratio and cook for 40–45 minutes on low. The rinse and rest steps still apply, so follow everything else the same way.
Q2. How does stovetop rice compare to a rice cooker?
Honestly? Both can produce excellent results. Stovetop gives you more control and works anywhere, while a rice cooker is more hands-off. Once you know how to cook rice on the stovetop, you’ll feel confident making it anywhere — no appliance needed.
Q3. Is this method beginner-friendly?
Completely. If you can boil water and set a timer, you can make this. The biggest beginner win is simply resisting the urge to lift the lid — trust the process and it works.
Q4. Can I make this ahead for a potluck or gathering?
Yes, and it reheats wonderfully. Make it up to two days ahead, refrigerate in a sealed container, and reheat gently with a splash of water before serving. It’ll taste nearly as good as fresh.
Q5. Can I freeze cooked rice?
Absolutely. Portion it into freezer bags while it’s still slightly warm (not hot), flatten them out for quick thawing, and freeze for up to 3 months. Reheat straight from frozen in the microwave with a damp paper towel on top.
Conclusion
There’s something genuinely satisfying about getting a simple thing right. Learning how to cook rice properly isn’t flashy — it won’t win you a cooking competition or go viral on social media — but it quietly elevates every meal it touches. Once this technique becomes second nature, it opens a door to hundreds of dishes that all start with that same humble pot of perfectly cooked grains.
So give it a try tonight. Rinse your rice, resist the lid, let it rest — and see what happens. Then make it your own. Add the broth, the garlic, the lime. Make it cozy. Make it yours. And if it comes out beautifully on your first try, don’t be surprised — you were ready for it.
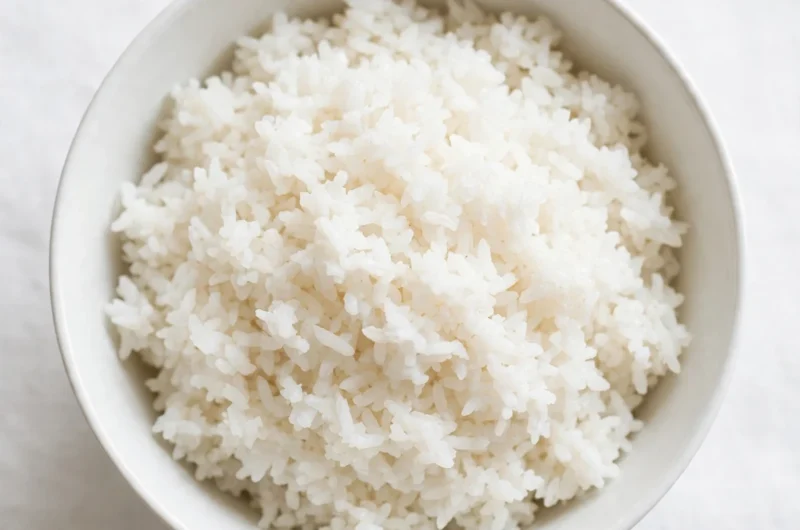
Perfectly Fluffy Stovetop Rice
Course: Trending Recipes3–4
servings2
minutes15
minutes206 per serving
kcal5
minutes22
minutesLight, tender, and fully separated grains cooked using a simple stovetop method. Ready in 20 minutes and ideal as a base for weeknight dinners, meal prep bowls, or any dish that needs a reliable, satisfying side.
Ingredients
For the Rice:
1 cup long-grain white rice, rinsed
1¾ cups cold water
½ tsp fine sea salt
1 tsp unsalted butter or neutral oil (optional)
Directions
- Rinse rice under cold water until water runs mostly clear, about 30–45 seconds.
- Combine rinsed rice, water, and salt in a medium saucepan. Stir once.
- Bring to a full boil over medium-high heat.
- Reduce heat to low, cover with a tight-fitting lid, and cook for 15 minutes without lifting the lid.
- Remove from heat. Let rest, covered, for 5 minutes.
- Add butter if using. Fluff with a fork and serve immediately.