The Creamiest Mini Pumpkin Pies Your Family Will Beg For
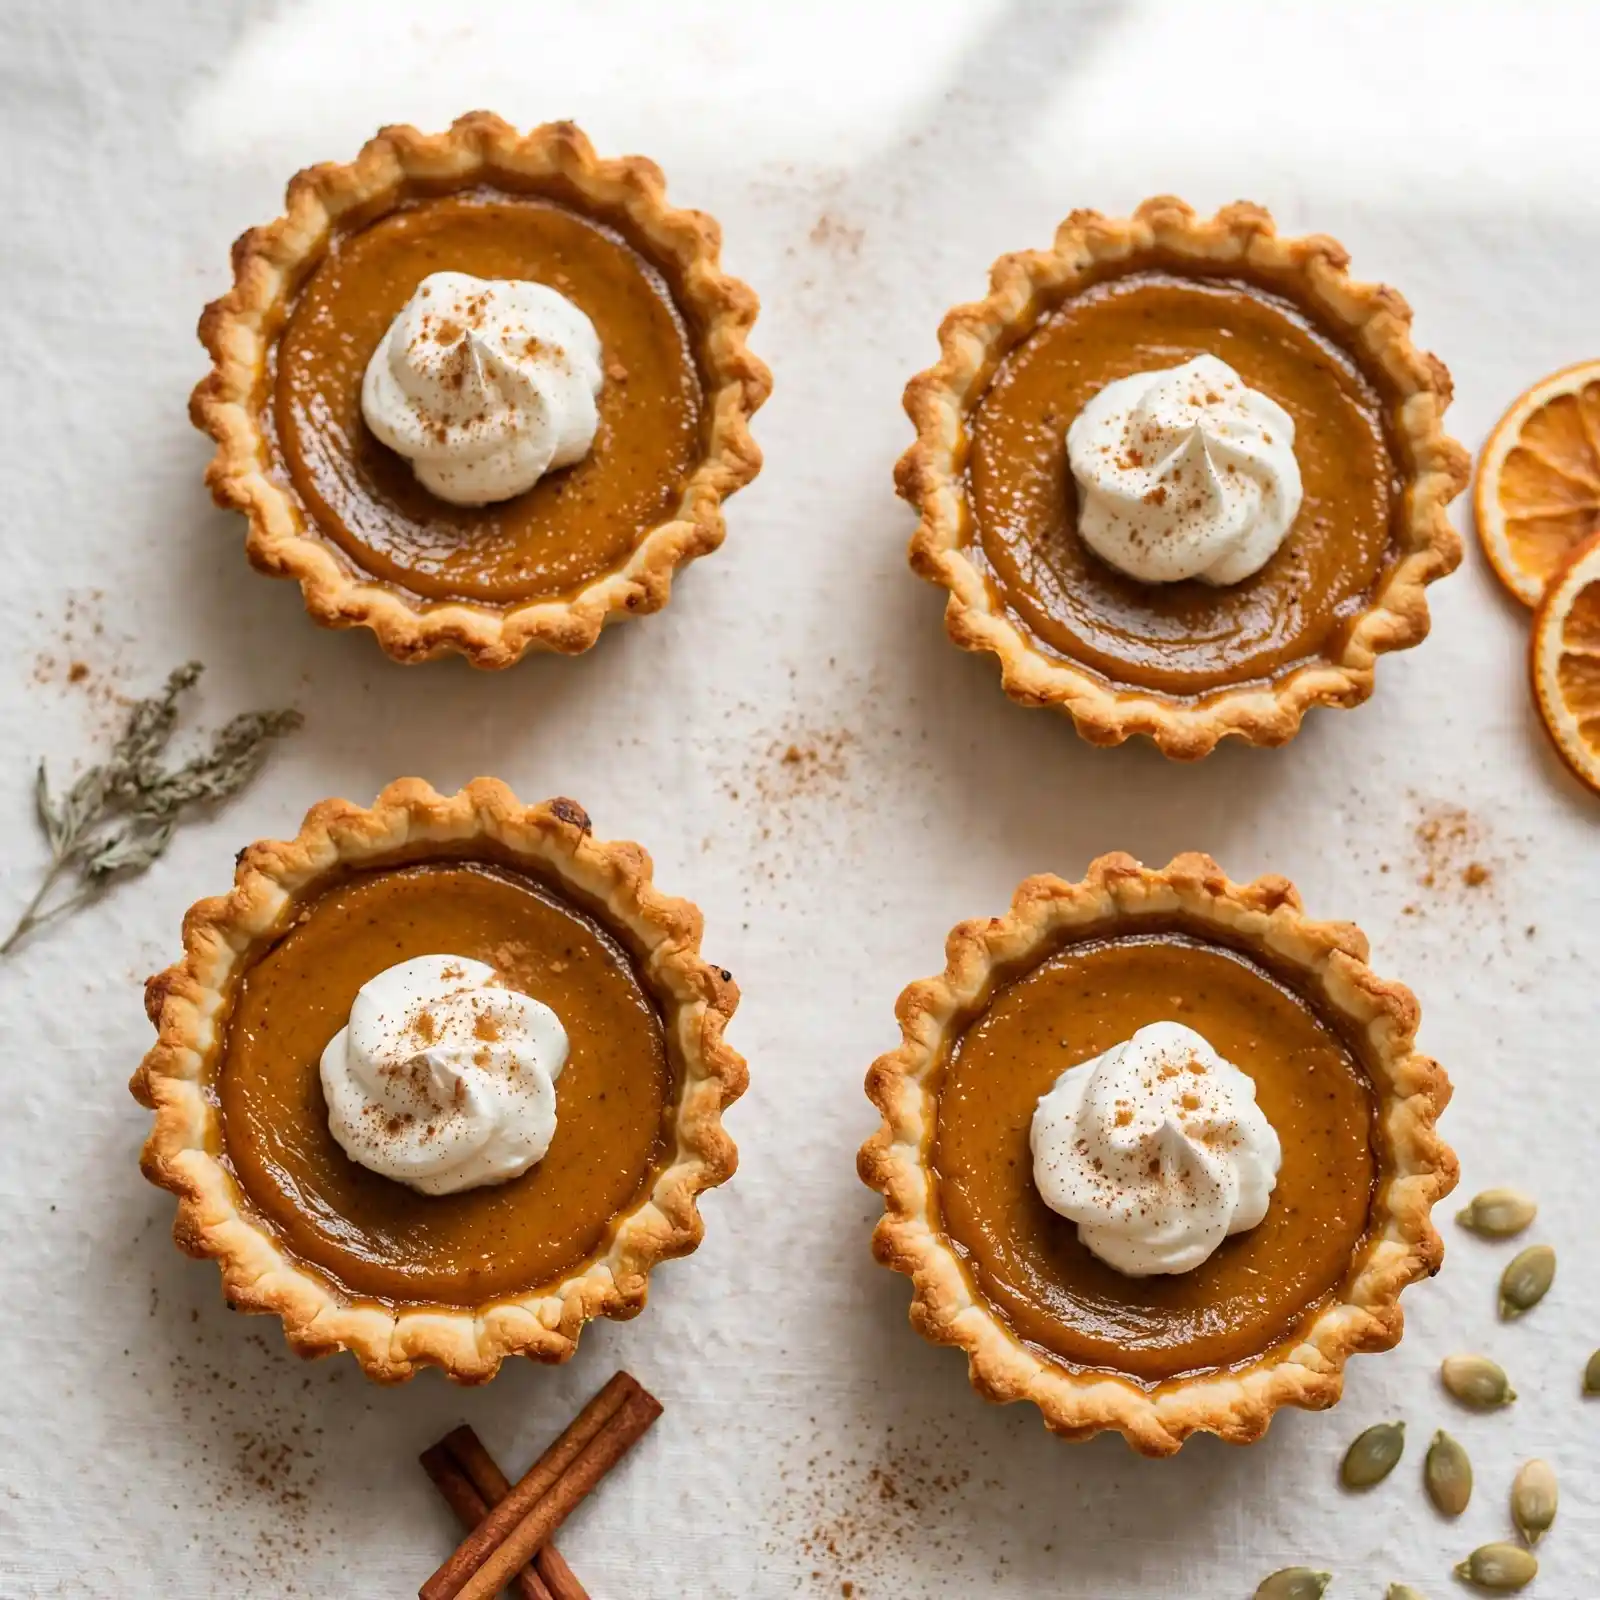
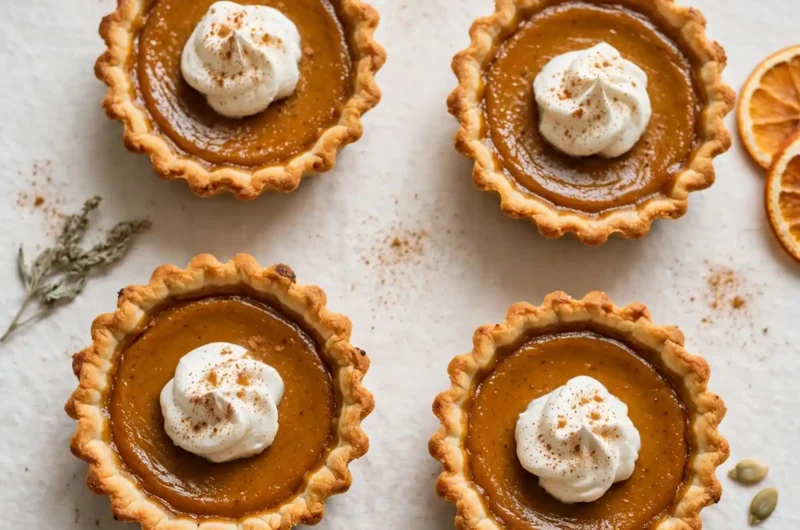
The oven timer beeps, and the second I crack open the door, that warm blast of cinnamon and nutmeg hits me before I even see the pan. Twelve golden little pies, each one puffed just slightly at the edges, sit cooling on the rack like tiny jack-o’-lanterns waiting for a bite.
Each pie has a filling so silky it practically melts on your tongue, with just enough spice to make your kitchen smell like the inside of a cinnamon stick. The crust underneath shatters into buttery little flakes, giving way to that dense, custardy pumpkin center every single time.
These mini pumpkin pies are the answer whenever you need a fall dessert that travels well—think Thanksgiving dinner, a busy weeknight craving, or a potluck where you don’t want to fuss with slicing a whole pie. They’re the kind of individual pumpkin pies that disappear off the tray before you’ve even set out napkins, and they come together with far less effort than a traditional pumpkin pie recipe.
Why You’ll Love This Recipe
Perfectly Balanced Spice
The blend of cinnamon, ginger, and a whisper of cloves gives these pies that classic pumpkin pie flavor without ever tasting overpowering. Every bite feels warm and cozy, never one-note.
Silky, Custardy Texture
Thanks to a careful ratio of eggs and cream, the filling sets up dense and smooth rather than watery or grainy. It’s the kind of texture that makes people ask for the recipe.
Ready in Under an Hour
Because they’re baked in a muffin tin, these little pies cook much faster than a full-size pie. You get all the flavor of the holiday classic without babysitting the oven all afternoon.
Perfect for Potlucks and Parties
No slicing, no mess, no fighting over the last piece of crust. Each guest gets their own perfectly portioned pie, which makes serving a crowd effortless.
A Familiar Classic With a Fun Twist
These pies keep everything you love about traditional pumpkin pie but shrink it down into a fun, shareable, grab-and-go size that feels a little bit special.
Ingredients
For the Crust
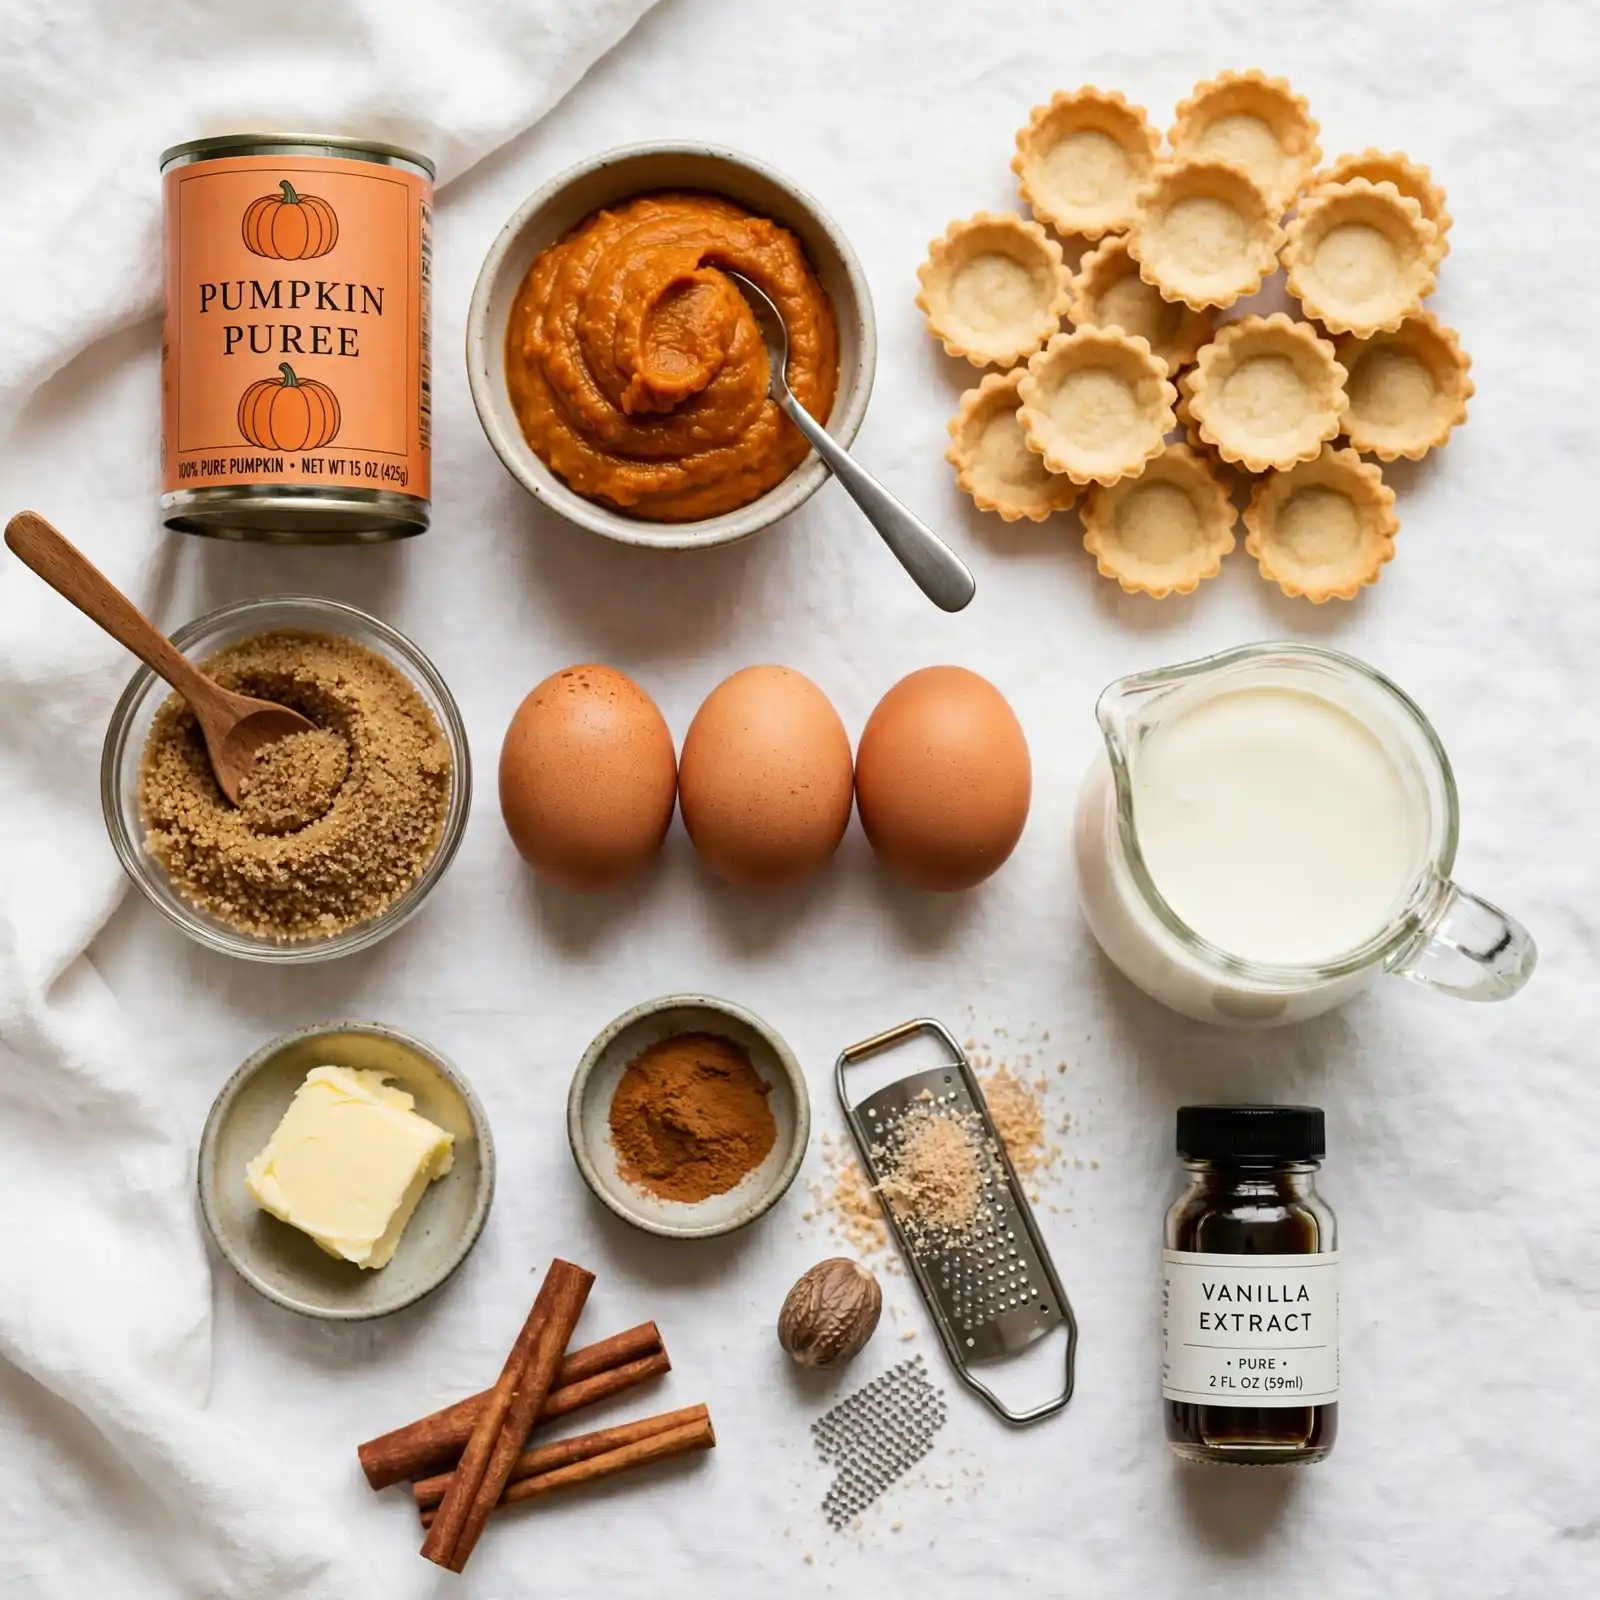
- 1 ¼ cups all-purpose flour
- ½ tsp salt
- ½ cup unsalted butter, cold and cubed (the colder, the flakier your crust will be)
- 3–4 tbsp ice water
For the Filling
- 1 cup canned pumpkin puree (not pumpkin pie filling)
- ½ cup heavy cream (whole milk works in a pinch, though the filling will be slightly less rich)
- ⅓ cup brown sugar, packed
- 2 large eggs
- 1 tsp ground cinnamon
- ½ tsp ground ginger
- ¼ tsp ground cloves
- ¼ tsp salt
- 1 tsp pure vanilla extract (skip imitation—it makes a real difference here)
For the Topping
- ¼ cup whipped cream, for serving
- A light dusting of cinnamon, for garnish
The buttery, flaky crust holds firm against the smooth, spiced filling, while a light dusting of cinnamon on top ties the whole bite together with a little extra warmth.
How to Make Mini Pumpkin Pies — Step-by-Step
Step 1: Make the Crust Dough
Cut the cold butter into the flour and salt until the mixture looks like coarse crumbs with some pea-sized pieces still visible. Add ice water one tablespoon at a time until the dough just comes together. Don’t worry if it looks a little shaggy—that’s exactly what you want for a flaky crust.
Step 2: Chill the Dough
Wrap the dough in plastic and refrigerate for at least 30 minutes. This resting time relaxes the gluten and keeps your crust from shrinking in the oven, so try not to skip it.
Step 3: Line the Muffin Tin
Roll the dough thin and cut circles slightly larger than your muffin cups. Press each circle gently into the tin, letting the edges peek just above the rim. Don’t worry if a few edges look uneven—rustic little ruffles only add character here.
Step 4: Mix and Pour the Filling
Whisk the pumpkin puree, cream, brown sugar, eggs, spices, salt, and vanilla until completely smooth. Pour the filling into each crust, filling almost to the top since it won’t rise much. You’ll notice the mixture turns a deep, warm orange as everything blends together.
Step 5: Bake Until Set
Bake at 375°F for 18–22 minutes, until the centers are just set and no longer jiggle when the pan is gently shaken. The tops should look slightly puffed and matte rather than glossy.
Step 6: Cool Completely
Let the pies cool in the tin for 10 minutes, then transfer to a wire rack to finish cooling. This resting time lets the custard fully set, so resist the urge to dig in right away.
Perfecting This Recipe
- Keep your butter and water ice cold—warm butter is the number one enemy of a flaky crust.
- Whisk the filling until it’s completely smooth with no streaks of pumpkin or cream remaining.
- Watch for a slight jiggle in the very center when you pull the pies from the oven; they’ll finish setting as they cool.
- Let the pies cool fully before removing them from the tin, or the crust edges may crumble.
- Avoid overbaking, which can crack the tops and dry out the custard.
- If your crust edges brown too quickly, tent the pan loosely with foil for the last few minutes.
Common Mistakes to Avoid
- Using warm butter — Softened butter blends into the flour instead of staying in small pieces, which means you lose the flaky layers that make a good crust.
- Skipping the chill time — Dough that goes straight into the oven without resting tends to shrink and slump down the sides of the tin.
- Overfilling the cups — The filling puffs slightly as it bakes, so filling all the way to the very top can cause overflow.
- Pulling the pies too early — A filling that still jiggles heavily in the center needs more time; underbaked pumpkin custard won’t set properly as it cools.
- Slicing or unmolding while hot — Warm crust is fragile and much more likely to crack or fall apart than fully cooled crust.
Add Your Touch
- Swap the topping for a dollop of maple whipped cream for extra warmth.
- Add a pinch of allspice or a touch of orange zest for a brighter spice profile.
- Press a few crushed pecans into the crust edge before baking for added crunch.
- Use a graham cracker crust instead of pastry for a shortcut version.
- Drizzle with caramel sauce just before serving for a dessert-table showstopper.
Visit Also: Italian Dressing
What to Serve With This
- A scoop of vanilla bean ice cream melting slightly over the warm crust.
- Spiced apple cider or a warm chai latte alongside for a cozy pairing.
- A simple green salad with pears and walnuts to balance out a rich holiday spread.
- Coffee with a splash of cinnamon or maple syrup for an easy after-dinner match.
Storing and Serving
Fridge: Store cooled pies in an airtight container in the refrigerator for up to 4 days.
Freezer: Freeze unfrosted pies in a single layer, then transfer to a freezer bag for up to 2 months. The texture stays best when they’re wrapped tightly to prevent freezer burn.
Reheating: These are lovely cold or at room temperature, but if you’d like them warm, heat at 300°F for about 8 minutes.
Make-Ahead Tip: Bake the pies up to 2 days ahead and store covered in the fridge; add whipped cream just before serving.
Servings: Makes 12 mini pies.
Nutrition (Approximate Per Serving)
- Calories: 190
- Total Fat: 11g
- Saturated Fat: 6g
- Carbohydrates: 20g
- Sugar: 10g
- Protein: 3g
- Sodium: 140mg
Nutritional values are approximate and may vary based on specific ingredients and brands used.
Chef’s Helpful Tips
- Use room-temperature eggs so they blend smoothly into the filling without streaking.
- Set a timer and check a few minutes early—overbaked custard is the most common cause of cracked tops.
- Run a thin knife around each pie before lifting it out for the cleanest edges.
- Good-quality canned pumpkin makes a noticeable difference in flavor, so skip the generic off-brands if you can.
- If your filling turns out too soft after baking, a few extra minutes in the oven next time should firm it right up.
Frequently Asked Questions
Q1. Can I use fresh pumpkin instead of canned? Yes, just make sure it’s well-drained and pureed smooth first. Fresh puree can be watery, so pat it with a paper towel to remove excess moisture before mixing it into the filling.
Q2. How do these compare to a regular pumpkin pie? They taste just like a classic pumpkin pie, just in a smaller, more portable form. The ratio of crust to filling is actually a little higher, so you get a bit more of that buttery crust in every bite.
Q3. Is this recipe beginner-friendly? Absolutely. The hardest part is chilling the dough, and even a store-bought pie crust works great if you’re short on time.
Q4. Can I make these ahead for a potluck? Yes, they’re ideal for make-ahead entertaining. Bake them a day or two in advance and keep them chilled until you’re ready to serve.
Q5. Can I freeze mini pumpkin pies? Yes, they freeze beautifully for up to 2 months. Thaw overnight in the fridge before serving for the best texture.
Conclusion
There’s a reason these mini pumpkin pies end up on repeat every fall—they capture everything wonderful about the classic dessert in a form that’s easier to make and even easier to share. Between the flaky crust and that perfectly spiced, custardy filling, every bite feels like a little celebration of the season.
Whether you’re baking for a holiday table, a cozy weekend at home, or a potluck where you want something a little different, these mini pumpkin pies are ready to steal the show. Give them a try, and don’t be surprised if you’re asked to bring them again next year.
Mini Pumpkin Pies
Course: Trending Recipes12
servings20
minutes20
minutes190 per serving
kcal30
minutes1
hour10
minutesSilky, spiced pumpkin custard tucked into individually baked flaky crusts—perfect for holiday tables, potlucks, or whenever a craving for pumpkin pie hits.
Ingredients
Crust:
1 ¼ cups all-purpose flour
½ tsp salt
½ cup unsalted butter, cold and cubed
3–4 tbsp ice water
Filling:
1 cup canned pumpkin puree
½ cup heavy cream
⅓ cup brown sugar, packed
2 large eggs
1 tsp ground cinnamon
½ tsp ground ginger
¼ tsp ground cloves
¼ tsp salt
1 tsp pure vanilla extract
Topping:
¼ cup whipped cream
Cinnamon, for dusting
Directions
- Cut cold butter into flour and salt until crumbly.
- Add ice water and mix until dough just comes together.
- Wrap and chill dough for 30 minutes.
- Roll dough and line muffin tin with circles.
- Whisk filling ingredients until smooth.
- Pour filling into crusts, filling nearly to the top.
- Bake at 375°F for 18–22 minutes, until centers are set.
- Cool in the tin for 10 minutes, then transfer to a rack.
- Top with whipped cream and a dusting of cinnamon before serving.