The Crispiest Baked Chicken Drumsticks Your Whole Family Will Devour
My grandmother used to pull a pan of drumsticks out of the oven every Sunday, and the sound — that sizzle as the juices hit the hot pan — would bring everyone running to the kitchen before she even called us to the table. I’ve spent years chasing that exact moment, and I’m happy to tell you: this recipe nails it every single time.
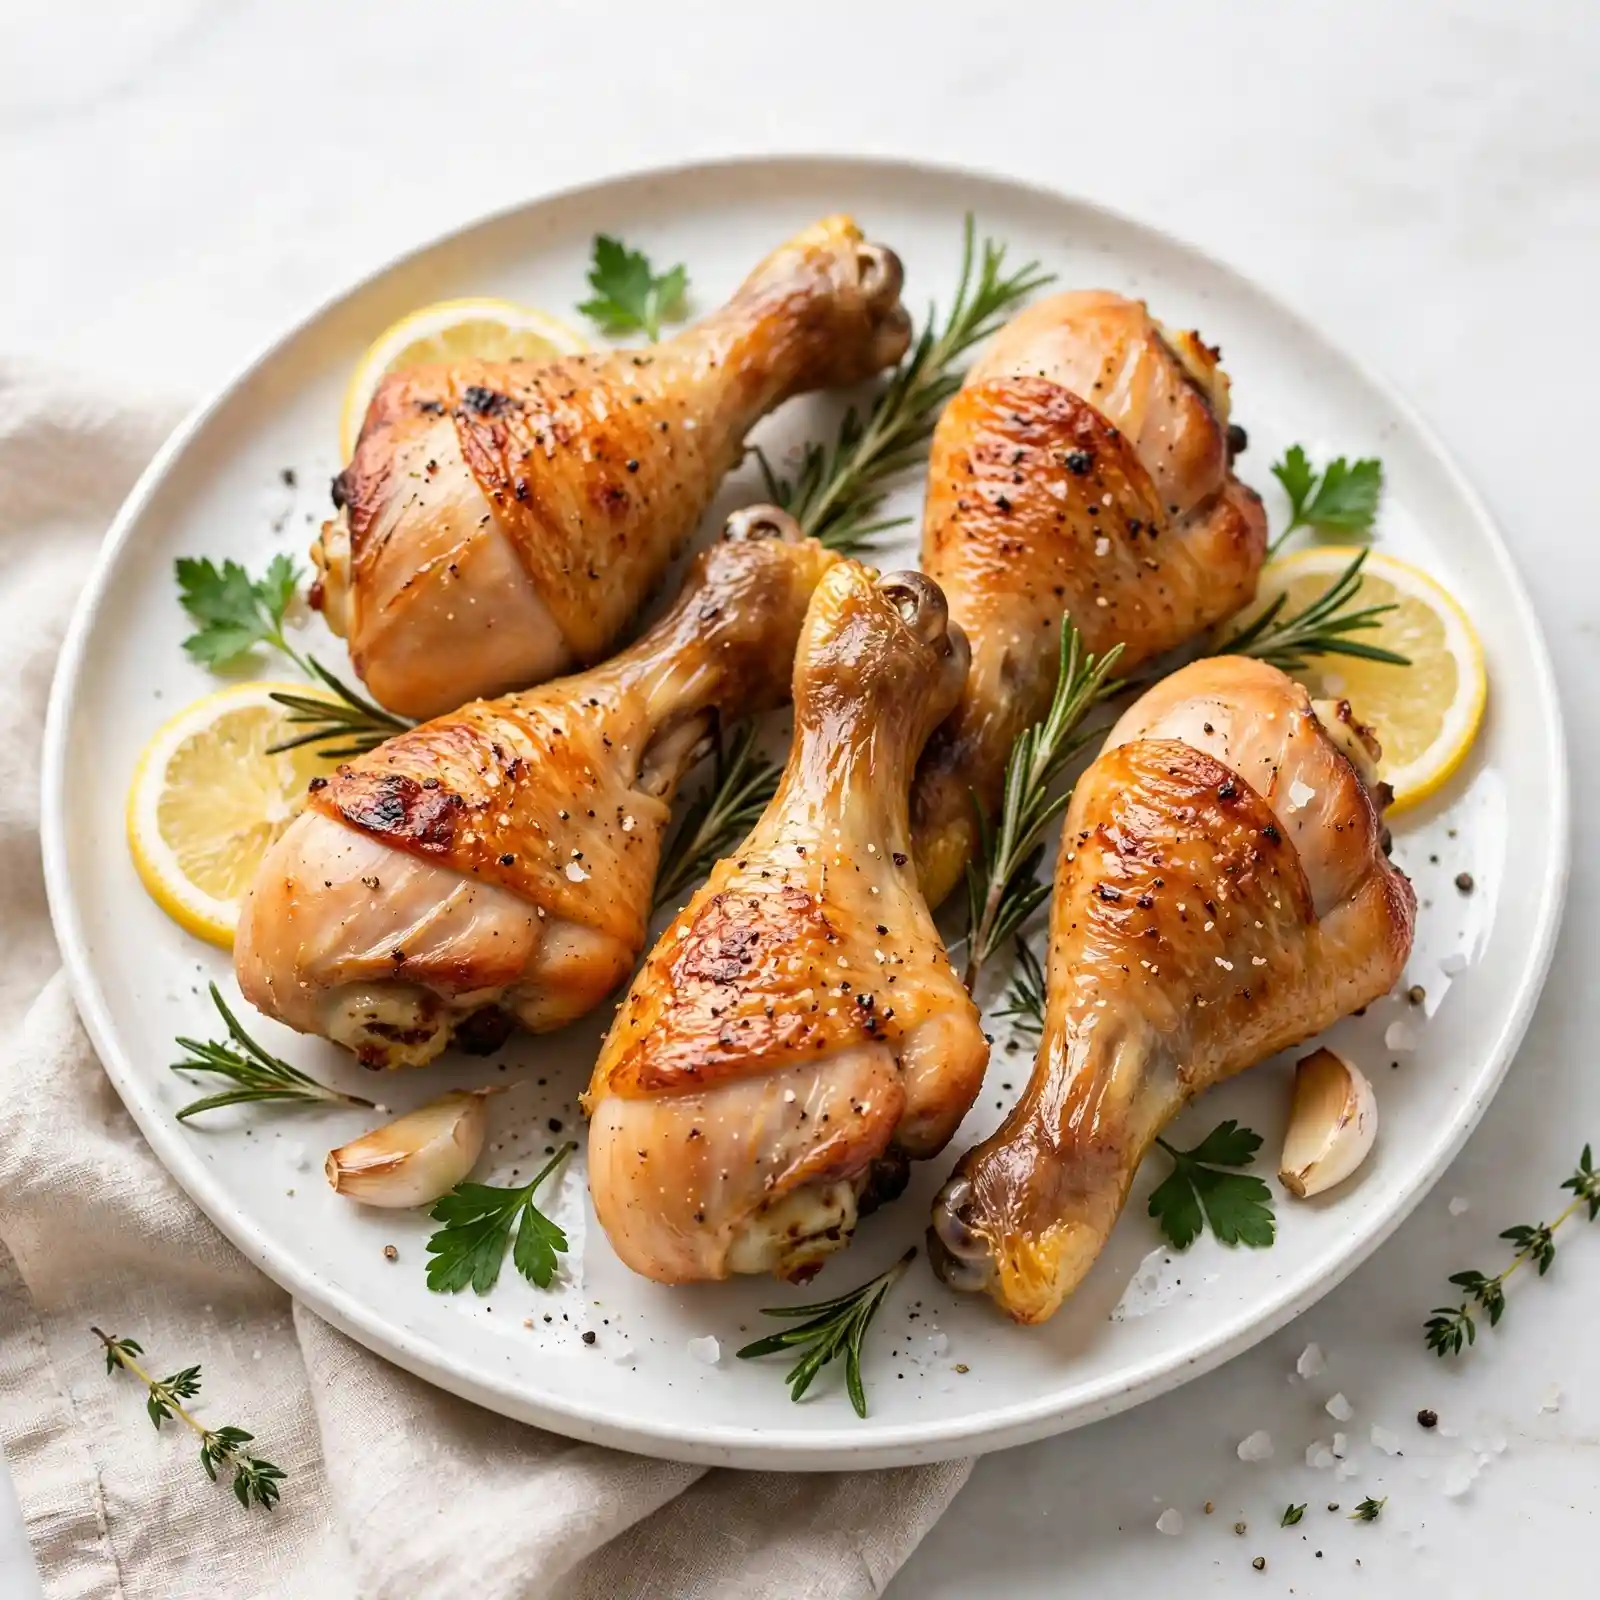
The skin crisps up into a deep, burnished golden shell that shatters just slightly when you bite in, giving way to meat that’s so juicy it practically falls off the bone. The seasoning — smoky, garlicky, with a whisper of warmth — coats every inch and caramelizes beautifully in the oven. Your kitchen will smell incredible for hours.
These baked chicken drumsticks are the kind of recipe that fits every occasion without even trying. They’re sturdy enough to travel to a potluck, impressive enough for a Sunday family gathering, and simple enough to pull together on a frantic Tuesday night. Whether you’re feeding two or twelve, this easy chicken dinner earns a permanent place in your weekly rotation. Let’s get into it.
Why You’ll Love This Recipe
Perfectly Crispy Skin Without Frying
You don’t need a single drop of extra oil in a frying pan to get that crunch. A quick oven technique — combined with baking powder in the seasoning rub — draws out moisture from the skin and gives you a crackly exterior that rivals anything fried.
Deep, Bold Flavor in Every Bite
The spice rub packs smoked paprika, garlic, onion powder, and a touch of cayenne into every crevice of the meat. Because drumsticks have more surface area relative to their size than most cuts, you get that seasoning in every single bite — not just on the outside.
Practically Effortless to Make
No marinating for hours. No complicated steps. You season, you bake, you eat. The oven does the heavy lifting while you set the table or help with homework.
A Family-Friendly Crowd-Pleaser
Kids love drumsticks because they’re fun to hold. Adults love them because they’re satisfying and full of flavor. Bring these to any gathering and watch the tray empty faster than you expect.
Versatile With Any Side Dish
These baked chicken drumsticks work with everything — roasted vegetables, mashed potatoes, rice, a simple salad. They’re endlessly adaptable, which makes them one of those anchor recipes every home cook needs.
Ingredients
For the Seasoning Rub
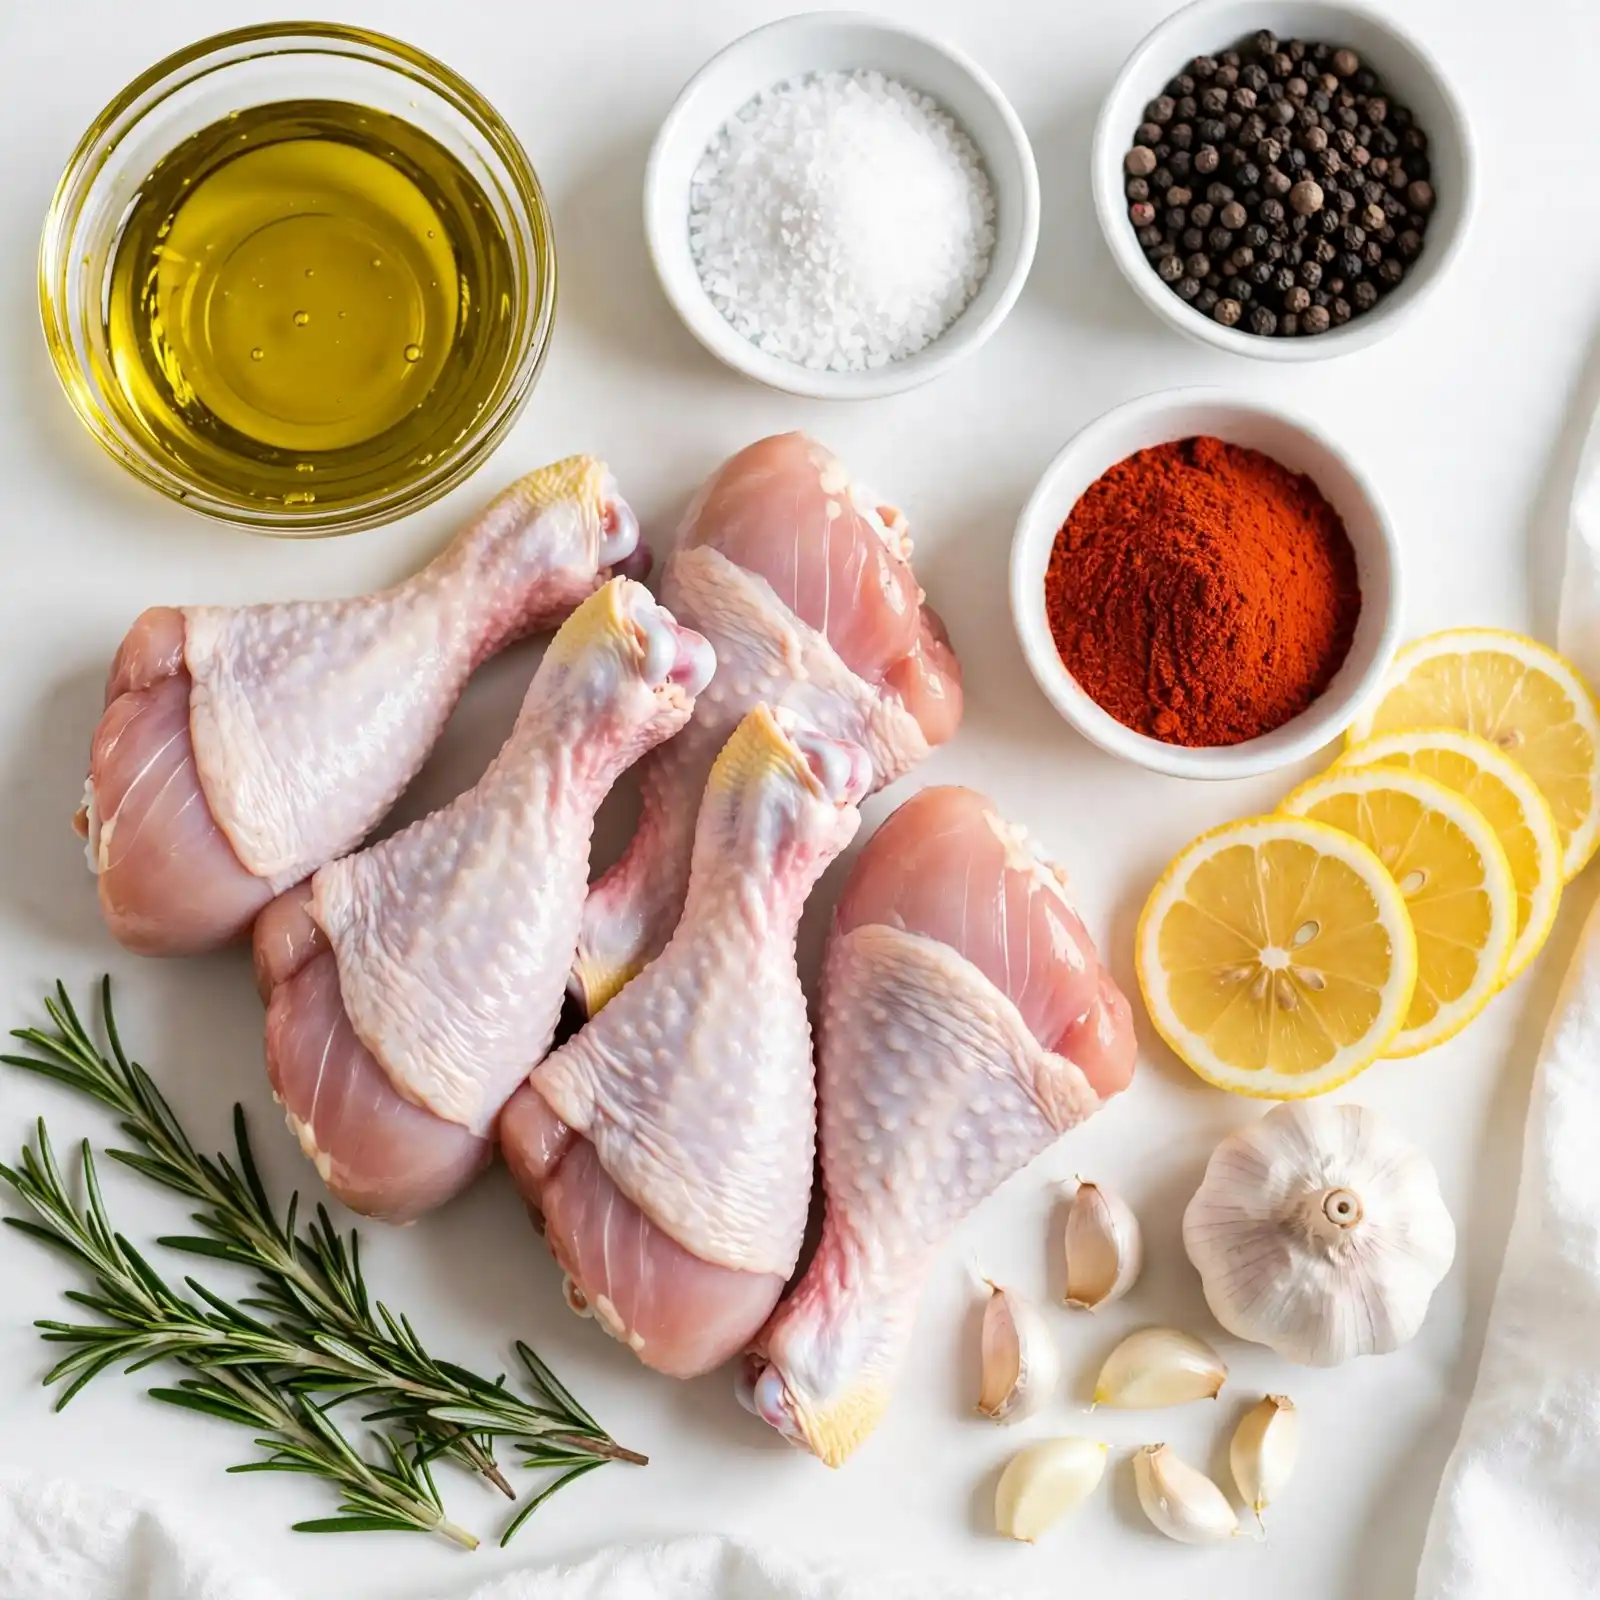
- 2 teaspoons smoked paprika
- 1 teaspoon garlic powder
- 1 teaspoon onion powder
- ½ teaspoon dried oregano
- ½ teaspoon black pepper (freshly cracked preferred)
- ¼ teaspoon cayenne pepper (adjust to heat preference)
- 1 teaspoon baking powder (aluminum-free — this is the crispy skin secret)
- 1½ teaspoons kosher salt
For the Chicken
- 10 chicken drumsticks (about 3.5–4 lbs, patted very dry with paper towels)
- 2 tablespoons olive oil (or avocado oil for a higher smoke point)
Optional Finishing Glaze
- 2 tablespoons honey
- 1 tablespoon soy sauce (low-sodium works great)
- 1 teaspoon apple cider vinegar
The seasoning rub creates a deeply savory crust, while the optional honey glaze adds a sticky, caramelized finish that makes these drumsticks absolutely irresistible. Together, they balance smoky, sweet, and savory in one beautifully cohesive bite.
How to Make Baked Chicken Drumsticks — Step-by-Step
Step 1: Dry Your Chicken Thoroughly
Pat every drumstick completely dry with paper towels — top, bottom, and all around. This is the most important step for crispy skin. Any moisture left on the surface will steam in the oven instead of crisping up. Don’t worry if you feel like you’re being overly thorough here; you really can’t over-dry a drumstick.
Step 2: Mix Your Seasoning Rub
In a small bowl, combine all the seasoning rub ingredients and stir until fully blended. The baking powder might look out of place in a savory rub, but trust it — it raises the pH of the skin slightly and helps it turn golden and crispy without any frying.
Step 3: Coat and Season the Drumsticks
Place the dried drumsticks in a large bowl. Drizzle with olive oil and toss to coat evenly. Sprinkle the seasoning rub all over, pressing it gently into the skin so it adheres. Don’t worry if a little rub falls off — what sticks is more than enough to deliver incredible flavor.
Step 4: Arrange and Bake
Preheat your oven to 425°F (220°C). Line a large baking sheet with foil and place a wire rack on top. Arrange the drumsticks on the rack without touching each other — this lets hot air circulate all around and gives you even crispiness on all sides. Bake for 38–42 minutes, flipping once at the 20-minute mark. The skin should be deep golden brown and the juices should run clear.
Step 5: Glaze and Rest (Optional but Recommended)
If using the honey glaze, mix the ingredients together and brush it over the drumsticks in the final 5 minutes of baking. Return to the oven until the glaze is bubbling and slightly sticky. Once out of the oven, let the drumsticks rest on the rack for 5 minutes before serving — this keeps all those gorgeous juices locked inside.
Perfecting This Recipe
- Dry the skin aggressively. Moisture is the enemy of crispiness. Pat, then let the drumsticks air-dry on a rack in the fridge uncovered for 30–60 minutes if you have time.
- Use a wire rack, always. Placing drumsticks directly on a pan means the bottom sits in pooled fat and never crisps up.
- Don’t crowd the pan. Drumsticks need breathing room. Use two pans if needed.
- Baking powder is non-negotiable for crispy skin. It sounds unusual, but it works every time — just make sure it’s aluminum-free to avoid any metallic taste.
- Flip once, not repeatedly. One flip at the halfway mark is all you need for even browning.
- Let them rest. Five minutes of resting before serving makes a noticeable difference in juiciness.
Common Mistakes to Avoid
- Skipping the drying step — Wet skin leads to rubbery, pale results instead of that shatteringly crispy exterior. Always dry your drumsticks before seasoning.
- Baking at too low a temperature — Below 400°F, the skin renders slowly and can end up chewy. High heat is what drives that golden crunch.
- Skipping the wire rack — Without air circulation underneath, the bottom of each drumstick steams rather than crisps. The rack is a game-changer.
- Opening the oven constantly — Every peek drops the oven temperature and extends cooking time unevenly. Flip once, then leave the door closed.
- Cutting into them too soon — Slicing a drumstick immediately out of the oven lets all the juice escape at once. Give them five minutes and they’ll reward you.
Add Your Touch
- Swap smoked paprika for regular paprika plus ½ teaspoon cumin for an earthy, warm flavor profile
- Add 1 teaspoon lemon zest to the rub for a bright, citrusy finish
- Toss in a pinch of brown sugar for a subtle sweetness and deeper caramelization
- Brush with your favorite BBQ sauce in the last 5 minutes instead of the honey glaze
- Use harissa paste mixed with olive oil instead of a dry rub for a bold, North African-inspired version
- Add fresh herbs like chopped rosemary or thyme to the rub for a more fragrant result
Visit Also: Slow Cooker Chicken Tacos
What to Serve With This
- Creamy mashed potatoes — A classic pairing that soaks up all the delicious pan juices.
- Roasted broccoli or asparagus — The slight char on the vegetables complements the smoky seasoning perfectly.
- Buttery corn on the cob — Easy, crowd-pleasing, and great for both weeknight dinners and backyard gatherings.
- A simple green salad — Cuts through the richness of the chicken and keeps the meal feeling fresh.
- Garlic rice or pilaf — Hearty enough to round out the plate for bigger appetites.
Storing and Serving
Fridge:
Store cooled drumsticks in an airtight container for up to 4 days. They reheat beautifully and are excellent cold straight from the fridge over a salad.
Freezer:
Freeze fully cooked and cooled drumsticks in a zip-lock bag or airtight container for up to 3 months. Quality remains very good — the skin softens slightly after freezing but the flavor stays excellent.
Reheating:
Reheat in a 375°F oven for 15–18 minutes on a wire rack to help the skin re-crisp. Avoid the microwave if you want to preserve any crunchiness.
Make-Ahead Tip:
Season and coat the drumsticks up to 24 hours in advance and refrigerate uncovered on a rack. That extended dry brine actually improves both flavor and crispiness when they finally hit the oven.
Servings:
This recipe yields approximately 10 drumsticks, serving 4–5 people.
Nutrition (Approximate Per Serving — 2 drumsticks)
- Calories: 310
- Total Fat: 18g
- Saturated Fat: 4.5g
- Carbohydrates: 3g
- Sugar: 1g
- Protein: 33g
- Sodium: 620mg
Nutritional values are approximate and may vary based on specific ingredients and brands used.
Chef’s Helpful Tips
- Room temperature chicken bakes more evenly. Pull the drumsticks out of the fridge 20–30 minutes before baking so the inside reaches doneness at the same time the outside crisps up.
- Use a meat thermometer to avoid guessing. The internal temperature at the thickest part of the drumstick should read 165°F. No pink, no problem.
- Aluminum-free baking powder matters. The regular kind can leave a faint metallic aftertaste on the skin. Bob’s Red Mill and Rumford are great aluminum-free options widely available in most grocery stores.
- If your skin isn’t crisping up, broil for 2–3 minutes at the end. Keep a close eye — it goes from golden to burnt quickly, but that brief blast of heat can transform good skin into extraordinary skin.
- If the chicken seems dry after baking, it likely overbaked. Pull drumsticks at 165°F internal temperature and rest them — this is the most reliable way to guarantee juicy results every time.
Frequently Asked Questions
Q1. Can I make these without a wire rack?
You can, but the results won’t be as crispy on all sides. If you don’t have a rack, line your baking sheet with foil and flip the drumsticks more carefully to try to expose all sides to the heat. A rack is worth buying — they’re inexpensive and genuinely improve all your oven-roasted proteins.
Q2. Do these taste similar to fried chicken?
They’re not identical, but honestly — they’re a very satisfying alternative. The skin gets genuinely crispy rather than battered, and the seasoning goes deeper since it’s applied directly to the meat. Think of them as the more flavorful, no-mess cousin of fried chicken.
Q3. Is this recipe beginner-friendly?
Completely. If you can mix spices in a bowl and turn on your oven, you can make these. There’s no special technique, no timing that needs to be split-second perfect, and no complicated equipment. It’s one of the best recipes for building confidence in the kitchen.
Q4. Can I make these ahead for a potluck?
Yes — these are excellent potluck food. Bake them fully, let them cool slightly, then transport in a foil pan and reheat at 375°F for 10–12 minutes when you arrive. They hold up beautifully and taste great even at room temperature.
Q5. Can I freeze these after baking?
Absolutely. Cool them completely, place in a single layer to freeze solid (about 1 hour), then transfer to a freezer bag. Reheat straight from frozen in a 375°F oven for about 25–30 minutes. The skin won’t be quite as shatteringly crispy as fresh, but the flavor is still wonderful.
Conclusion
There’s a reason oven-baked chicken legs have been a dinner table staple for generations — they’re comforting, filling, and full of the kind of satisfying flavor that makes people reach for seconds without even thinking about it. These baked chicken drumsticks bring all of that to your table with very little effort and a whole lot of payoff. Whether you’re making them on a quiet weeknight or bringing them to a gathering, they always disappear fast.
I hope this recipe becomes one of those go-to dishes you turn to without even looking at the recipe card anymore — the one you make confidently, adjust to your taste, and share with everyone who asks. Try it this week, make it your own, and don’t be surprised when your family starts requesting it by name.
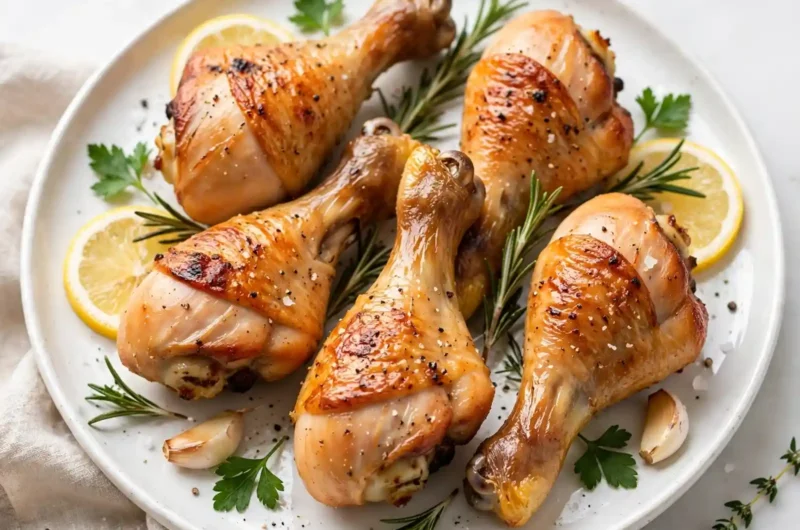
The Crispiest Baked Chicken Drumsticks
Course: Trending Recipes4–5 (10 drumsticks)
servings10
minutes38
minutes310 per serving (2 drumsticks)
kcal5
minutes55
minutesJuicy inside, perfectly crispy outside, and packed with smoky, garlicky flavor — these drumsticks are an effortless weeknight dinner that the whole family will love.
Ingredients
Seasoning Rub:
2 tsp smoked paprika
1 tsp garlic powder
1 tsp onion powder
½ tsp dried oregano
½ tsp black pepper
¼ tsp cayenne pepper
1 tsp baking powder (aluminum-free)
1½ tsp kosher salt
Chicken:
10 chicken drumsticks (3.5–4 lbs), patted dry
2 tbsp olive oil
Optional Honey Glaze:
2 tbsp honey
1 tbsp soy sauce
1 tsp apple cider vinegar
Directions
- Preheat oven to 425°F. Line a baking sheet with foil and place a wire rack on top.
- Pat drumsticks completely dry with paper towels.
- Mix all seasoning rub ingredients in a small bowl.
- Toss drumsticks in olive oil, then coat evenly with the seasoning rub.
- Arrange drumsticks on the wire rack without touching. Bake 38–42 minutes, flipping once at the 20-minute mark.
- If using glaze, whisk ingredients together and brush over drumsticks in the final 5 minutes of baking.
- Rest 5 minutes before serving.