Crispy Homemade Buffalo Wings Recipe Your Crowd Will Go Absolutely Wild For
The moment that tray hit the table at my cousin’s Super Bowl party, it was gone in under four minutes. Not exaggerating — four minutes. People were reaching over each other, fingers already orange, nobody bothering with napkins yet. That’s the kind of power a truly great buffalo wings recipe holds over a room.
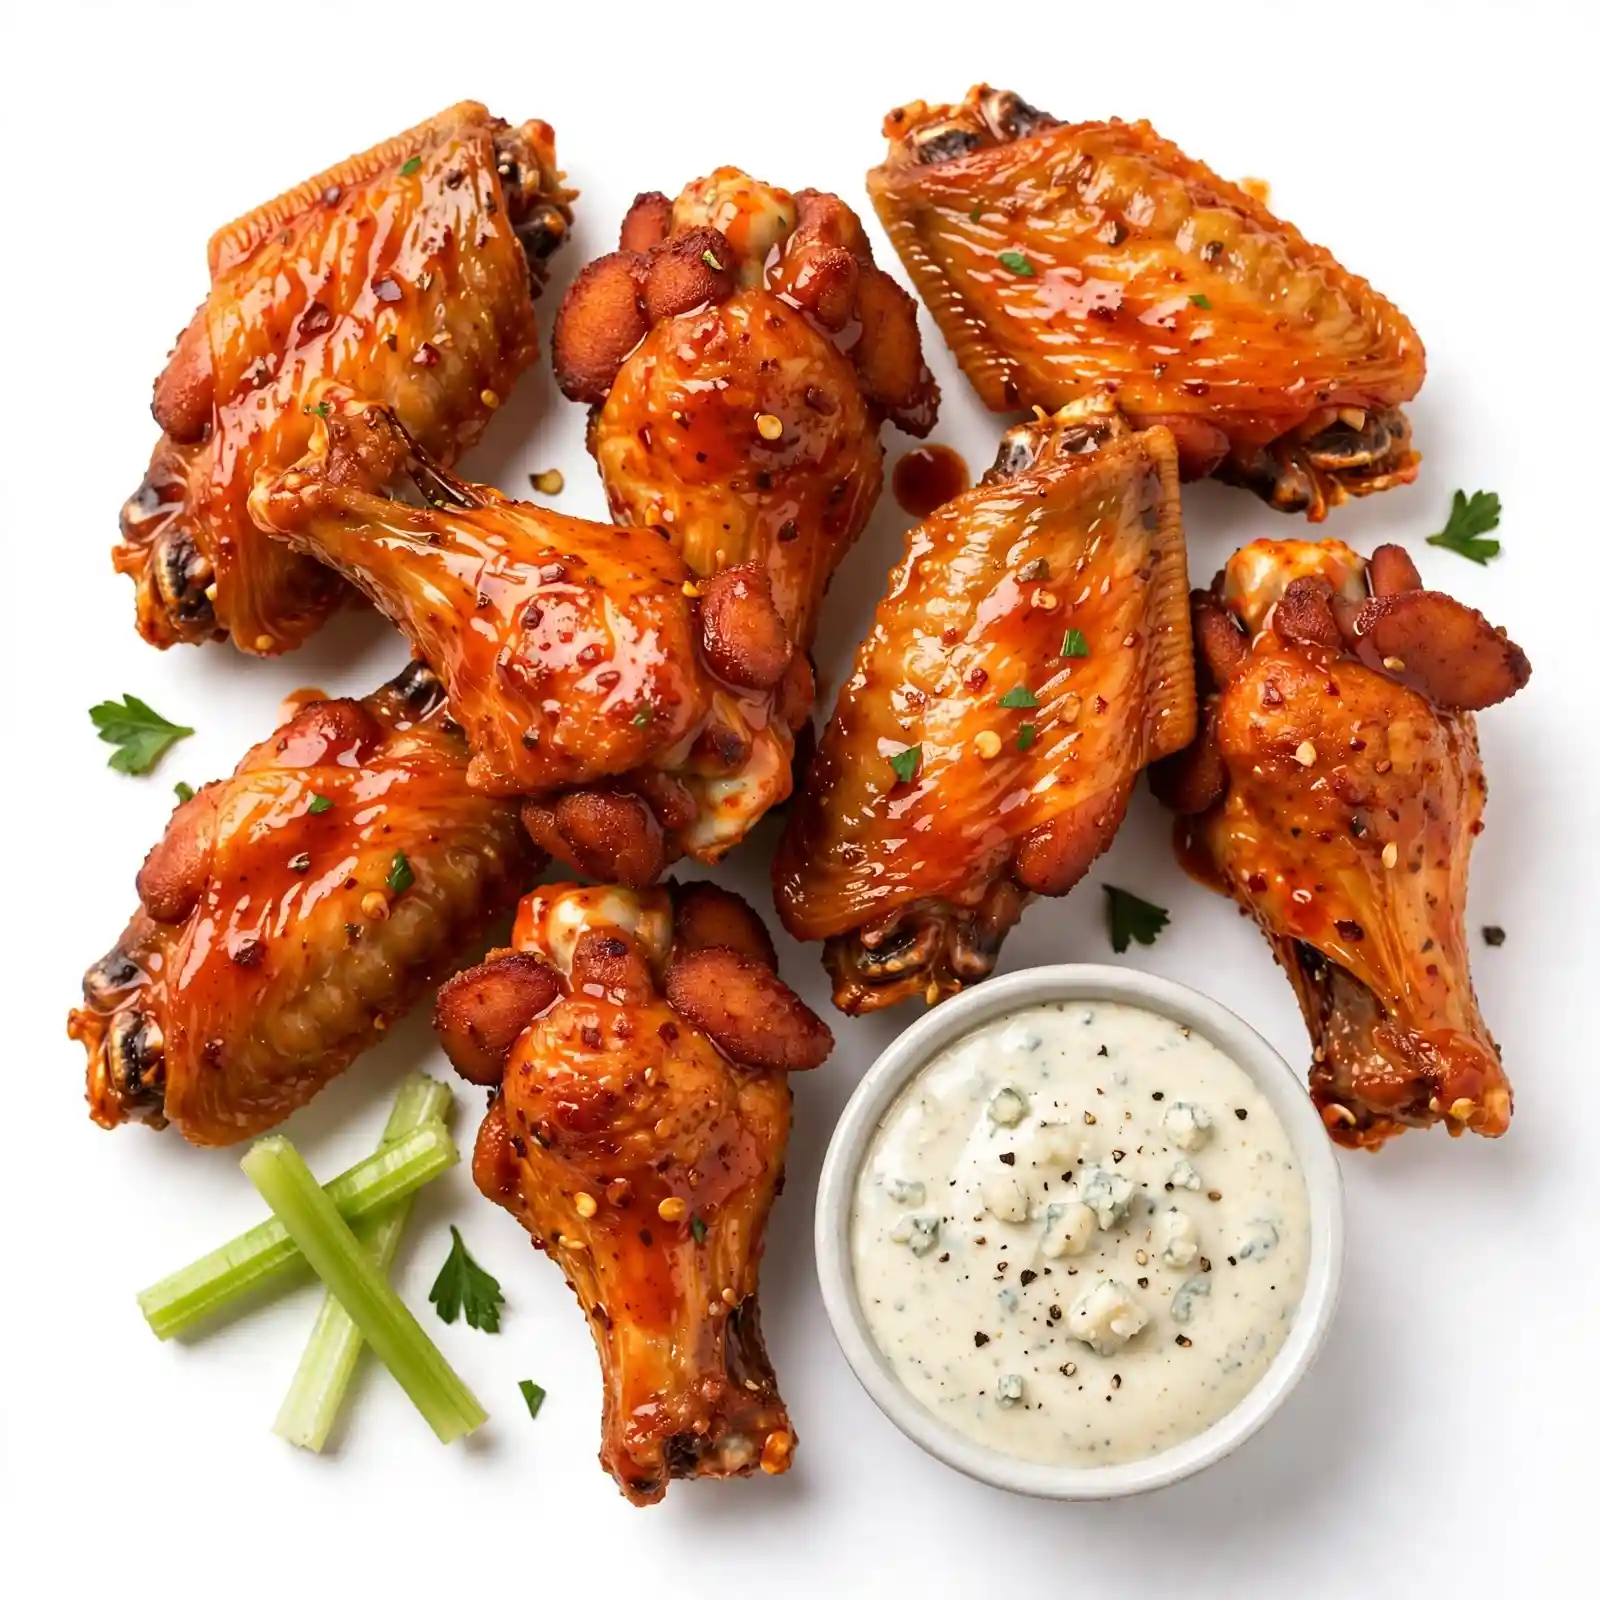
These wings come out of the oven — or fryer, your call — with skin so shatteringly crispy it practically crackles when you bite in. Then the sauce hits: tangy, buttery, fiery Frank’s RedHot soaking into every crevice, coating your fingers, making you reach for another one before you’ve even finished the first. There’s a slight smokiness underneath, a cooling promise from whatever blue cheese or ranch you’ve got on the side, and that slow, satisfying burn that builds with each piece.
Whether you’re hosting a game day spread, putting together an easy party appetizer, or just cooking up a fun Friday dinner, this recipe fits the moment perfectly. It’s the kind of dish that makes people ask “who made these?” and then ask for the recipe before they leave. Naturally, a few related elements — like a quick homemade buffalo sauce and the right wing prep — make all the difference, and I’ll walk you through every bit of it.
Why You’ll Love This Recipe
The Heat-to-Butter Ratio Is Just Right
Buffalo sauce lives or dies by its balance, and this recipe nails it. You get genuine heat that builds slowly, anchored by enough melted butter to keep the sauce rich and glossy rather than sharp or overwhelming.
The Skin Gets Genuinely Crispy
A simple baking powder trick in the dry rub pulls moisture out of the skin, creating that signature crunch without deep frying. You won’t miss the vat of oil — promise.
Incredibly Easy to Pull Off
No complicated techniques, no special equipment you don’t already own. If you have a sheet pan, an oven, and a bowl, you can make this. Even first-timers nail it.
Perfect for Sharing
These wings are built for a crowd. They hold their crispiness well, they’re easy to grab and eat without utensils, and a double batch takes almost no extra effort. Classic game day appetizer energy.
That Classic Flavor With a Real Homemade Touch
Store-bought wings from a chain are fine. These are better. The homemade buffalo sauce takes about three minutes to make and tastes noticeably fresher and more layered than anything out of a bottle.
Ingredients
For the Wings
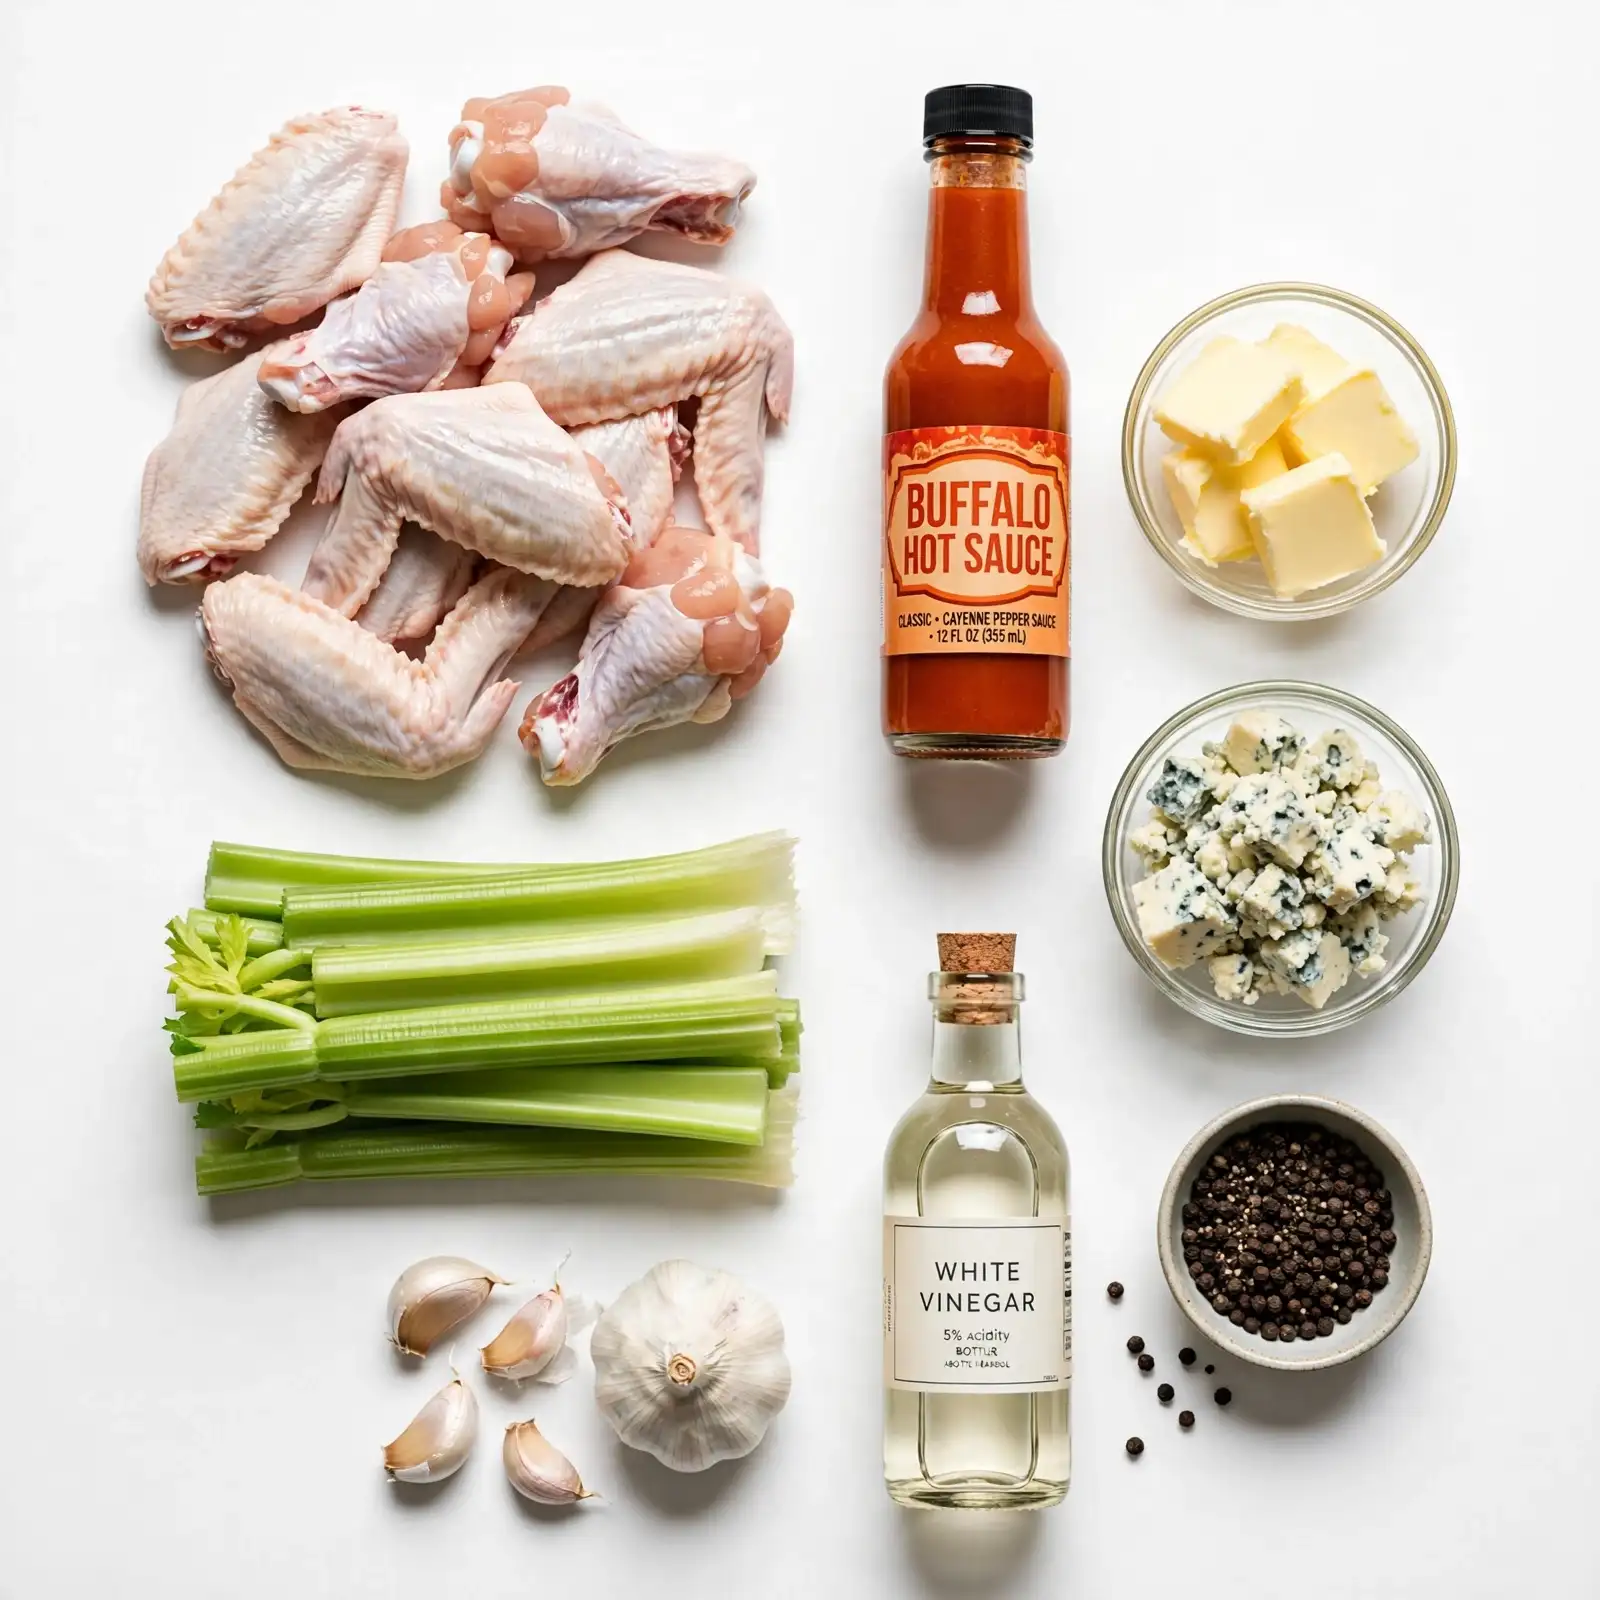
- 3 lbs chicken wings, split into flats and drumettes
- 1 tbsp baking powder (aluminum-free — this is key for crispiness)
- 1 tsp garlic powder
- 1 tsp onion powder
- 1 tsp smoked paprika
- 1 tsp kosher salt
- ½ tsp black pepper
- 1 tbsp neutral oil (avocado or vegetable oil works great)
For the Homemade Buffalo Sauce
- ½ cup Frank’s RedHot Original (do not substitute with a different hot sauce — the flavor profile is specific)
- 4 tbsp unsalted butter (real butter, not margarine)
- 1 tsp white vinegar
- ½ tsp Worcestershire sauce
- ¼ tsp garlic powder
- Pinch of cayenne (optional, for extra heat)
For Serving
- Blue cheese dressing or ranch (whichever side you’re loyal to)
- Celery sticks
- Carrot sticks
The baking powder draws surface moisture out of the skin during roasting, while the smoked paprika adds subtle depth to the rub. The butter in the sauce emulsifies with the hot sauce to create that glossy, clingy coating that makes every wing look and taste like it came from a great sports bar.
How to Make Buffalo Wings Recipe — Step-by-Step
Step 1: Dry Out the Wings
Pat your chicken wings completely dry with paper towels — really press and blot, don’t rush this. Any moisture left on the surface will steam in the oven instead of crisping. Once dry, toss them in a large bowl with the baking powder, garlic powder, onion powder, smoked paprika, salt, pepper, and oil until every piece is evenly coated. The wings should look lightly dusty and dry, not wet or shiny.
Step 2: Arrange and Refrigerate (Optional but Worth It)
Place the coated wings in a single layer on a wire rack set over a rimmed baking sheet. If you have time, leave them uncovered in the refrigerator for at least 1 hour — overnight is even better. This extra drying time is what separates “pretty good” wings from “these are dangerous” wings. Don’t worry if you’re skipping this step; the wings will still be great, just slightly less crispy.
Step 3: Roast Until Golden and Crispy
Preheat your oven to 425°F (220°C). Bake the wings on the wire rack for 45–50 minutes, flipping once halfway through around the 25-minute mark. By the end, the skin should be deep golden, visibly bubbling at the edges, and pulling away slightly from the bone. You’re looking for a color closer to amber than pale gold — that’s where the crunch lives.
Step 4: Make the Buffalo Sauce
While the wings finish up, melt your butter in a small saucepan over medium-low heat. Add the Frank’s RedHot, white vinegar, Worcestershire, garlic powder, and cayenne if using. Whisk everything together for about 2 minutes until the sauce is smooth, glossy, and just slightly thickened. Don’t worry if it looks a little thin at first — it clings beautifully once it hits the hot wings.
Step 5: Toss and Serve Immediately
Transfer the hot wings into a large bowl and pour the buffalo sauce over them. Toss well until every piece is coated. Serve right away with celery, carrots, and your dipping sauce of choice. The wings hold their crunch for about 10–15 minutes after saucing, so time this close to when people are ready to eat.
Perfecting This Recipe
- Dry the wings twice — once before seasoning, and if time allows, after seasoning in the fridge. Double-drying = double crunch.
- Baking powder, not baking soda. They are not interchangeable here. Baking powder raises the skin’s pH and promotes browning. Baking soda will taste metallic.
- Use a wire rack so hot air circulates under the wings. Wings sitting flat in a pan steam on the bottom and turn soft.
- Don’t crowd the pan. Space the wings out so they roast, not steam. Use two racks and two pans if needed.
- Flip only once. Constant flipping messes with the crust formation. Flip at the halfway mark and leave them alone.
- Sauce right before serving. Toss too early and the steam from the sauce softens the skin. That crunch is precious — protect it.
- Taste your sauce before tossing. Every bottle of hot sauce varies slightly in sodium and heat. Adjust with a pinch of salt or an extra knob of butter to suit your crowd.
Common Mistakes to Avoid
- Skipping the drying step — Wet wings don’t crisp, they steam. Pat them thoroughly before seasoning, no shortcuts.
- Using salted butter in the sauce — It throws off the balance and can make the sauce taste harsh. Unsalted gives you control.
- Baking at too low a temperature — Below 400°F, the fat in the skin renders too slowly. You want high, aggressive heat to get that snap.
- Saucing too early — This is the most common mistake. Hot wings + sauce sitting together = soggy skin within minutes. Toss right before you serve.
- Overcrowding the pan — Packing wings too close traps steam and prevents browning. Give each wing breathing room, even if it means two separate pans.
Add Your Touch
- Honey buffalo: Add 2 tablespoons of honey to the sauce for a sweet-heat version that’s slightly more crowd-friendly.
- Extra smoky: Replace smoked paprika with chipotle powder in the dry rub for a deeper, campfire-like heat.
- Lemon pepper buffalo: Toss wings in lemon pepper seasoning first, then drizzle lightly with buffalo sauce instead of fully coating.
- Dry rub only: Skip the sauce entirely and load up the rub — great for those who want crispy without the mess.
- Air fryer version: Cook at 400°F for 20–22 minutes, flipping halfway. Works beautifully for smaller batches.
- Gluten-free: This recipe is naturally gluten-free as written — just double-check your Worcestershire sauce label.
Visit Also: Hot Cross Buns Recipe
What to Serve With This
- Classic coleslaw — The cool creaminess cuts through the heat perfectly.
- Loaded potato skins — Peak game day energy when served alongside wings.
- Mac and cheese — Rich, cheesy, and completely indulgent with spicy wings.
- Ice-cold beer or lemonade — Both work; one cools the heat, the other leans into it.
- Pickled jalapeños or bread-and-butter pickles — A tangy bite between wings resets the palate and keeps you going.
Storing and Serving
Fridge:
Store leftover wings in an airtight container for up to 3 days. Keep them unsauced if possible — the skin holds up better that way.
Freezer:
Freeze fully cooked, unsauced wings in a single layer on a baking sheet, then transfer to a zip-lock bag. They’ll keep for up to 2 months with good quality.
Reheating:
Re-crisp in a 400°F oven or air fryer for 8–10 minutes. Avoid the microwave — it turns the skin soft and sad. Re-toss in fresh buffalo sauce after reheating.
Make-Ahead Tip:
Season and dry the wings up to 24 hours in advance and keep them on a rack in the fridge uncovered. Make the sauce up to 3 days ahead and reheat gently before tossing. Day-of cooking takes under an hour.
Servings:
This recipe yields approximately 4–6 servings as an appetizer, or 2–3 as a main.
Nutrition (Approximate Per Serving)
- Calories: 420
- Total Fat: 28g
- Saturated Fat: 10g
- Carbohydrates: 2g
- Sugar: 0g
- Protein: 36g
- Sodium: 980mg
Nutritional values are approximate and may vary based on specific ingredients and brands used.
Chef’s Helpful Tips
- Room temperature wings cook more evenly. Pull them from the fridge 20–30 minutes before baking if you can.
- Don’t skip the wire rack — it’s the single biggest difference between good wings and great wings at home.
- For clean portioning, use kitchen shears to split whole wings cleanly at the joint before seasoning.
- Quality hot sauce matters more than you think. Frank’s RedHot is the classic for a reason — it has a mellow vinegar tang that other hot sauces don’t replicate.
- If your wings come out too soft, pop them back in at 450°F for 5 minutes without sauce. The blast of heat usually rescues them.
Frequently Asked Questions
Q1. Can I make this buffalo wings recipe in an air fryer?
Absolutely — the air fryer is actually fantastic for wings. Cook at 400°F for 20–22 minutes, flipping once at the halfway point. You’ll get an incredibly crispy result in about half the time, which is perfect for smaller batches or weeknight cooking.
Q2. What’s the difference between these and restaurant wings?
Mostly the frying. Most restaurants deep-fry, which gives an ultra-thin, shatteringly crispy crust very quickly. This oven method gets you surprisingly close, especially with the baking powder trick and the wire rack — the texture is genuinely satisfying without the mess or the oil.
Q3. Is this recipe beginner-friendly?
Very much so. The steps are straightforward and the ingredients are all easy to find at any grocery store. The only real skill involved is patience — letting them bake fully and not saucing too early.
Q4. Can I prep these ahead for a party?
Yes, and you should. Season the wings up to 24 hours in advance and refrigerate them uncovered on the rack. Make your buffalo sauce ahead too. On the day of, just roast and toss. It dramatically reduces your stress during a gathering.
Q5. Can I freeze these wings?
Yes — cook the wings fully, skip the sauce, and freeze in a single layer before bagging them. When you’re ready to eat, reheat in the oven at 400°F straight from frozen for about 15 minutes, then toss in freshly made buffalo sauce. They’re nearly as good as fresh.
Conclusion
Some recipes are just food. This buffalo wings recipe is an event. It’s the dish that makes a group of people go quiet for a moment — not out of awkwardness, but because everyone’s too busy reaching for another one. There’s a reason wings have claimed their territory as the ultimate crowd food: that combination of crispy skin, bold sauce, and shareable format is practically unbeatable. Making them at home just means you control every part of the experience, and once you do, it’s hard to go back to a delivery box.
So grab your sheet pan, dry those wings like you mean it, and make a batch this weekend. Adjust the heat up or down, swap in honey, try the air fryer version — make it yours. And when someone at the table asks who made these, take the credit with full confidence. You earned it.
Crispy Homemade Buffalo Wings Recipe
Course: Trending Recipes4–6
servings15
minutes45
minutes420 per serving
kcal1
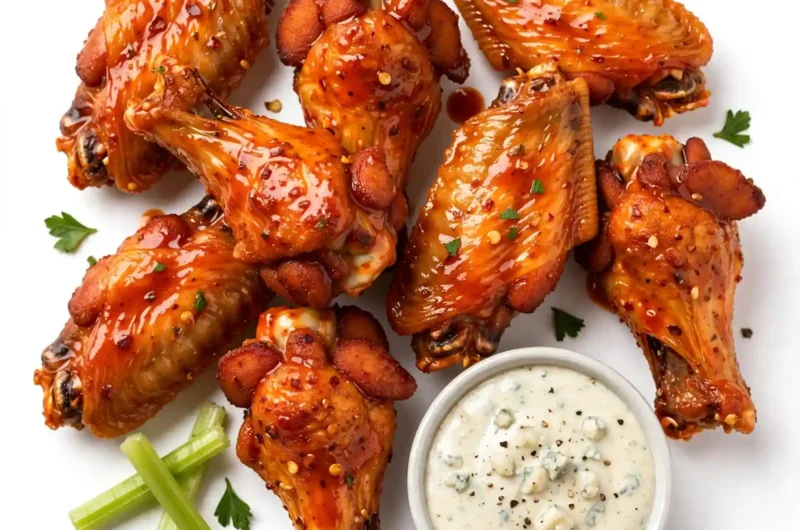
hourShatteringly crispy baked wings tossed in a rich, tangy homemade buffalo sauce — the ultimate game day appetizer or party crowd-pleaser that disappears every single time.
Ingredients
For the Wings:
3 lbs chicken wings, split into flats and drumettes
1 tbsp baking powder (aluminum-free)
1 tsp garlic powder
1 tsp onion powder
1 tsp smoked paprika
1 tsp kosher salt
½ tsp black pepper
1 tbsp neutral oil
For the Buffalo Sauce:
½ cup Frank’s RedHot Original
4 tbsp unsalted butter
1 tsp white vinegar
½ tsp Worcestershire sauce
¼ tsp garlic powder
Pinch of cayenne (optional)
For Serving:
Blue cheese or ranch dressing
Celery and carrot sticks
Directions
- Pat wings completely dry with paper towels. Toss with baking powder, seasonings, and oil until evenly coated.
- Arrange on a wire rack over a baking sheet. Refrigerate uncovered for 1 hour (or overnight) if time allows.
- Preheat oven to 425°F. Bake 45–50 minutes, flipping once at the 25-minute mark, until skin is deep golden and crispy.
- Melt butter in a small saucepan over medium-low. Add hot sauce, vinegar, Worcestershire, and garlic powder. Whisk 2 minutes until glossy.
- Toss hot wings in buffalo sauce immediately before serving. Serve with dipping sauce and vegetables.