Irresistible Smoked Ribs That Will Make Your Backyard BBQ Legendary
The moment I lifted the lid on my smoker and that thick ribbon of hickory smoke curled into the afternoon air, my neighbor leaned over the fence and didn’t say a single word — he just stood there, eyes closed, breathing it in. That’s the power of smoked ribs. They don’t just feed people; they pull them in from across the yard.
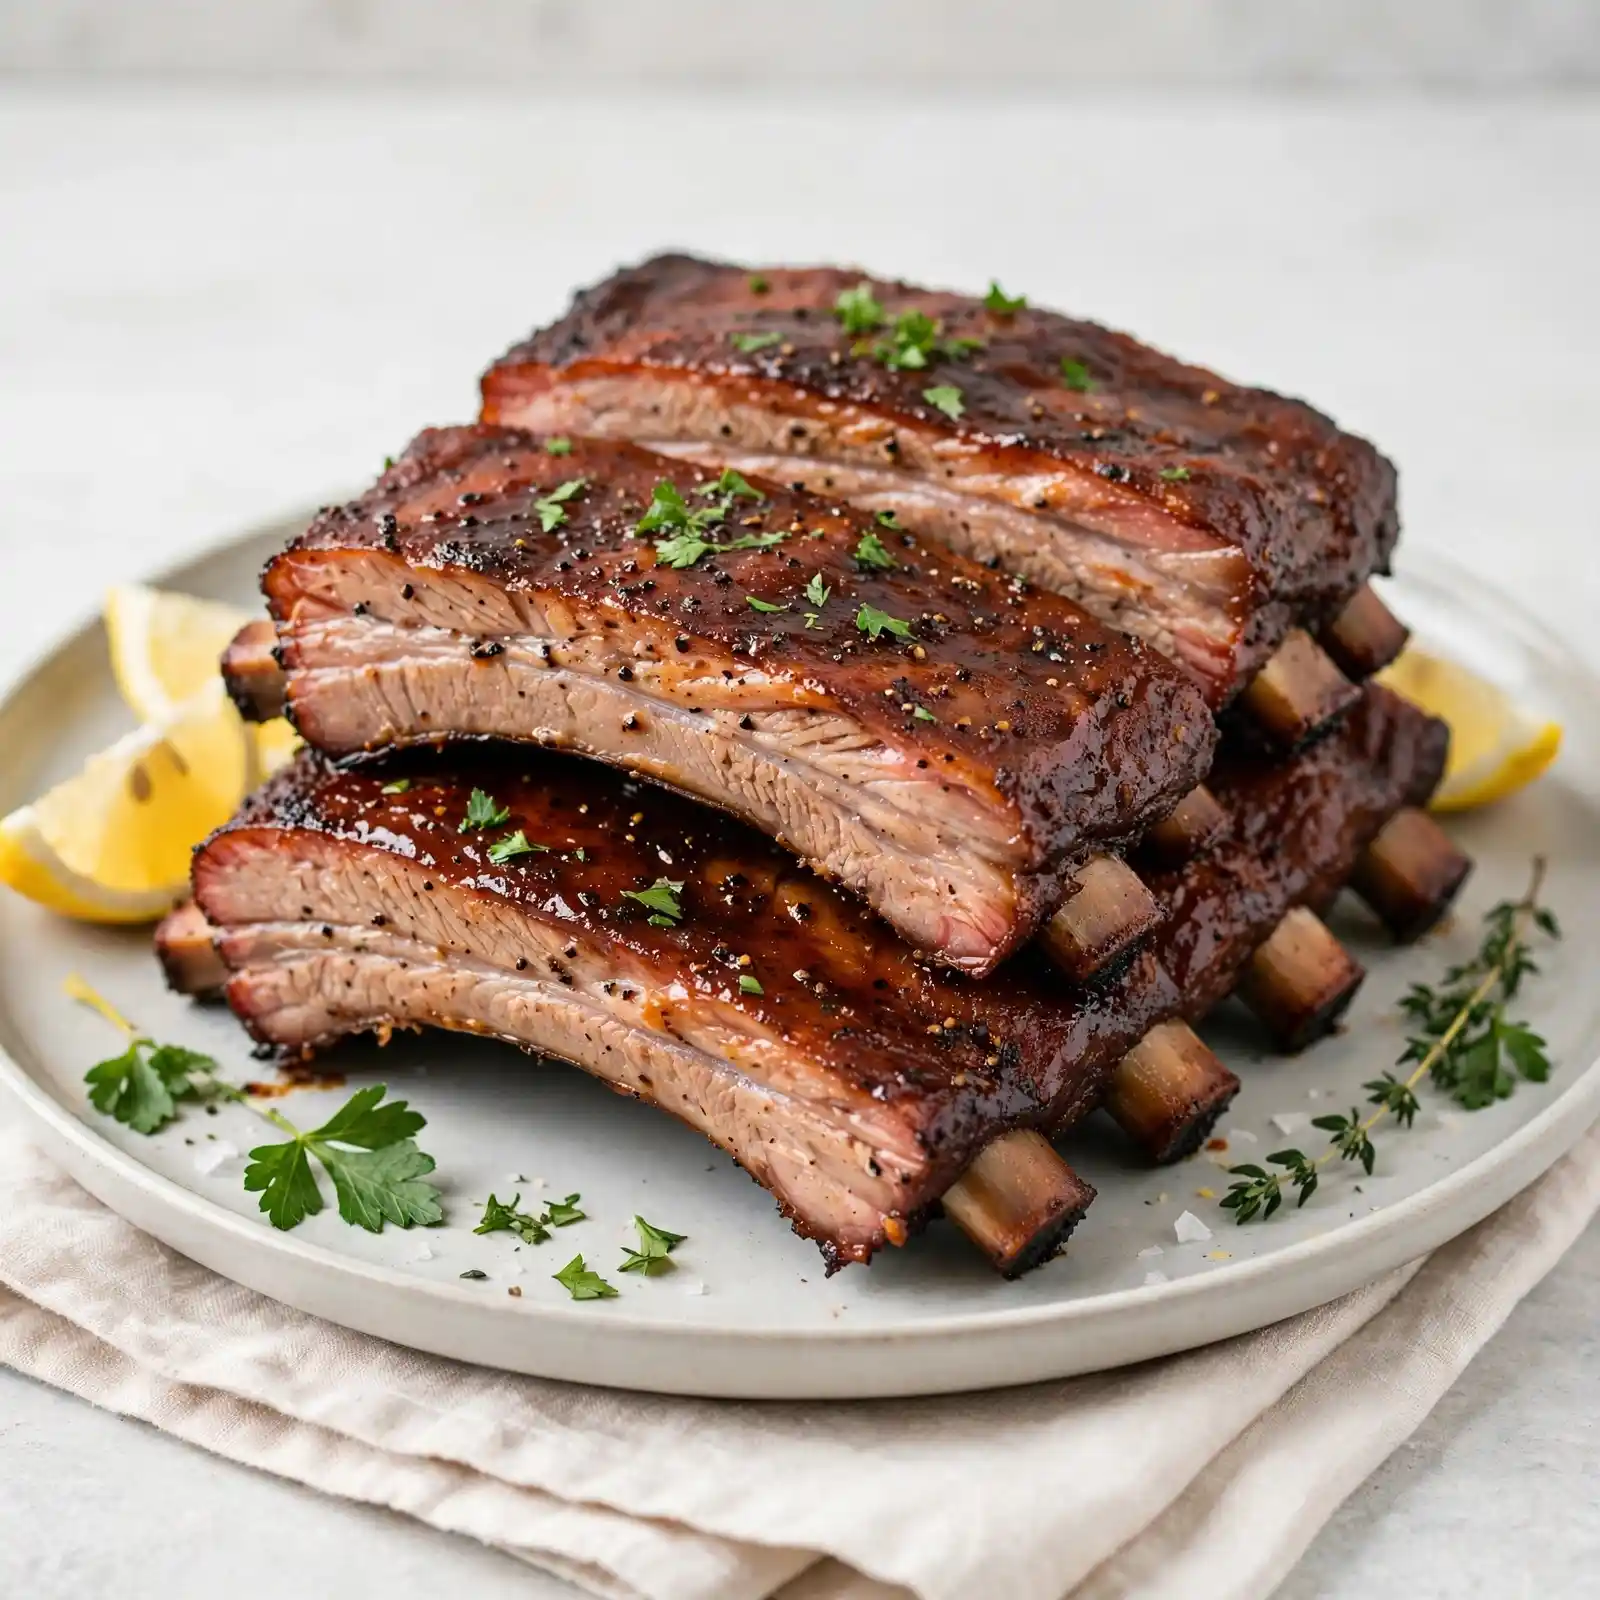
These ribs come out with a deep mahogany bark on the outside, a blush-pink smoke ring just beneath the surface, and meat so tender it slides off the bone with the gentlest tug. The fat renders low and slow into the meat, leaving behind layers of flavor that no oven or air fryer will ever replicate — smoky, savory, and just a little sweet with a kick of heat on the finish.
Whether you’re hosting a summer backyard BBQ, feeding a hungry crowd at a weekend cookout, or just treating your family to something unforgettable on a lazy Sunday, these fall-off-the-bone ribs belong on your grill. This recipe works beautifully with halal beef back ribs or beef short ribs, and once you try it, it’ll become the one your people request by name every single season.
Why You’ll Love This Recipe
Bold Smoky Flavor That Builds Slowly
The low-and-slow cooking method gives smoke hours to penetrate deep into the meat, resulting in flavor that’s rich, complex, and nothing like anything you’ll get from a bottle of liquid smoke. Every bite tastes like the outdoors on a perfect summer afternoon.
That Irresistible Bark and Smoke Ring
The dry rub caramelizes into a beautiful, crackling outer crust — what pitmasters call “the bark” — while a rosy smoke ring forms just beneath. It’s stunning to look at and even better to eat.
Surprisingly Simple Once You Understand the Process
No fancy equipment beyond a smoker (or a grill set up for indirect heat) and a good meat thermometer. Once you nail the temperature and the timing, the process is almost entirely hands-off — the smoker does the heavy lifting.
A True Crowd-Pleaser for Any Gathering
There are few dishes that command a room the way a full rack of ribs does. Set them out at a potluck or family BBQ and watch the crowd gather before you’ve even reached for the serving tongs.
Classic BBQ Flavor With a Layered Dry Rub Twist
This isn’t just salt and pepper. The rub here balances brown sugar, smoked paprika, garlic, and a touch of cayenne — it creates a crust that’s complex and nuanced without overpowering the beef’s deep, natural richness.
Ingredients
For the Dry Rub
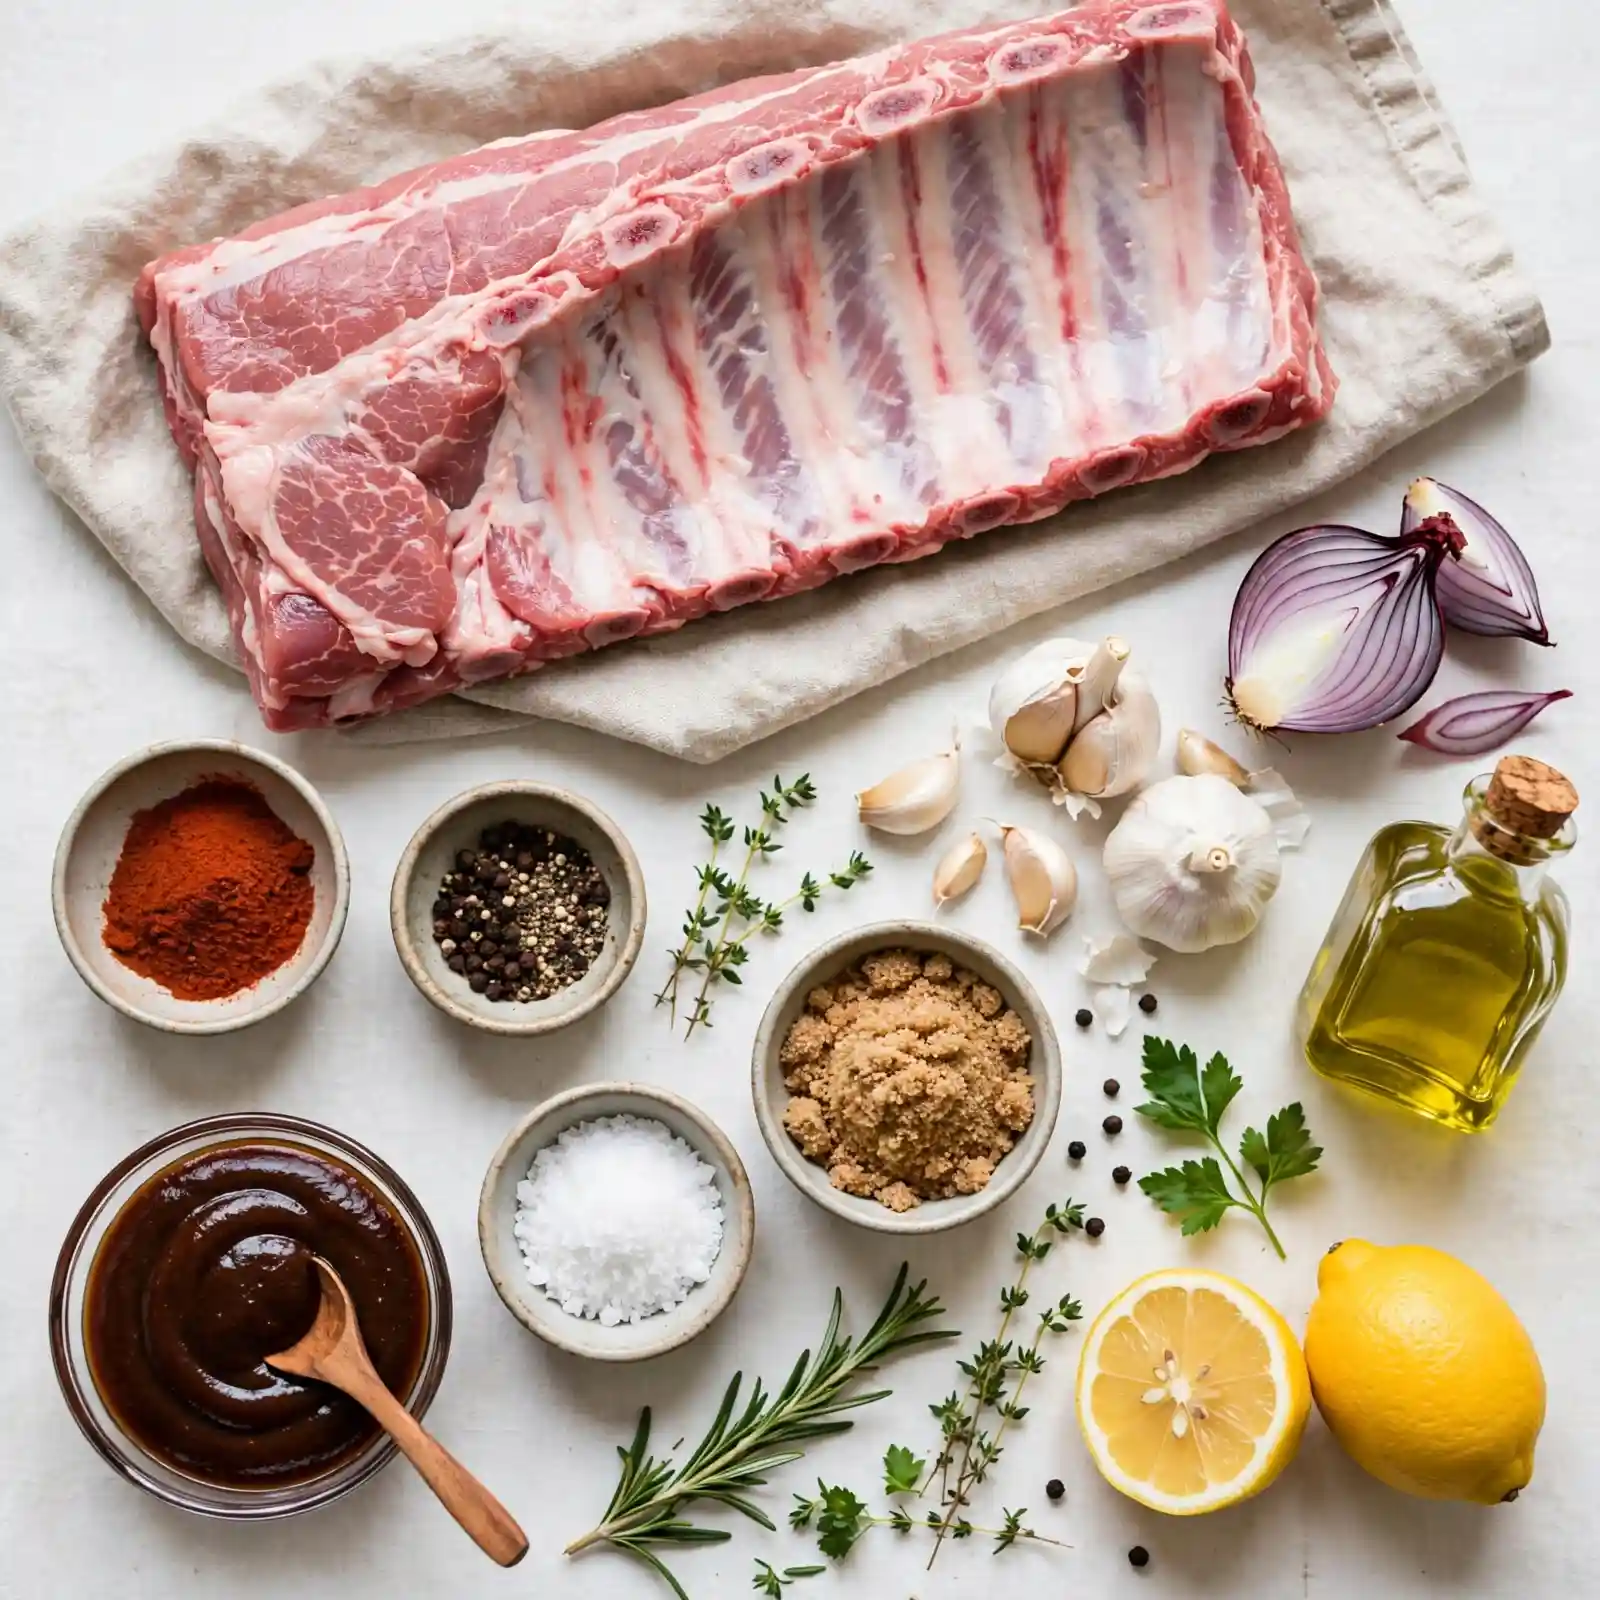
- 3 tbsp brown sugar (packed)
- 2 tbsp smoked paprika
- 1 tbsp kosher salt
- 1 tbsp black pepper (coarsely ground)
- 1 tsp garlic powder
- 1 tsp onion powder
- 1 tsp dry mustard
- ½ tsp cayenne pepper (adjust to your heat preference)
- ½ tsp celery salt
For the Ribs
- 2 full racks halal-certified beef back ribs (or beef short ribs — about 4–5 lbs each)
- 2 tbsp yellow mustard (acts as a binder for the rub; the flavor cooks off completely)
- Wood chips or chunks for smoking — hickory, apple, or cherry wood all work beautifully
For the BBQ Glaze (Optional but Recommended)
- 1 cup your favorite BBQ sauce (homemade or halal-certified store-bought)
- 2 tbsp apple cider vinegar (brightens the sauce and balances sweetness)
- 1 tbsp honey
The dry rub creates a savory-sweet bark, the smoke adds depth, and the optional glaze in the final stretch gives the ribs a glossy, sticky finish that takes them from great to completely unforgettable.
How to Make Smoked Ribs — Step-by-Step
Step 1: Prep the Ribs and Apply the Rub
Flip each rack bone-side up and locate the thin, papery membrane running across the bones. Slide a butter knife under one corner, grab it with a paper towel for grip, and peel it off in one smooth pull — this step is important for letting the rub and smoke penetrate from both sides. Pat the ribs dry with paper towels, coat both sides lightly with yellow mustard, then press the dry rub generously all over every surface. Don’t worry if the rub looks heavy — it’ll meld beautifully into a gorgeous bark during the cook.
Step 2: Fire Up the Smoker
Preheat your smoker to a steady 225°F (107°C). Add your wood chips or chunks — hickory gives a bold, classic BBQ flavor, while apple or cherry wood produces a slightly sweeter, more mellow smoke. Allow the smoker to come up to temperature fully before placing the ribs inside; you want a clean, thin blue smoke, not thick white billowing smoke, which can turn the meat bitter.
Step 3: Smoke Low and Slow
Place the racks bone-side down on the smoker grates. Close the lid and resist the urge to peek too often — every time you open it, you lose heat and precious smoke. Let them smoke, undisturbed, for 3 hours. After the first hour or so, the rub will have set into a dry, fragrant crust and the color will have shifted to a deep reddish-brown. Don’t worry if the outer layer looks a little dark at this point; that’s exactly what you want.
Step 4: Wrap and Continue Cooking (The Texas Crutch)
After 3 hours, remove the racks and place each one on a large sheet of heavy-duty aluminum foil. Add a small splash of apple juice or apple cider vinegar to each packet before sealing tightly — this creates steam inside the foil and tenderizes the meat further. Return the wrapped racks to the smoker for another 2 hours at 225°F. When unwrapped, the ribs should feel noticeably softer, and the bones will have started to pull away slightly from the meat. Don’t worry if a little liquid has pooled in the foil — that’s concentrated flavor you can brush back over the ribs.
Step 5: Glaze and Finish Unwrapped
Mix together the BBQ sauce, apple cider vinegar, and honey. Unwrap the racks and return them to the smoker, bone-side down, for a final 1 hour. During the last 30 minutes, brush the glaze over the ribs in two coats about 15 minutes apart. The glaze will set into a sticky, shiny lacquer that smells absolutely incredible. The total cook time is around 6 hours — when the meat has pulled back from the bone tips by about ¼ inch and a toothpick slides into the thickest part with no resistance, they’re ready.
Step 6: Rest, Slice, and Serve
Remove the racks from the smoker and let them rest, loosely tented with foil, for at least 15 minutes before slicing. Resting allows the juices to redistribute throughout the meat — skip this and you’ll lose all that hard-earned moisture on the cutting board. Slice between the bones using a sharp knife, arrange on a board or platter, and serve immediately.
Perfecting This Recipe
- Maintain a consistent temperature. Fluctuations above 250°F will cause the fat to render too fast and the exterior to dry out. Invest in a reliable smoker thermometer and check it regularly.
- Use the bend test to check doneness. Pick up a rack with tongs near the middle — if it bends significantly and the bark starts to crack, the ribs are done. If it stays rigid, give them more time.
- Thin blue smoke is your friend. White billowing smoke carries bitter compounds that will overwhelm the meat. Make sure your wood is fully lit and your airflow is properly managed before adding the ribs.
- Don’t rush the resting period. 15 minutes is the minimum; 20–25 is even better. The difference in juiciness is significant.
- Dry brine overnight if time allows. Apply the rub the night before, wrap loosely in plastic wrap, and refrigerate. The salt will draw moisture to the surface, dissolve, and then reabsorb — resulting in deeper seasoning and a better bark.
- The mustard binder doesn’t add flavor. Its only job is to help the rub stick. You can substitute with olive oil or even just water if you prefer.
Common Mistakes to Avoid
- Skipping the membrane removal — Leaving the membrane on keeps the rub and smoke from penetrating the bone-side of the rack, resulting in uneven seasoning and a tough, chewy texture on the underside.
- Cooking at too high a temperature — Anything above 275°F starts drying out the outer layer before the connective tissue and fat have had time to render. Low and slow isn’t just tradition — it’s science.
- Opening the smoker too frequently — Every peek drops your temperature and interrupts the smoke cycle. Trust the process and only open when you need to wrap or glaze.
- Skipping the rest period — Cutting into ribs straight off the smoker sends all the accumulated juices pouring onto your board. Rest them, always.
- Over-saucing too early — Adding BBQ glaze early in the cook causes the sugars to burn before the meat is fully cooked. Apply the glaze only in the final 30–45 minutes.
Add Your Touch
- Spice it up: Add 1 tsp chipotle powder or more cayenne to the rub for a smoky heat that builds slowly.
- Go sweet and tangy: Swap the honey in the glaze for peach preserves or apricot jam for a fruity Southern-style finish.
- Try different woods: Cherry wood gives a beautiful deep color and mild sweetness; pecan is nutty and rich; mesquite is bold and intense but works best in short bursts.
- Coffee rub variation: Add 1 tbsp finely ground espresso to the dry rub for a deep, roasted undertone that plays incredibly well with beef.
- Lamb ribs: This exact method works brilliantly with halal lamb ribs — they’re fattier and more aromatic, and cook in roughly the same time as beef back ribs.
- No smoker? No problem: Set your gas or charcoal grill up for indirect heat, place a foil pouch of soaked wood chips over the burner or coals, and follow the same steps.
Visit Also: Chicken Chow Mein
What to Serve With This
- Classic coleslaw — The cool crunch and tang cuts straight through the richness of the beef.
- Baked mac and cheese — A creamy, cheesy side that makes this meal feel like a true celebration.
- Grilled corn on the cob — Sweet, charred, and buttery; it belongs next to a rack of ribs.
- Cornbread — Perfect for mopping up every last bit of BBQ glaze from the plate.
- Pickled jalapeños or pickles — The acidity balances the smoke and fat and refreshes the palate between bites.
Storing and Serving
Fridge: Store leftover ribs in an airtight container or wrapped tightly in foil for up to 4 days. Keep the bones attached to the meat while storing — they help retain moisture.
Freezer: Wrap individual portions tightly in plastic wrap, then place in a freezer-safe zip bag. Freeze for up to 3 months. The bark will soften slightly after freezing but the flavor holds beautifully.
Reheating: Preheat your oven to 250°F. Place ribs in a baking dish, add a small splash of apple juice or water, cover tightly with foil, and reheat for 20–30 minutes until warmed through. Avoid the microwave if you can — it toughens the meat.
Make-Ahead Tip: Smoke the ribs fully, let them cool completely, then refrigerate. Reheat the next day using the oven method above and brush with a fresh coat of glaze before serving. They’re genuinely excellent the next day.
Servings: Each full rack serves approximately 2–3 people. Two full racks comfortably serve 4–6 people.
Nutrition (Approximate Per Serving)
- Calories: 520
- Total Fat: 32g
- Saturated Fat: 13g
- Carbohydrates: 22g
- Sugar: 18g
- Protein: 42g
- Sodium: 840mg
Nutritional values are approximate and may vary based on specific ingredients and brands used.
Chef’s Helpful Tips
- Bring the ribs to near room temperature before putting them on the smoker — cold meat straight from the fridge creates condensation that can prevent the bark from forming properly. Pull them out 30–45 minutes before smoking.
- Use a wireless meat probe if you have one. Insert it into the thickest part of the meat (not touching bone) and monitor the internal temperature — you’re looking for 195–203°F for truly tender, fall-off-the-bone results.
- For clean cuts, use a sharp boning or slicing knife and slice in one smooth downward motion rather than sawing back and forth. Let the knife’s weight do the work.
- Buy quality halal beef. Grass-fed or locally sourced halal beef has more intramuscular fat and a richer, more complex flavor — when the recipe is this simple, ingredient quality matters more than technique.
- If your bark turns out soft, it likely means there was too much moisture (either from over-spritzing or the foil stage going too long). Return unwrapped ribs to the smoker for an extra 20–30 minutes at 250°F to firm it back up.
Frequently Asked Questions
Q1. Can I make smoked ribs without a smoker? Absolutely. Set up your gas or charcoal grill for indirect heat — burners on one side only, ribs on the other. Place a foil pouch of soaked wood chips (or a small cast-iron box of chips) over the heat source and keep the lid closed. The temperature and timing are the same; you just need to manage the heat a little more actively than with a dedicated smoker.
Q2. What’s the difference between beef back ribs and beef short ribs for this recipe? Beef back ribs are leaner, with meat primarily between the bones, and follow the 3-2-1 timing in this recipe beautifully. Beef short ribs are meatier, fattier, and richer — they need an extra 1–2 hours in the smoker but reward you with an incredibly indulgent, pull-apart result. Both are excellent halal options; it just depends on how much time you have and how decadent you want to go.
Q3. I’ve never smoked meat before — is this recipe beginner friendly? Yes, genuinely. The 3-2-1 method (3 hours unwrapped, 2 wrapped, 1 glazed) gives you a reliable, repeatable framework that’s hard to mess up. As long as you maintain temperature and resist opening the smoker constantly, the process is very forgiving.
Q4. Can I make these ahead of time for a party? Smoked ribs are excellent made a day ahead. Smoke them fully, let them cool, wrap tightly, and refrigerate overnight. The next day, reheat in a 250°F oven covered in foil with a splash of apple juice, then finish with a fresh glaze. Many pitmasters actually prefer day-old ribs because the smoke flavor has time to settle and deepen.
Q5. Can I freeze smoked ribs after cooking? Yes, and they freeze surprisingly well. Let them cool completely, wrap individual portions in plastic wrap, then store in a freezer-safe bag for up to 3 months. Thaw overnight in the fridge before reheating. The texture holds up well; just be gentle when reheating to avoid drying them out.
Conclusion
There’s a reason smoked ribs have become the gold standard of backyard cooking. They’re a commitment of time and attention, yes — but the reward is a meal that people talk about for weeks. From the moment that bark forms and the smoke ring reveals itself with the first slice, you know you’ve made something truly special. Every rack tells a little story of patience, fire, and good seasoning.
So fire up your smoker, mix that rub, and give yourself an afternoon with something worth savoring. Whether it’s your first time or your fiftieth, this recipe is the kind that earns you a reputation. Make it your own, share it generously, and don’t be surprised when your guests start showing up suspiciously close to dinnertime every weekend from here on out.
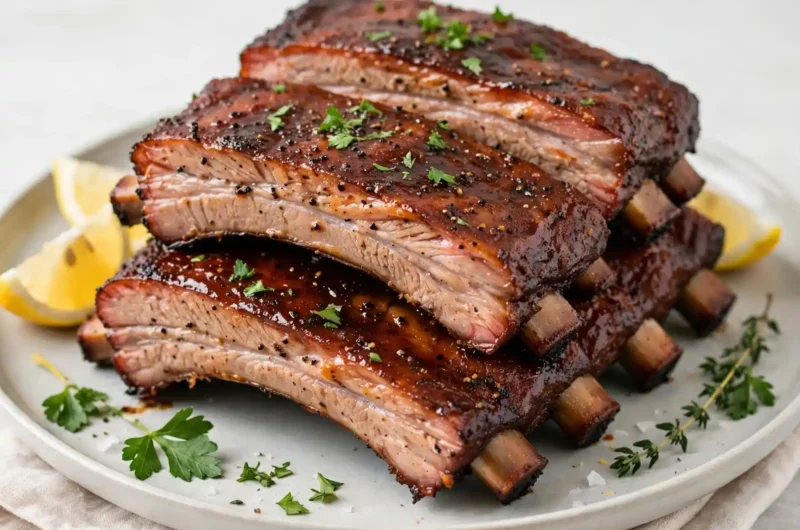
Fall-Off-The-Bone Smoked Ribs
Course: Trending Recipes4–6
servings20
minutes520 per serving
kcal6
hours15–20
minutes6
hours40
minutesThese smoky, tender halal beef ribs are coated in a bold dry rub, slow-smoked to perfection, and finished with a sticky halal BBQ glaze. Perfect for weekend cookouts, backyard BBQs, or any time you want to seriously impress a crowd.
Ingredients
Dry Rub:
3 tbsp brown sugar (packed)
2 tbsp smoked paprika
1 tbsp kosher salt
1 tbsp black pepper (coarsely ground)
1 tsp garlic powder
1 tsp onion powder
1 tsp dry mustard
½ tsp cayenne pepper
½ tsp celery salt
Ribs:
2 full racks halal-certified beef back ribs (4–5 lbs each)
2 tbsp yellow mustard
Hickory, apple, or cherry wood chips/chunks
BBQ Glaze:
1 cup halal-certified BBQ sauce
2 tbsp apple cider vinegar
1 tbsp honey
Directions
- Remove the membrane from the bone-side of each rack. Pat dry, coat with mustard, and press dry rub generously over all surfaces.
- Preheat smoker to 225°F. Add wood chips and wait for thin blue smoke before adding ribs.
- Place racks bone-side down. Smoke uncovered for 3 hours without opening the lid.
- Wrap each rack tightly in foil with a splash of apple juice. Return to smoker for 2 more hours.
- Unwrap and return ribs to smoker. Mix glaze ingredients together.
- Smoke unwrapped for 1 hour, brushing glaze on in 2 coats during the final 30 minutes.
- Rest for 15–20 minutes tented in foil, then slice between bones and serve.