Deeply Rich Homemade Vanilla Extract Recipe You’ll Never Want to Buy Again
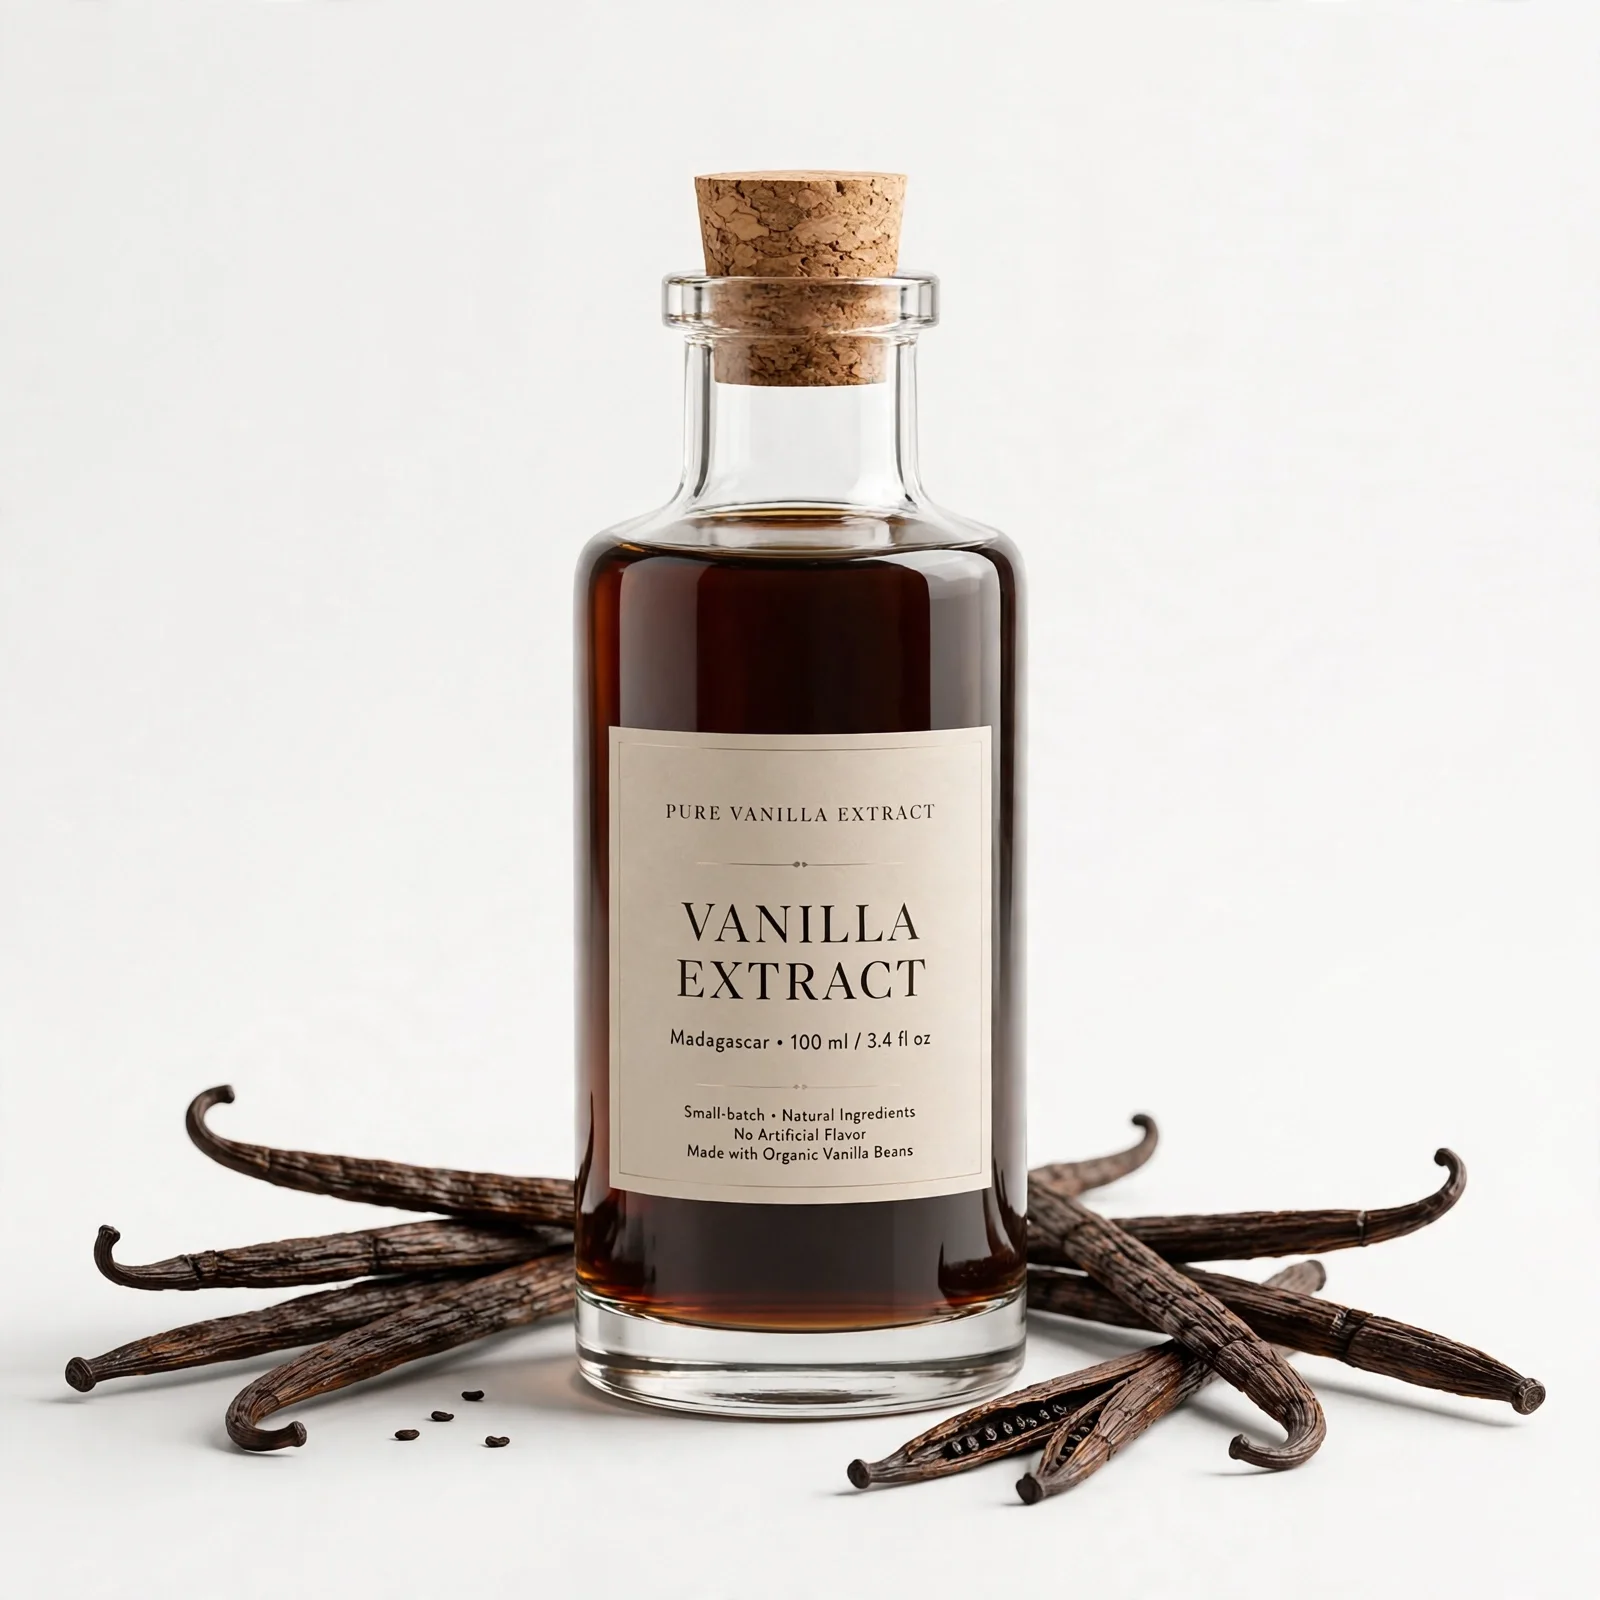
The first time I made my own vanilla extract, I was standing in the baking aisle staring at a tiny bottle priced at nearly eight dollars — and I almost laughed out loud. Two ingredients. That’s all it takes. Two ingredients, a little patience, and suddenly your pantry holds something that smells like warm caramel, toasted flowers, and every good memory from your childhood kitchen rolled into one.
Crack open a jar of homemade vanilla and the aroma hits you differently than anything from a store shelf. It’s deeper, warmer, almost intoxicating — with a silky complexity that pure vanilla beans carry naturally. The flavor it lends to baked goods isn’t sharp or one-dimensional. It’s rounded, lush, and layered in a way that makes even a simple batch of cookies taste like something you’d pay for at a bakery.
This vanilla extract recipe is perfect as a thoughtful holiday gift, a staple for your weekly baking routine, or a weekend project that keeps on giving for months. Whether you’re baking birthday cakes, whipping up pancakes on a lazy Sunday, or stirring something into your morning oatmeal, homemade vanilla extract quietly elevates everything it touches. Once you’ve made it yourself, reaching for that store-bought bottle just won’t feel the same.
Why You’ll Love This Recipe
It’s Made With Just Two Ingredients
Vanilla beans and a neutral spirit — that’s genuinely it. No additives, no corn syrup, no artificial flavoring. You control exactly what goes into the bottle, and that simplicity is something to feel good about every single time you use it.
The Flavor Is Incomparable
Store-bought vanilla can’t compete with the depth you get from scratch. Homemade pure vanilla extract has a rich, complex warmth that develops over weeks, building layers of flavor that make your baked goods taste noticeably more special.
It Gets Better With Time
Unlike most recipes, this one rewards patience with something genuinely extraordinary. The longer it sits, the darker and more intensely flavored it becomes — meaning a batch you make today will still be improving six months from now.
It’s a Crowd-Pleasing Gift
Bottled up with a handwritten label, homemade vanilla makes one of the most beloved edible gifts you can give. Friends who bake will absolutely treasure it, especially around the holidays or for housewarmings.
Extremely Budget-Friendly Long Term
The upfront cost of vanilla beans may feel steep, but one batch makes far more extract than you’d typically buy — and you can top it off with more alcohol as you use it, stretching a single set of beans across many months.
Ingredients
For the Extract Base
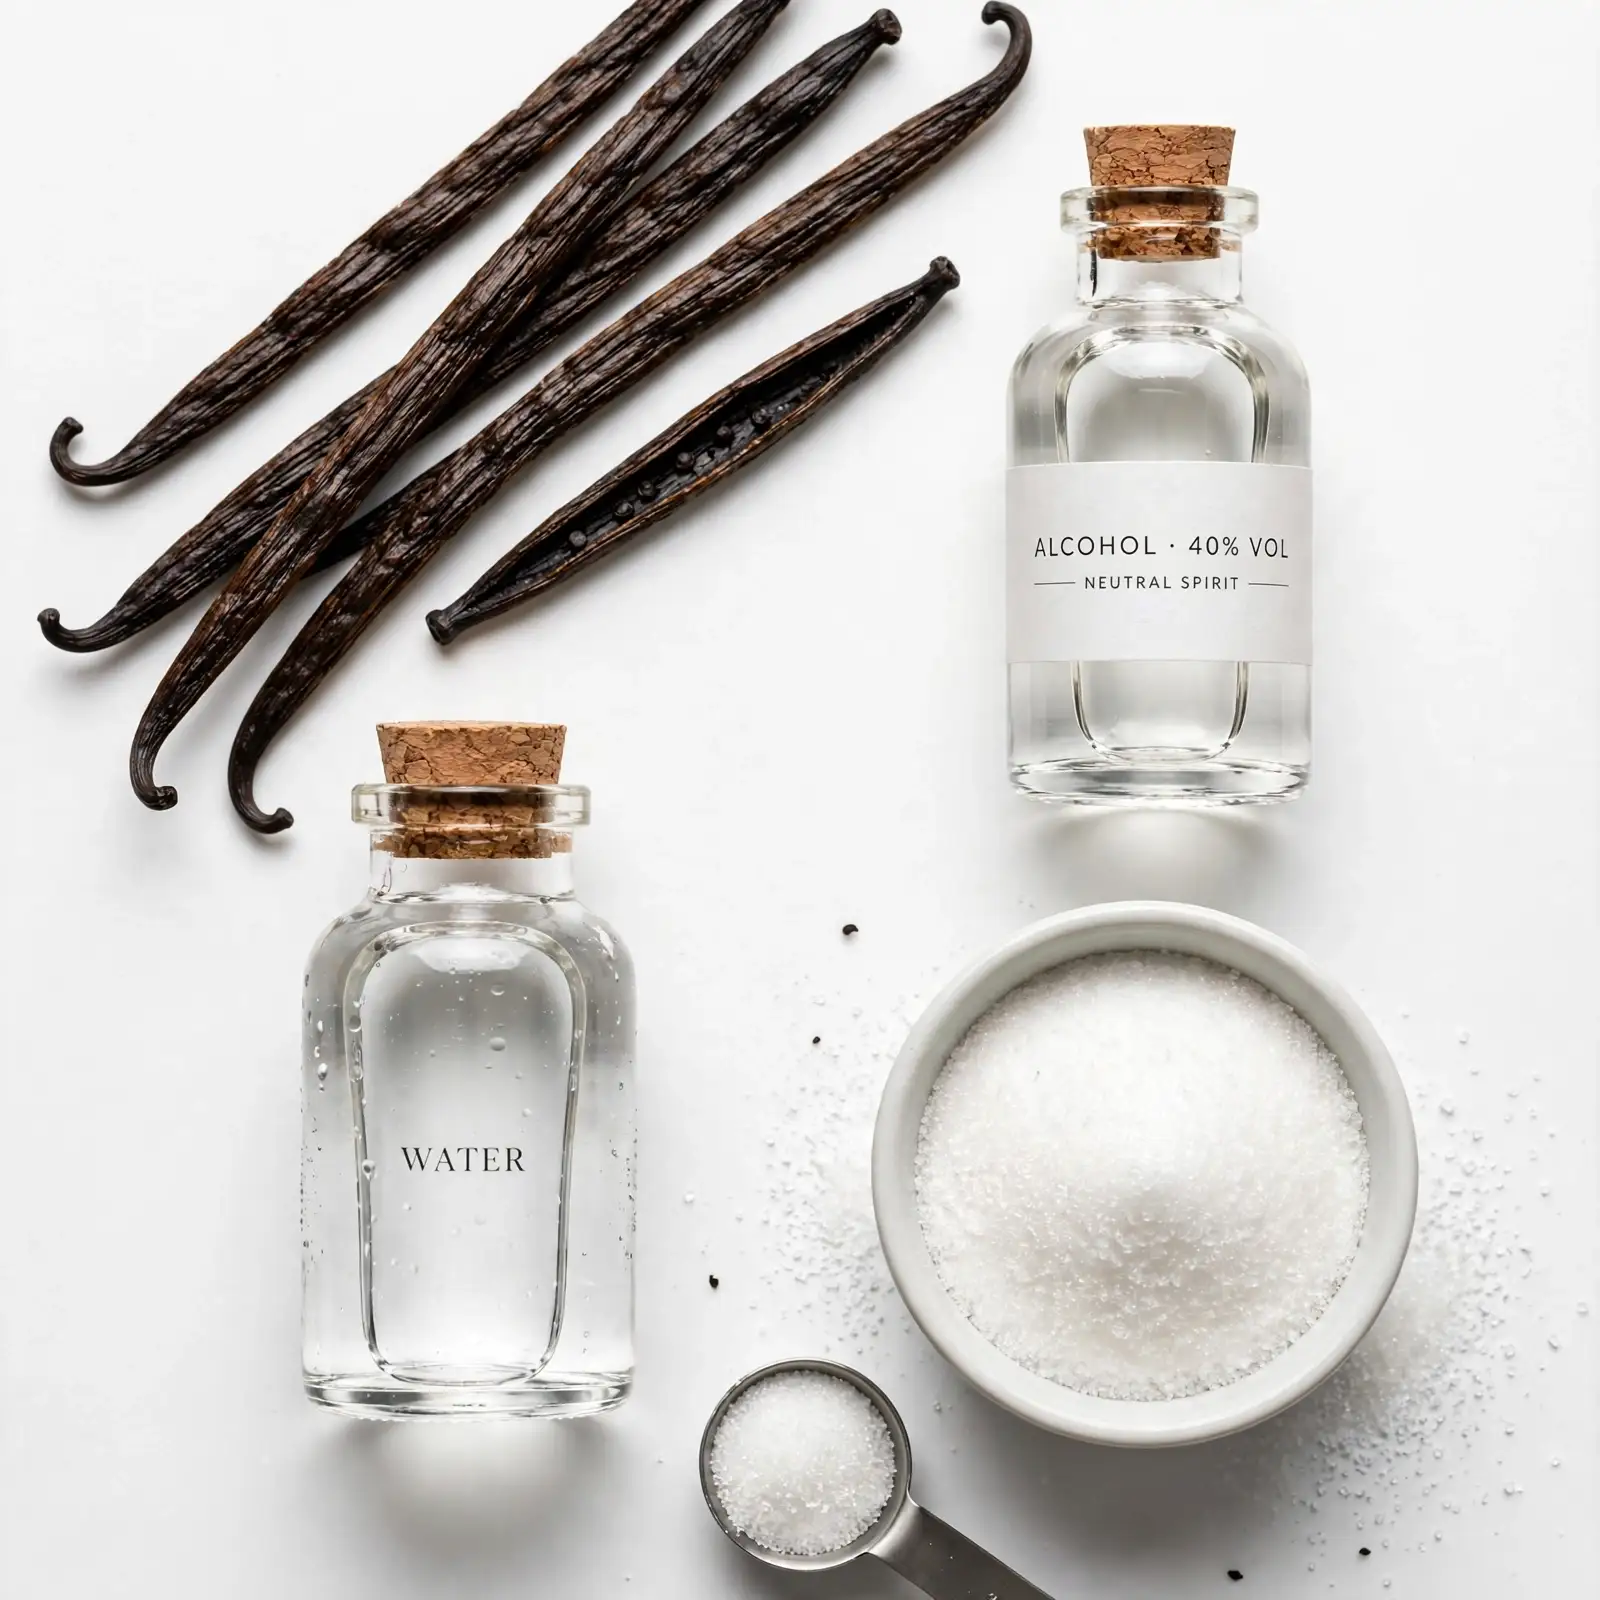
- 5–6 whole vanilla beans (Madagascar or Tahitian — see note below)
- 1 cup (240ml) vodka, bourbon, or light rum (80-proof minimum)
For the Jar
- 1 clean glass jar or bottle with a tight-fitting lid (8 oz minimum)
The vanilla beans bring the floral, creamy, deeply aromatic flavor while the alcohol acts as the solvent, slowly drawing out those precious flavor compounds over time. Together they create something far greater than the sum of their parts.
How to Make Vanilla Extract Recipe — Step-by-Step
Step 1: Choose and Prepare Your Vanilla Beans
Start with high-quality vanilla beans — this is the only place where ingredient quality truly makes or breaks the result. Madagascar beans are classic, rich, and creamy. Tahitian beans are more floral and fruity. Using a sharp knife, slice each bean lengthwise down the center without cutting all the way through. You want them butterflied open so the seeds are exposed to the alcohol. The vanilla will smell incredible at this point — almost honey-like and warm.
Step 2: Sterilize Your Jar or Bottle
Run your glass jar or bottle through the dishwasher on a hot cycle, or pour boiling water inside, swirl it around for 30 seconds, and let it air dry completely on a clean towel. Don’t worry if the jar looks very simple — this doesn’t need to be fancy equipment, just clean.
Step 3: Add the Beans and Pour the Alcohol
Place your split vanilla beans into the jar, arranging them so they’re fully submerged. Pour the alcohol directly over the beans, making sure every bit of bean is covered — exposed beans above the liquid won’t infuse properly. Seal the lid tightly. The liquid will look pale and clear at this stage, which is completely normal.
Step 4: Store and Shake Regularly
Place the sealed jar somewhere cool and dark — a pantry shelf or kitchen cabinet works perfectly. Once a week, give the jar a good shake for 10–15 seconds. As the weeks pass, you’ll watch the liquid transform from nearly clear to a deep, gorgeous amber. Don’t worry if it smells strongly of alcohol early on — that mellows significantly as the extract matures.
Step 5: Wait, Then Use
Your vanilla extract recipe will be ready to use in as little as 6 weeks, though 8–12 weeks produces a noticeably richer result. The liquid should be a warm, deep brown with a full, rounded vanilla aroma — not sharp or boozy. Strain out the beans if you prefer a cleaner extract, or leave them in to continue deepening the flavor. From here, simply use it anywhere pure vanilla extract is called for.
Perfecting This Recipe
- Use 80-proof or higher alcohol — anything less won’t extract the flavor compounds effectively
- More beans means a stronger, faster result; for a very bold extract, use up to 8 beans per cup of liquid
- Always keep beans fully submerged to prevent mold — if a bean floats above the liquid, trim it shorter or add a splash more alcohol
- Shaking weekly makes a real difference; don’t skip this step as it speeds up infusion
- Darker alcohol like bourbon adds a slight caramel or vanilla-adjacent warmth of its own — great for cookie and cake recipes
- Vodka gives the cleanest, purest vanilla flavor with zero distraction from the spirit itself
- Be patient — the flavor genuinely and noticeably improves between week 6 and week 12
Common Mistakes to Avoid
- Using imitation vanilla beans — Bargain-bin beans are often dried out and flavorless before they even hit the jar. Spend a little more on plump, fragrant, pliable beans and the difference will be obvious.
- Opening the jar too often — Every time you open the jar before the extract is ready, you introduce air and slow the process. Trust the timeline and resist the urge to check it daily.
- Using low-proof alcohol — Anything below 70-proof won’t extract properly and can even allow bacteria to develop over time. Always check the bottle label before pouring.
- Storing it in direct sunlight — Light degrades the flavor compounds in vanilla. A dark shelf or pantry is essential, not optional.
- Rushing the process — Using extract before 6 weeks means weaker flavor and more alcohol bite. The patience is genuinely worth it.
Add Your Touch
- Try split bourbon vanilla beans for a smokier, more caramel-forward extract
- Use rum as the base for a slightly sweeter, tropical-adjacent flavor that’s wonderful in tropical cakes or coffee
- Add a single cinnamon stick to the jar for a warmly spiced version perfect for fall baking
- For a gift-worthy touch, mix two types of vanilla beans — one Madagascar, one Tahitian — for a more complex, layered flavor profile
- Make a small-batch espresso version by adding a few whole coffee beans alongside the vanilla for a mocha-tinted extract
Visit Also: New Years Eve Appetizers
What to Serve With This
- Stir into classic chocolate chip cookie dough for a noticeably warmer, more aromatic depth
- Add a splash to homemade whipped cream — the difference compared to store-bought extract is immediately obvious
- Mix into pancake or waffle batter on weekend mornings for an elevated breakfast
- Use in homemade ice cream custard base where pure, clean vanilla flavor is everything
- Splash into warm milk or oat milk before bed as a calming nighttime drink
Storing and Serving
Fridge:
Vanilla extract does not need refrigeration — but if you prefer to store it there, it keeps indefinitely with no quality change.
Pantry:
Store in a cool, dark place in a sealed glass bottle. Homemade vanilla extract will keep for 2–5 years and often improves over time.
Freezer:
Not recommended — the alcohol content keeps it shelf-stable already, and freezing can dull the flavor.
Reheating:
Not applicable — this is a cold-infused extract used at room temperature.
Make-Ahead Tip:
This recipe is entirely make-ahead by nature. Start it 8–12 weeks before you plan to use or gift it. Top off the jar with more alcohol as you use it — the same beans can keep producing for months.
Servings:
Makes approximately 48 teaspoons (1 cup / 240ml of finished extract)
Nutrition (Approximate Per 1 Teaspoon Serving)
- Calories: 12
- Total Fat: 0g
- Saturated Fat: 0g
- Carbohydrates: 0.5g
- Sugar: 0g
- Protein: 0g
- Sodium: 0mg
Nutritional values are approximate and may vary based on specific ingredients and brands used.
Chef’s Helpful Tips
- Bean quality is non-negotiable — Plump, moist, fragrant beans produce a vastly superior extract. Look for Grade A beans with visible moisture and flexibility when you bend them
- Label your jar with the start date — It’s surprisingly easy to forget when you made it, and knowing the date helps you track maturity accurately
- Use a funnel when transferring — Moving finished extract into a small dropper bottle or gifting jar is much neater with a small funnel
- Don’t discard the spent beans — After the extract is finished, rinse and dry the beans to tuck into a jar of sugar for naturally flavored vanilla sugar
- If the extract smells too boozy after 6 weeks, simply wait another 2–4 weeks — the alcohol mellows significantly with more time and the vanilla notes come forward beautifully
Frequently Asked Questions
Q1. Can I use a different alcohol besides vodka?
Absolutely — bourbon, rum, and brandy all work wonderfully. Bourbon adds a warm, slightly smoky caramel note while rum lends a touch of sweetness. Vodka is the most neutral option if you want pure, clean vanilla flavor without any spirit influence.
Q2. How does this compare to store-bought pure vanilla extract?
It’s noticeably richer and more complex, especially after 10–12 weeks of infusion. Store-bought pure vanilla is good, but homemade develops a depth and warmth that’s difficult to replicate commercially — think of it the way fresh-ground coffee compares to pre-ground.
Q3. Is this recipe beginner-friendly?
It honestly couldn’t be simpler. If you can slice a bean and pour a liquid, you can make this. The only real skill involved is patience, and that comes pretty naturally once you see how the jar transforms week by week.
Q4. Can I make a large batch to give as gifts?
Yes — this vanilla extract recipe scales up beautifully. Simply maintain the ratio of 5–6 beans per cup of alcohol and multiply from there. Divide into small 2 oz or 4 oz bottles, add a label with the date and flavor notes, and you have a genuinely impressive edible gift.
Q5. Can I freeze it for long-term storage?
Freezing isn’t necessary and isn’t recommended — the alcohol content acts as a natural preservative that keeps the extract stable for years at room temperature. A cool, dark pantry shelf is the ideal long-term home for your vanilla.
Conclusion
There’s a particular kind of satisfaction that comes from reaching into your pantry for something you made yourself — something that took a little patience and a little intention, and that makes everything it touches taste better. This vanilla extract recipe is exactly that kind of project. It’s quiet, it’s simple, and it rewards you every single time you twist open that bottle and catch that first warm, heady waft of real vanilla.
So go ahead — split those beans, pour the spirit, seal the jar, and put it somewhere dark for a few weeks. Then share it with someone who loves to bake, stir it into your favorite recipe, or keep the whole bottle for yourself without an ounce of guilt. Either way, you’ll never look at that store-bought bottle quite the same way again.
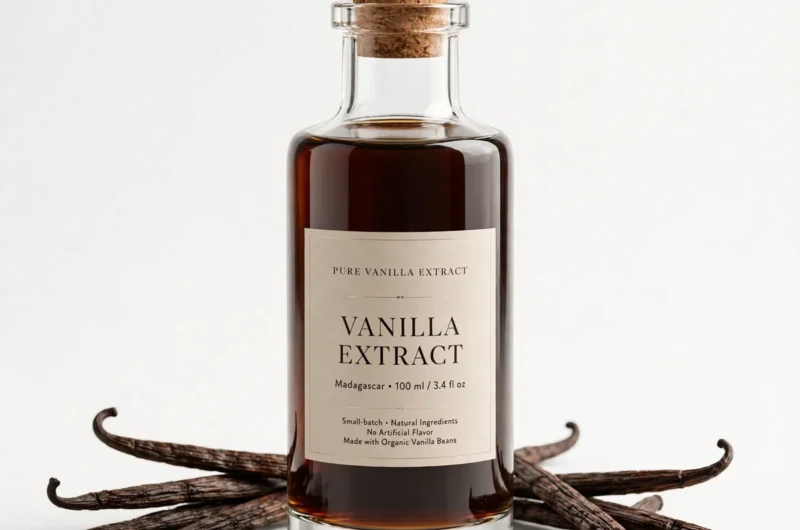
Rich Homemade Vanilla Extract
Course: Trending Recipes48 teaspoons (1 cup finished extract)
servings10
minutes12 per teaspoon
kcal6–12
Weeks1008
hoursA deeply aromatic, two-ingredient extract made with vanilla beans and your choice of spirit. Pure, complex, and endlessly versatile — perfect for everyday baking or gifting.
Ingredients
Extract Base:
5–6 whole vanilla beans (Madagascar or Tahitian)
1 cup (240ml) vodka, bourbon, or light rum (80-proof minimum)
Equipment:
1 clean 8 oz glass jar or bottle with tight-fitting lid
Directions
- Slice each vanilla bean lengthwise, leaving the ends intact.
- Sterilize the glass jar with boiling water; let it dry completely.
- Place beans into the jar and pour alcohol over until fully submerged.
- Seal tightly and store in a cool, dark place.
- Shake the jar once per week for 6–12 weeks.
- Once deep amber and richly aromatic, strain if desired and use freely.